To make your car windows darker and more stylish, start by cleaning the glass thoroughly, then cut your tint film to size, apply a soapy water solution, and carefully smooth out any bubbles with a squeegee. Using quality tint film and patience, you can achieve a professional look right at home.
Creating your own car window tint is a fun and cost-effective project that adds privacy and a sleek appearance to your vehicle. First, gather the necessary materials like tint film, a utility knife, squeegee, spray bottle, and cleaning supplies. Proper preparation, including cleaning the windows to remove dirt and grease, is crucial for a smooth application. Carefully measure and cut the tint to fit each window, then spray a soapy water solution onto the glass and the film’s adhesive side. This allows you to position the film easily and eliminate bubbles during application. With patience and attention to detail, you can master the art of window tinting and give your car a custom, polished look.
How to Make Car Window Tint: A Detailed Guide
Making your own car window tint can be a rewarding DIY project. It allows you to customize your vehicle’s look while reducing glare and heat inside your car. This guide will walk you through every step of the process, from preparing your materials to applying the tint correctly. Whether you are a beginner or have some experience, this detailed overview will give you all the information you need to successfully create your custom window tint.
Understanding Car Window Tinting Basics
Before diving into the process, it’s important to understand what car window tinting involves. Tinting involves applying a thin film to your car windows to block sunlight and UV rays. This film comes in various shades, materials, and levels of opacity depending on your preferences and local laws.
- Materials Used: The most common materials include dyed films, metalized films, carbon films, and ceramic films. Each offers different benefits like durability, heat rejection, and UV protection.
- Legal Regulations: Check your local laws regarding tint darkness and reflectivity. Different regions have specific limits to avoid fines or other penalties.
- Tools Needed: Basic tools include a squeegee, utility knife, spray bottle, microfiber cloths, and a heat gun if necessary.
Gather Your Materials and Tools
Start with collecting everything needed for your tinting project. Having all supplies on hand will make the process smoother and more efficient.
Materials Needed
- Window Tint Film: Choose the appropriate type and shade based on your needs and legal restrictions. Opt for high-quality films for better longevity and performance.
- Spray Solution: A mix of water and a few drops of dish soap acts as a temporary adhesive for the film.
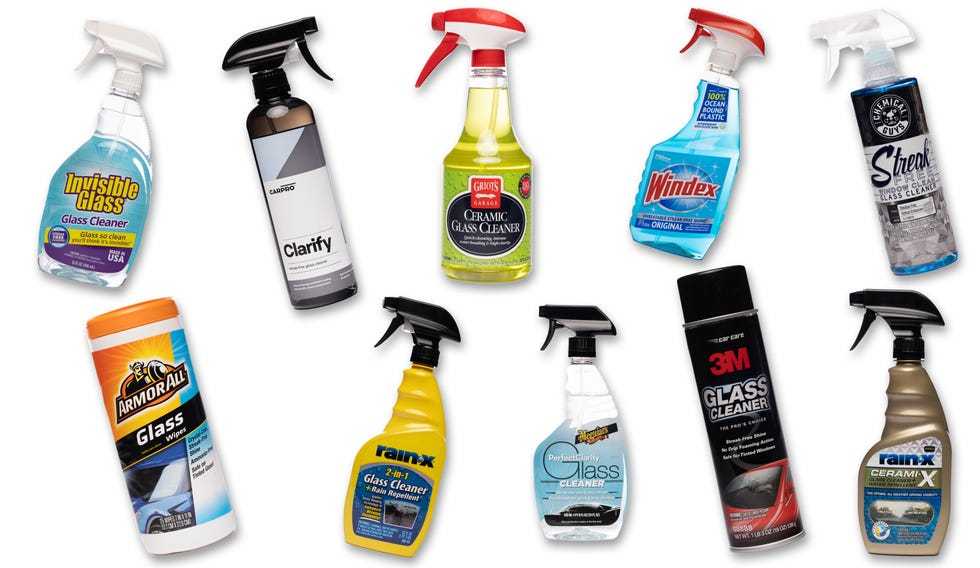
- Cleaning Supplies: Ammonia-free glass cleaner and microfiber cloths to thoroughly clean the windows before applying.
Tools Needed
- Squeegee: To smooth out air bubbles and excess solution.
- Utility Knife or Blade: For trimming excess film precisely.
- Spray Bottle: To apply the water-soap solution evenly.
- Heat Gun or Hair Dryer: Useful for shrinking the film around curves and edges.
Preparing Your Vehicle’s Windows
Proper preparation of the windows is crucial for a clean, professional look. Dirt, grease, or dust can cause bubbles and reduce adhesion.
Cleaning Process
Clean each window thoroughly using ammonia-free glass cleaner. Make sure to remove all dirt, grease, and residues. Use a microfiber cloth to wipe the glass for a streak-free finish.
Drying and Inspection
Dry each window completely. Inspect for any remaining dust or smudges. If needed, repeat cleaning until the surface is perfectly clean.
Measuring and Cutting the Tint Film
Accurate measurement and cutting save time during application and reduce waste.
Measuring Windows
Use a measuring tape to determine the height and width of each window. Add an extra 1 to 2 inches to each dimension to allow for trimming.
Cutting the Film
Lay the tint film flat on a clean surface. Use a ruler and utility knife to cut the film to the measured dimensions. Cut slowly and carefully to prevent jagged edges.
Applying the Tint Film
Applying the film smoothly and evenly is the most critical step. Follow these detailed instructions.
Spraying the Window and Film
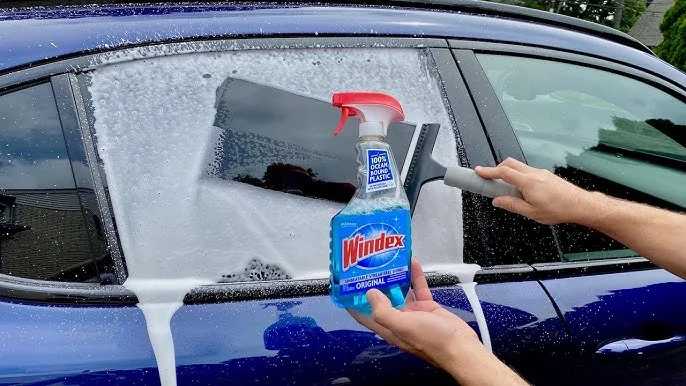
Spray the outside of the window with your water-soap solution to loosen dust and make it easier to position the film. Remove the backing from the tint film, then spray the adhesive side generously with the solution.
Positioning the Film
Place the film on the wet window surface, aligning it carefully. The water helps you slide the film into the correct position before it adheres permanently.
Smoothing Out Air Bubbles
Use your squeegee to gently press the film onto the glass, starting from the center and moving outward. Work slowly to push out any air bubbles and excess solution.
Trimming Excess Film
Carefully trim the excess film along the edges of the window with a utility knife. Be cautious to avoid scratching the glass or cutting into the rubber seal.
Using Heat for a Perfect Finish
The heat gun or hair dryer helps conform the film to curves and edges for a seamless look.
Shrinking the Film
Hold the heat gun a few inches from the film and move it evenly across the surface. Warmth causes the film to shrink, fitting better around contours and edges. Do this slowly to avoid damaging the film.
Final Smoothing
After heating, use your squeegee to smooth out any remaining imperfections or bubbles. Re-trim edges if necessary.
Final Inspection and Curing
Once applied, allow the tint to cure and adhere fully.
Drying Time
Avoid rolling down windows or cleaning for at least 24 to 48 hours. This helps the film attach securely.
Additional Tips
Keep windows slightly open during the curing process to prevent moisture buildup. Check for bubbles or wrinkles after a few days and smooth them out if possible.
Maintenance Tips for Your Car Window Tint
Proper care extends the life of your tint.
- Use a soft cloth for cleaning, avoiding abrasive materials.
- Wash with mild, ammonia-free cleaners to prevent damage.
- Avoid using razor blades or sharp tools on your tinted windows.
- Park in shaded areas to reduce heat and UV exposure.
Common Mistakes to Avoid
Learning from mistakes can save you time and frustration.
- Applying film on dusty or dirty windows – always clean thoroughly.
- Using low-quality tint film – invest in good materials for lasting results.
- Not aligning the film correctly before application – take your time to measure accurately.
- Rushing the shrinking process – apply heat slowly and evenly.
Additional Resources and Tips
Consider watching tutorial videos for visual guidance. Practice on scrap pieces before working on your vehicle. Remember, patience and careful work lead to the best results.
This comprehensive guide should give you all the information needed for a successful DIY car window tinting project. Carefully follow each step, and you’ll enjoy the benefits of a sleek, protected, and personalized vehicle appearance.
Learn Tint in 60 seconds #windowtint #tint #tintingwindows #glass #cars #diy #diycrafts #walmart
Frequently Asked Questions
What are the essential tools and materials needed to tint a car window at home?
To tint a car window yourself, gather essential tools such as a squeegee, utility knife, spray bottle filled with soapy water, microfiber cloths, and a heat gun or hairdryer. You’ll also need high-quality window tint film suitable for automotive use, along with cleaning supplies like glass cleaner and lint-free towels. Having a clean, dust-free workspace helps ensure a smooth application process.
How can I prepare my car windows before applying tint film?
Start by thoroughly cleaning the windows using a glass cleaner and lint-free cloth to remove dirt, grease, and fingerprints. Use a scraper or razor blade to eliminate any old adhesive or window tint remnants. Ensure the surface is completely dry and free of debris. Proper cleaning guarantees better adhesion of the tint film and results in a clearer finish.
What steps should I follow to properly apply window tint film on my car?
First, measure and cut the tint film slightly larger than your window dimensions. Spray the window with a soapy water mixture to allow for easy positioning. Carefully peel the backing from the film and place it onto the wet glass, smoothing out bubbles with a squeegee. Use a utility knife to trim excess film along the edges. Finally, apply heat with a heat gun or hairdryer to mold the film and remove any remaining bubbles or creases.
How can I ensure a bubble-free finish when installing car window tint?
Work slowly and methodically, starting from the center of the window and pushing bubbles outward with a squeegee. Keep the surface moist with soapy water to facilitate positioning and smooth out the film. For stubborn bubbles, gently lift the film and reapply, then re-smooth with the squeegee. Applying heat helps to make the film more flexible and conform to the glass, reducing wrinkles and bubbles.
What maintenance tips can I follow to make my car window tint last longer?
Allow the tint to cure for at least a few days before washing the windows with soap and water. Avoid using abrasive cleaners or scrubbing the tinted surfaces. Park your car in shaded areas to protect the film from prolonged sun exposure, which can cause fading or peeling. Regularly clean the windows with a soft cloth and a mild cleaning solution suitable for tinted glass to keep the film in good condition.
Final Thoughts
To make car window tint, gather quality tint film and cleaning supplies. Measure your windows accurately to cut the film properly. Apply the film smoothly, minimizing bubbles and wrinkles for a professional look.
In conclusion, understanding how to make car window tint allows you to customize your vehicle efficiently. Focus on precise measurement and proper application techniques. This process offers a cost-effective way to enhance your car’s appearance and comfort.


