Want sleek, private windows without the hefty price tag? Tinting your car windows yourself is a rewarding project that can save money and give your vehicle a fresh look. The key is patience, careful preparation, and the right materials. With some basic tools and a little bit of elbow grease, you can achieve professional-looking results right in your driveway.
In a nutshell, to tint your car windows DIY, you’ll need to clean the glass thoroughly, cut the tint film to size, apply it carefully using a squeegee to avoid bubbles, and trim the excess. It’s easier than you think and offers a great sense of accomplishment. Keep reading for a step-by-step guide to make your tinting project smooth and successful!
Applying window tint yourself is a straightforward process that can save you money and improve your car’s appearance. It involves cleaning, measuring, cutting, applying, and trimming the tint film with patience. This guide walks you through each step to help you achieve a professional finish at home.
How to Tint Car Windows DIY
Tinting your car windows yourself can save money and give your vehicle a sleek look. It might seem challenging at first, but with patience and the right steps, you can do it successfully. In this guide, we’ll walk through everything you need to know about DIY car window tinting.
Understanding Car Window Tinting
Car window tinting involves applying a thin film of tinted material to your vehicle’s windows. This film reduces sunlight glare, blocks harmful UV rays, and adds privacy. It also improves the overall appearance of your car.
There are different types of window tint films available. The most common are dyed films, metalized films, hybrid films, and carbon films. Each has its advantages, so choose the right one for your needs.
Legal Considerations for DIY Window Tinting
Before starting, check your local laws regarding window tint darkness levels. Some areas limit the amount of tint allowed on front and rear windows. Failing to comply might lead to fines or having to remove the tint later.
Most states specify Visible Light Transmission (VLT) percentages. For example, some regions require at least 70% VLT on the front side windows. Always verify these rules to stay legal and avoid penalties.
Gathering Your Materials and Tools
Having the right materials makes the tinting process smoother. Essential items include:
- Window tint film in your preferred shade and type
- Spray bottle filled with soapy water
- Utility knife or razor blade
- Application squeegee or plastic card
- Microfiber cloths
- Spray bottle for cleaning
- Gloves and protective mask (optional but recommended)
Also, consider purchasing a window scraper or edge tool to assist with peeling off excess film. Preparing a clean, dust-free workspace is crucial.
Preparing Your Vehicle and Workspace
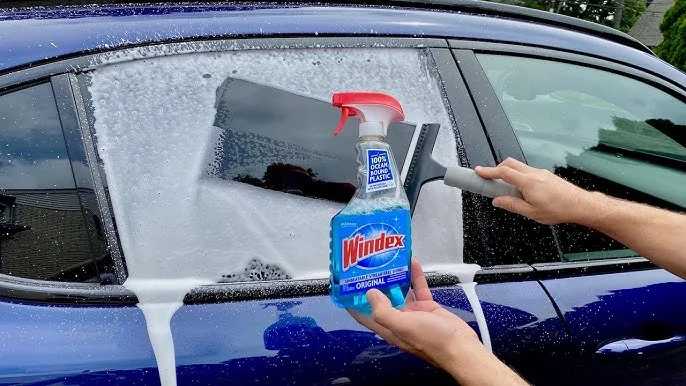
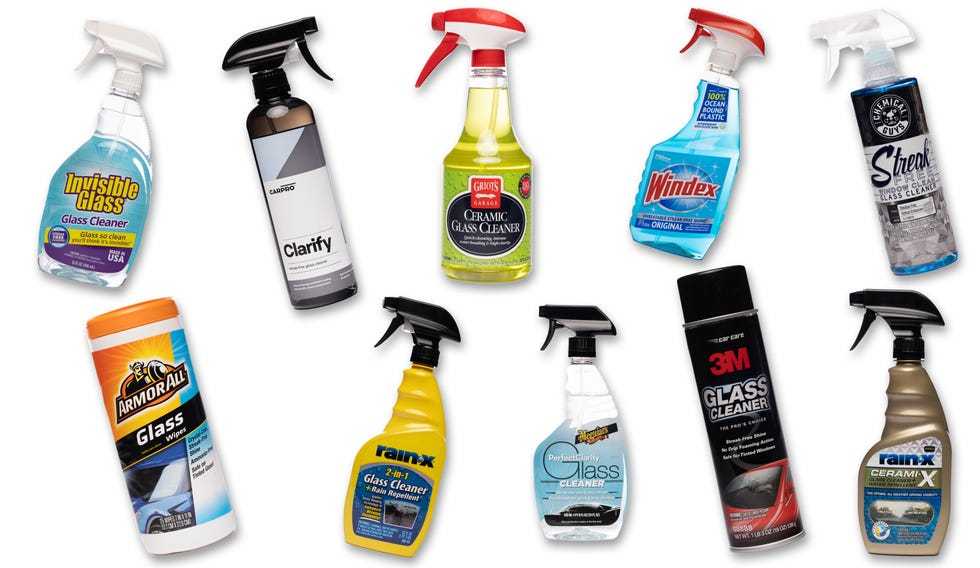
Start by parking your vehicle in a shaded, dust-free area. Clean all windows thoroughly using a microfiber cloth and glass cleaner. Dirt and debris can cause bubbles or imperfections in the tint.
Remove any window trim or weather stripping if possible. This helps avoid obstructing the tinting process and ensures a smooth application. Cover interior surfaces to protect them from water and debris.
Measuring and Cutting the Tint Film
Measure each window carefully using a measuring tape. Add a small margin (about 1/2 inch) to each side for adjustments. Then, cut the tint film to size using scissors or a utility knife on a clean surface.
It’s best to cut the film slightly larger than the window dimensions to allow for trimming during installation. Label each piece for easy identification.
Applying the Tint Film
Step 1: Wet the Window Surface
Spray a generous amount of soapy water onto the window. This helps the tint film glide smoothly and prevents it from sticking prematurely. Keep the surface wet throughout the process.
Step 2: Peel the Backing of the Tint Film
Carefully peel off the backing paper from the tint film. Do this slowly to avoid creating air bubbles or wrinkles. Keep the adhesive side moist with the spray to make positioning easier.
Step 3: Position the Tint on the Window
Place the tint film onto the wet window surface. Use your hands or a squeegee to align it properly. Adjust as needed before the adhesive sets. Keep the film wet to allow repositioning.
Step 4: Squeegee Out Excess Water and Air Bubbles
Start from the center and work towards the edges, pushing out water and air bubbles with the squeegee or plastic card. Use firm, steady strokes for a smooth finish.
Step 5: Trim Excess Film
Once the film is in place and bubbles are removed, trim the edges with a sharp utility knife. Be careful to follow the window contours for a clean cut.
Dealing with Common Challenges During Application
Expect some wrinkles or bubbles to form during application. Small bubbles can often be smoothed out with time and gentle pressure. For stubborn wrinkles, carefully lift and reposition the film.
If dirt or debris get trapped, lift the film slightly, clean the area, and reapply. Patience during this step ensures a professional-looking finish.
Drying and Curing Time
After applying the tint, allow it to dry undisturbed for at least 24 to 48 hours. During this period, avoid rolling down windows or exposing the tint to water or extreme temperatures.
Some films require a curing time of up to a week for optimal adhesion. Follow your film manufacturer’s instructions for the best results.
Final Touches and Maintenance Tips
Once the tint has dried, inspect all windows for bubbles or streaks. Use a clean microfiber cloth to gently buff the surface if needed. Avoid aggressive cleaning for the first few weeks.
Wash your windows with a mild, non-abrasive cleaner. Avoid ammonia-based products that can damage the tint film. Regular maintenance helps prolong the life and appearance of your DIY tint.
Additional Tips for Successful DIY Car Window Tinting
- Work in a dust-free environment to prevent particles from getting trapped under the film.
- Use a spray bottle generously to keep the film moist during application.
- Be patient when trimming and smoothing to achieve a professional look.
- Practice on less visible windows first if you’re new to tinting.
- Follow safety precautions when using sharp tools and chemicals.
Related Topics: Choosing the Right Tint Film
Understanding the different types of tint film helps you make an informed choice. Dyed films are affordable and good for privacy but may fade over time. Metalized films offer durability and reduce heat but can interfere with electronic signals. Carbon films provide a balance of UV protection and color stability.
Consider your climate, budget, and desired look when selecting your tint film. Remember that quality matters for longevity and appearance.
Benefits of DIY Window Tinting
Tinting your car windows yourself saves money on professional installation fees. It also offers a sense of pride and satisfaction after completing the job. Plus, you gain experience for future touch-ups or vehicle modifications.
With careful planning, patience, and attention to detail, you can give your vehicle a professional-looking tint without the need for expert help. It’s a rewarding project that can enhance your driving experience and vehicle’s style.
Learn Tint in 60 seconds #windowtint #tint #tintingwindows #glass #cars #diy #diycrafts #walmart
Frequently Asked Questions
What supplies do I need to tint my car windows myself?
To tint your car windows, gather a quality window tint film, a spray bottle filled with soapy water, a squeegee, a utility knife or razor blade, a clean microfiber cloth, and isopropyl alcohol. Having these tools ready ensures you can achieve a professional-looking result and make the process smoother.
How can I prepare my car windows before applying the tint?
Start by thoroughly cleaning the windows with soap and water to remove dirt and dust. Use a mixture of isopropyl alcohol and a microfiber cloth to wipe down the glass, removing any grease or residue. Ensure the windows are completely dry and free of streaks before applying the tint to prevent bubbles and imperfections.
What is the best way to cut the tint film accurately?
Measure the window dimensions precisely and cut the tint film slightly larger than the window itself. Lay the film on a clean surface and use a sharp utility knife or razor blade to trim it to size, following the measured lines carefully. Always leave a small margin to ensure full coverage, then trim excess after application if needed.
How do I apply the tint film without creating bubbles or creases?
Spray a generous amount of soapy water on the window and the adhesive side of the tint film before placing it on the glass. Position the film carefully and use a squeegee to smooth it out from the center towards the edges. Work slowly and evenly to remove air bubbles, and re-spray if necessary to help the film adhere smoothly.
What techniques help in achieving clean edges and a professional finish?
Use a sharp utility knife to trim the excess film along the edges after the tint has set. Hold the knife at a 45-degree angle and carefully cut along the borders, ensuring not to scratch the glass. Applying consistent pressure and taking your time results in sharp, clean edges that give your tinted windows a polished look.
Final Thoughts
To conclude, learning how to tint car windows diy involves careful preparation, precise application, and patience. Gather quality materials, clean the windows thoroughly, and follow the steps methodically. Practice ensures a neat, professional finish. With consistent effort, you can achieve excellent results and save money.


