Absolutely, you can diy car window tint if you’re willing to put in some effort and follow the proper steps. However, it requires patience, attention to detail, and understanding of local laws. Doing it yourself can save money and give you a sense of accomplishment, but it’s essential to be prepared for potential challenges like bubbles or uneven application.
In short, yes, you can tint your car windows yourself, but success depends on careful preparation, choosing the right materials, and taking your time. If you’re comfortable with DIY projects and follow precise instructions, it can be a rewarding experience. Just keep in mind that some regions have regulations on tint darkness, so check local laws before starting.
Tinting your car windows yourself might sound simple, but it’s a task that demands precision and patience. Whether you’re looking to reduce glare, improve privacy, or just customize your ride, tackling this project can be appealing. DIY window tinting can be a cost-effective solution and a fun challenge for automotive enthusiasts. Still, it’s not without risks—improper application can lead to bubbles, creases, or uneven coverage that detracts from your vehicle’s appearance and may even be illegal. Before you dive in, consider the type of tint film, your experience level, and whether you’re comfortable handling tools and adhesives. With the right preparation and technique, you can achieve professional-looking results, but it’s important to weigh the effort involved against your expectations for the final look.
Can You DIY Car Window Tint? A Complete Guide to Tinted Windows at Home
Understanding Car Window Tinting and Its Popularity
Car window tinting has become a common choice for many vehicle owners. It offers benefits like blocking harmful UV rays, reducing glare, and increasing privacy. People often ask if they can do this project themselves instead of hiring professionals.
Deciding if DIY Car Window Tinting Is Right for You
Before starting, consider your skills and tools. Window tinting requires patience, steady hands, and some basic knowledge. If you enjoy hands-on projects and have a steady hand, DIY might be a good option.
Types of Window Tint Films Available for DIY Projects
There are several kinds of window tint films you can buy for DIY projects. The most common are:
- Dyed Window Tint: Affordable and simple to install but less durable.
- Metalized Window Tint: Blocks more heat and offers better durability but can interfere with electronic signals.
- Carbon Window Tint: Provides good heat rejection without interfering with signals and lasts longer.
- Ceramic Window Tint: The most advanced, offering the best heat rejection and UV protection, but also the most expensive.
Tools and Materials Needed for DIY Window Tinting
To successfully tint your car windows, gather the following items:
- Quality window tint film
- Sharp utility knives or X-Acto blades
- Squeegee or felt-edged application tool
- Spray bottles with water and a few drops of dish soap
- Microfiber cloths
- Lint-free towels
- Heat gun or hairdryer (optional but helpful)
Preparing Your Vehicle for Tinting
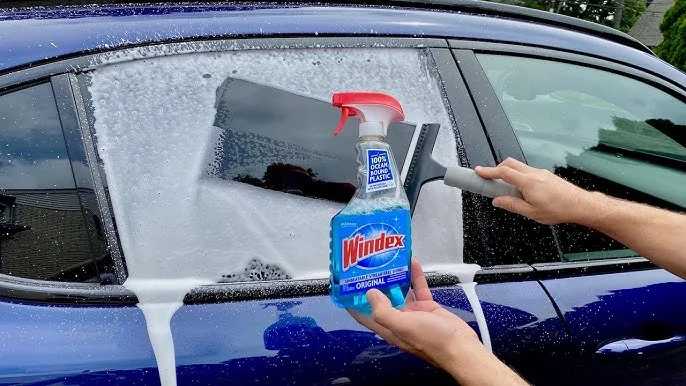
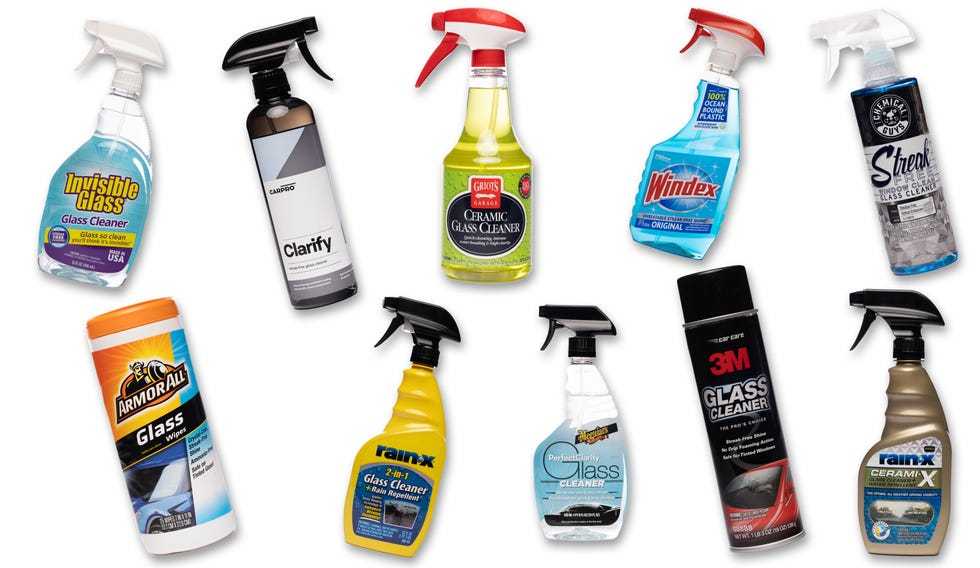
Preparation is key to a clean, professional-looking tint. Start by cleaning your car windows thoroughly. Use soap and water or a glass cleaner to remove dirt, grease, and dust. Dry the windows completely with microfiber cloths.
Measuring and Cutting the Tint Film
Measure each window precisely. Use a ruler or measuring tape to get the exact dimensions. Cut the tint film slightly larger than the window size to allow for trimming during installation. Be sure to label each piece for easy identification.
Applying the Tint Film — Step-by-Step
Step 1: Wet the Window Surface
Spray a mixture of water and dish soap onto the inside of the window. This helps the tint slide and positions easier during application.
Step 2: Peel Off the Backing
Carefully peel the protective backing from the tint film. Keep the adhesive side wet to prevent premature sticking.
Step 3: Position the Film
Place the tint film onto the wet window surface. Adjust its position as needed to align edges perfectly.
Step 4: Squeegee Out Bubbles and Excess Water
Use the squeegee to firmly press the film onto the window. Work from the center outward to remove air bubbles and water. Be gentle to avoid scratching the film.
Step 5: Trim Excess Film
Once the film is secured, use a sharp utility knife to carefully trim the edges for a perfect fit. Make sure to press the blade gently to avoid scratching the glass.
Step 6: Dry and Cure
Allow the film to dry completely. Avoid rolling down windows or rolling the car windows down for at least 24 hours to ensure the tint adheres properly.
Common Challenges and How to Overcome Them
Air Bubbles and Creases
Small air bubbles can be pressed out with a squeegee. Larger bubbles may require lifting the film slightly and reapplying.
Fingerprints and Dust
Work in a dust-free environment and keep your hands clean. If dust gets trapped, carefully lift the film to remove it and reapply.
Uneven Edges or Wrinkles
Take your time during trimming and smoothing. Use a heat gun to gently warm the film if wrinkles form, making it more pliable.
Legal Considerations for DIY Window Tint
Check your local laws about tint darkness and reflectivity levels. Each state or country has specific regulations. Failing to adhere can lead to fines or needing to remove the tint.
Pros and Cons of DIY Car Window Tinting
**Pros:**
- Cost-effective compared to professional services
- Flexibility to work on your schedule
- Learning experience and a sense of accomplishment
**Cons:**
- Potential for mistakes such as bubbles or uneven edges
- Risk of damage to your vehicle if not done correctly
- Possible legal issues if tinting is not within legal limits
Will DIY Car Window Tinting Last?
The durability of your tint depends on the quality of the film and how well you install it. High-quality films can last between 5 to 10 years with proper care. Follow cleaning instructions carefully to prolong its life.
Tips for a Professional Look When Doing It Yourself
– Work in a clean, dust-free environment.
– Use high-quality tint film suited for automotive use.
– Take your time during measurement, cutting, and application.
– Use plenty of water and a squeegee for a smooth finish.
– Follow the manufacturer’s instructions closely.
When to Seek Professional Help
If your vehicle has complex shapes or you’re unsure of your skills, professional tinting might be the better choice. Experienced installers can ensure a flawless finish, especially for large windows or curved surfaces.
Final Thoughts — Is DIY Car Window Tinting Worth It?
DIY window tinting can be a rewarding project for those willing to invest time and patience. It saves money and can give your car a sleek look. However, it requires attention to detail and careful work to achieve professional results. With the right tools and guidance, you can successfully tint your car windows and enjoy the benefits of a cooler, more private ride.
Learn Tint in 60 seconds #windowtint #tint #tintingwindows #glass #cars #diy #diycrafts #walmart
Frequently Asked Questions
What tools and materials do I need to install car window tint myself?
To successfully tint your car windows, gather supplies such as window tint film, a spray bottle with soapy water, a squeegee or plastic card, a utility knife, microfiber cloths, and gloves. Ensuring you have these tools will help you achieve a clean and professional-looking application.
Are there any legal considerations I should be aware of when tinting my car windows myself?
Yes, legal regulations vary by region regarding the allowable darkness and reflectivity of window tint. Before starting your DIY project, check your local laws to avoid fines or the need to remove the tint later. Staying within legal limits ensures you remain compliant on the road.
What are common mistakes to avoid during a DIY car window tint installation?
Common mistakes include not cleaning the windows thoroughly beforehand, applying the film with air bubbles or dust trapped underneath, and using excessive force during smoothing. Taking your time to prepare the surface properly and carefully applying the film helps prevent these issues.
How can I ensure the tint film adheres properly without bubbles or wrinkles?
To achieve a smooth finish, spray a generous amount of soapy water on the window before placing the film. Carefully position the tint, then use a squeegee or plastic card to press out air bubbles from the center outward. Patience and slow, deliberate movements help ensure a flawless application.
Can I remove or replace the tint if I make a mistake during installation?
Yes, if you notice imperfections or want to change the tint, you can peel off the film. Use a heat gun or hair dryer to soften the adhesive and gently lift the edges. After removal, clean the window thoroughly before attempting a new application. Remember to choose a time when the temperature is suitable for applying new tint.
Final Thoughts
In conclusion, ensuring the job is well done is key when considering if you can diy car window tint. While it may seem straightforward, proper tools and techniques are essential to achieve a professional finish. Improper application can lead to bubbles or peeling, which diminishes the tint’s effectiveness.
Ultimately, if you’re comfortable with detailed work and follow proper steps, DIY window tinting can be feasible. However, for best results, consulting experts might be wise. Remember, can you diy car window tint? Yes, but weigh the effort against potential challenges for optimal satisfaction.


