To tint your car windows, start by choosing the right type of tint film and ensuring you have all necessary tools. Carefully clean the windows, cut the film to fit, and apply it smoothly to avoid bubbles and creases. Finish by trimming excess film and using a squeegee to secure it properly in place.
Tinting car windows can enhance your vehicle’s look, protect your interior from sun damage, and offer added privacy. The process involves selecting the right tint, preparing the windows, and applying the film meticulously for a professional finish. It’s a task that requires patience and attention to detail but can be a rewarding DIY project if done correctly. Whether you’re aiming for a sleek appearance or increased comfort, understanding the steps will help you achieve a flawless tint job that lasts.
How Do You Tint Car Windows? A Complete Guide
Understanding the Basics of Window Tinting
Tinting car windows involves applying a thin film to the glass to reduce sunlight and heat inside your vehicle. This process not only enhances privacy but also protects your interior from sun damage. Before beginning, it’s important to know the different types of window tints and their benefits.
Types of Car Window Tints
There are several kinds of tint films you can choose from. Each type offers different levels of darkness, durability, and UV protection. The main options include:
- Dyed Window Tint: Affordable and effective for privacy, but less durable over time.
- Metalized Window Tint: Contains tiny metal particles for added strength and heat rejection.
- Carbon Window Tint: Provides excellent UV protection and doesn’t interfere with electronics.
- Ceramic Window Tint: The most advanced, offering superior heat rejection and optical clarity.
The Legal Limits for Car Window Tinting
Different states and countries have laws regulating how dark your tint can be. Most regulate the visible light transmission (VLT) percentage. For example, front windows might need at least 70% VLT, whereas rear windows can be darker. Always check local regulations before tinting your windows to avoid penalties.
Tools and Materials Needed for Tinting
To tint your car windows effectively, gather the following:
- Quality tint film suitable for automotive use
- Spray bottle filled with a mixture of water and a few drops of dish soap
- Utility knife or precision blade
- Rubber squeegee or tint application tool
- Microfiber cloths for cleaning
- Heat gun (optional but helpful for smoothing bubbles)
Preparing Your Vehicle for Tinting
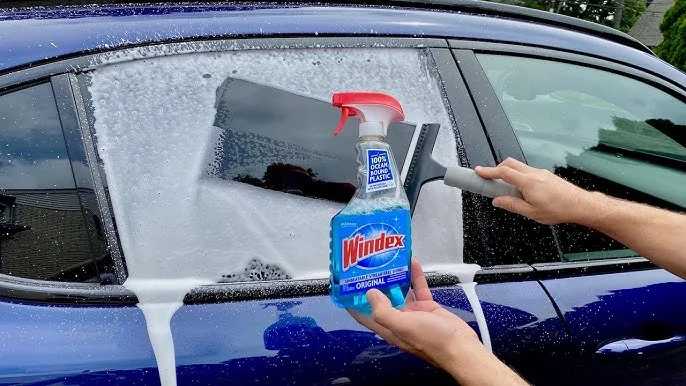
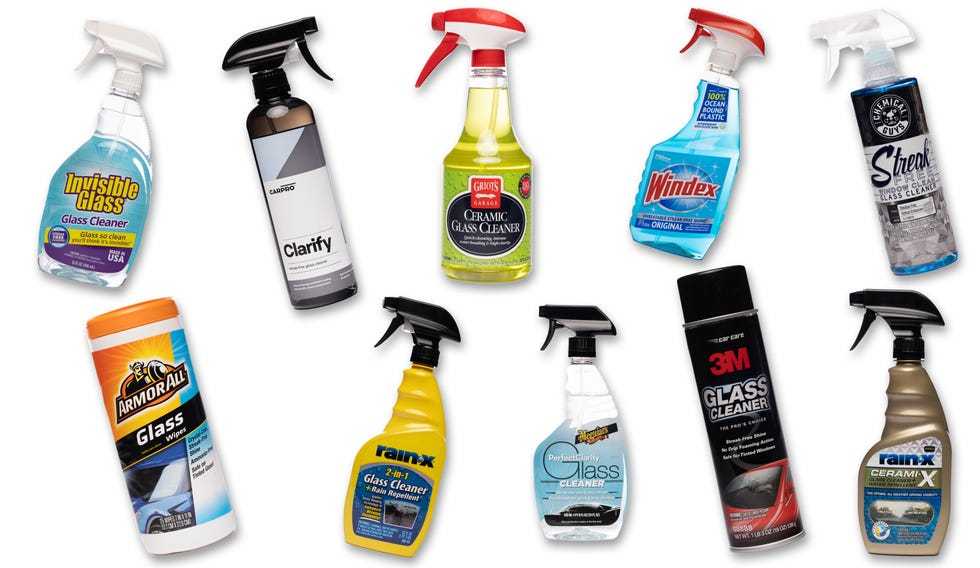
Start by cleaning the windows thoroughly. Use a microfiber cloth and glass cleaner to remove dirt, oil, and fingerprints. Any debris left on the glass can cause bubbles or imperfections in the tint. Make sure the surface is completely dry before applying the film.
Measuring and Cutting the Tint Film
Measure the dimensions of each window carefully. Then, cut the tint film slightly larger than the window size to allow for adjustments. Use a ruler and a marker or a dedicated tinting stencil for precise measurements. Cutting accurately helps minimize waste and ensures a cleaner look.
Applying the Tint Film Step-by-Step
Applying tint film involves careful steps to avoid air bubbles and creases. Follow these instructions:
- Spray the window with the soapy water mixture to dampen the surface.
- Peel the backing off the tint film carefully, exposing the adhesive side.
- Position the film on the wet window, starting from the top and letting it adhere naturally.
- Use the squeegee to press out water and air bubbles, working from the center outward.
- Trim excess film with a utility knife for a perfect fit.
- Use a heat gun to gently warm the film, helping it conform to the glass curves.
Handling Common Challenges During Tinting
While applying tint, you may encounter issues such as bubbles, creases, or misalignment. To fix bubbles, gently lift the film and reapply, pressing out air with the squeegee. For creases, carefully reheat the area and smooth it out. Patience is key to achieving a professional-looking finish.
Drying and Curing Time for the Tinted Windows
After applying the tint, allow it to dry undisturbed for at least 24 hours. During this period, avoid rolling down windows or exposing the car to excessive moisture. Proper curing ensures the adhesive bonds evenly and prevents premature peeling or bubbling.
Cleaning and Maintaining Tinted Windows
To keep your tinted windows looking their best, clean them regularly with a soft cloth and a mild, ammonia-free glass cleaner. Avoid abrasive scrubbers or harsh chemicals that can damage the tint film. Always wash your car in a shaded area to minimize streaks and water spots.
Professional Tinting vs DIY Tinting
While DIY tinting can save money, professional installation offers several advantages. Experts have experience and specialized tools to ensure a flawless finish. If you’re new to tinting, consider consulting a professional to avoid costly mistakes and achieve the best results.
Cost of Tinting Car Windows
The price for tinting varies based on the type of film, vehicle size, and whether you hire a professional. DIY kits can cost between $50 and $150, while professional jobs typically range from $200 to $600. Remember, investing in quality materials results in longer-lasting and more effective tinting.
Additional Tips for a Successful Tint Job
Here are some useful pointers:
- Work in a dust-free, shaded environment to prevent debris from sticking to the film.
- Take your time measuring, cutting, and applying for the best results.
- Use a heat gun carefully to help contour the film to curved windows.
- Follow manufacturer instructions specific to your tint film for optimal adhesion.
- Practice patience; a slow, careful application leads to a better finish.
Related Topics: Enhancing Your Vehicle’s Privacy and Comfort
Beyond window tinting, consider other modifications such as:
- Installing window visors or deflectors
- Adding UV protective films for interior preservation
- Using privacy screens or curtains for additional privacy
Tinting car windows can improve your driving experience by providing privacy, reducing heat, and shielding your interior from sun damage. With the right tools, patience, and attention to detail, you can achieve professional-looking results whether you choose to do it yourself or hire a professional. Remember to always check your local laws to ensure compliance and enjoy the benefits of well-installed window tinting.
Learn Tint in 60 seconds #windowtint #tint #tintingwindows #glass #cars #diy #diycrafts #walmart
Frequently Asked Questions
What tools do I need to tint my car windows at home?
To tint your car windows effectively, gather essential tools such as a spray bottle filled with a mixture of water and a few drops of dish soap, a squeegee or plastic card for smoothing out the film, a utility knife or scissors to trim excess material, a clean microfiber cloth for wiping, and a heat source like a hairdryer or heat gun to help mold the film. Having these tools on hand makes the application process smoother and helps achieve a professional finish.
How can I ensure the tint film adheres smoothly without bubbles?
Start by thoroughly cleaning the window surface with a glass cleaner to remove dust and grease. Carefully spray the window and the adhesive side of the tint film with your soapy water mixture to prevent sticking during application. As you position the film, use a squeegee or plastic card to press out any air pockets, working from the center outward. If bubbles appear, gently lift the film and reapply, smoothing out wrinkles as you go. Using a heat source can help mold the film to the window and eliminate stubborn bubbles.
What is the best way to cut the tint film to fit my car windows?
Measure your windows precisely before cutting the tint film, leaving a slight margin around the edges for adjustments. Place the film on a flat, clean surface and use a sharp utility knife or scissors to cut according to your measurements. For curved or irregularly shaped windows, gently bend the film to match the contours before trimming. Double-check the fit before peeling off the backing paper to avoid mistakes that could waste material or result in improper coverage.
How long should I wait before rolling down my windows after tint application?
Allow the tint to cure fully by avoiding rolling down the windows for at least 24 to 48 hours after installation. During this period, keep the windows closed and avoid washing the car or exposing it to extreme temperatures. Proper curing helps the adhesive set properly, preventing the film from peeling or bubbling over time. If necessary, refer to the manufacturer’s instructions for specific curing times based on the type of tint film used.
Can I apply tint film on tinted windows already, or do I need to remove the old tint first?
If your windows already have tint, you should remove the old film before applying a new layer. Old tint can bubble, peel, or cause uneven adhesion for the new film, leading to imperfect results. Carefully peel off the existing tint using a heat gun to loosen the adhesive, then clean the window thoroughly with a glass cleaner. Removing the previous tint ensures a smooth surface and better adhesion for the new tint, resulting in a cleaner, more professional look.
Final Thoughts
To tint car windows, start by cleaning the glass thoroughly to remove dirt and grease. Measure the window and cut the tint film slightly larger than needed. Apply the film carefully, smoothing out bubbles with a squeegee for a clean finish.
In conclusion, how do you tint car windows? It involves careful preparation, precise cutting, and smooth application. With patience, you can achieve professional-looking results and enjoy a cooler, more private ride.


