To apply car window tint like a pro, start by thoroughly cleaning your windows, then carefully cut the tint film to size, spray the window with a squeegee-friendly solution, and smoothly apply the film to avoid bubbles. Use a steady hand and patience to ensure a flawless finish.
Applying car window tint might seem daunting, but with a bit of preparation and patience, you can achieve professional-looking results yourself. First, clean your windows meticulously to remove dirt and grease. Next, measure and cut the tint film accurately to fit each window. Spray the window with a solution to help position the film easily, then carefully apply the tint, smoothing out bubbles with a squeegee. Finish by trimming excess film and allowing the tint to cure. This straightforward process can save you money while giving your vehicle a sleek, stylish upgrade.
How to Apply Car Window Tint: A Step-by-Step Guide
Applying car window tint can seem tricky at first, but with careful steps and patience, you can do it yourself. This process improves your vehicle’s look, privacy, and helps block harsh sunlight. Below, we break down everything you need to know about how to apply car window tint successfully.
Gathering Your Tools and Materials
Before starting, collect all necessary supplies to make the process smoother. You will need:
- High-quality window tint film
- Spray solution with water and a few drops of dish soap
- Squeegee or plastic card
- Utility knife or precision cutter
- Microfiber cloths
- Lint-free cloth or paper towels
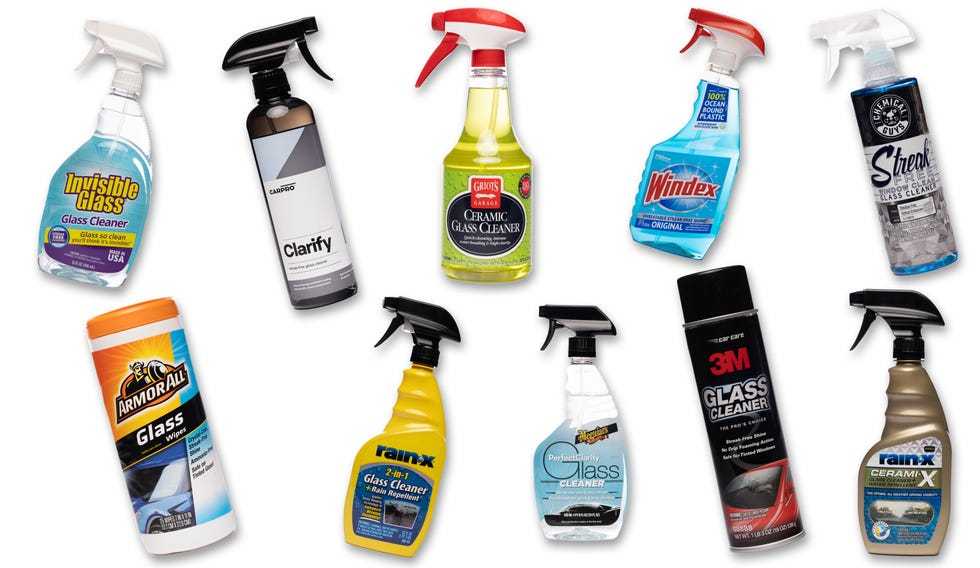
- Glass cleaner and isopropyl alcohol
- Masking tape
This kit ensures you have everything to complete the tinting process properly. Using good quality materials can make your window tint last longer and look better.
Preparing Your Vehicle and Workspace
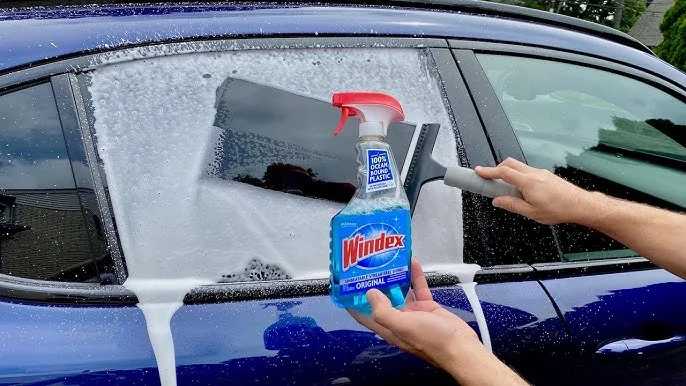
Start by parking your car in a shaded, dust-free area. Clean the windows thoroughly with glass cleaner and a lint-free cloth to remove dirt, grease, and fingerprints. This step helps prevent bubbles and imperfections later.
Make sure your workspace is well-lit and free of dust. If possible, work indoors or in a garage with controlled dust levels. Remove any belongings from inside the car that could interfere with the window area.
Measuring and Cutting the Tint Film
Use a measuring tape to determine the size of each window. Add a small extra margin of about 1 to 2 inches to ensure complete coverage. Lay the tint film on a clean flat surface.
Cut the film along your measurements, leaving extra edges for adjustments. Use a utility knife for precise cuts. Label each piece to match the corresponding window for an easier application process.
Wet the Windows for Easier Installation
Spray the window generously with your water and soap solution. This lubrication allows you to position the tint film without it sticking immediately. It also helps in smoothing out bubbles.
Ensure the entire glass surface is covered, especially the edges. Keep the solution handy since you’ll need to rewet the window as you work.
Applying the Tint Film to the Windows
Carefully peel the backing from the cut tint film. Keep the sticky side moist with the spray solution to prevent it from sticking prematurely. Align the film with the top edge of the window.
Gently place the film on the glass, starting from the top and working down. Use your squeegee or plastic card to press out air bubbles and excess water from the center toward the edges.
Smoothing Out Air Bubbles and Water
Start from the middle of the film and push bubbles outward. For stubborn bubbles, lift the film slightly, reapply the spray solution underneath, and smooth again. Patience here ensures a clean, bubble-free finish.
Work slowly and methodically, paying attention to corners and edges. Take your time to prevent tearing or misalignment.
Trimming Excess Tint and Sealing Edges
Once the film is smoothed and aligned, use a utility knife to trim away excess material along the edges of the window. Hold the blade at a slight angle, working carefully to avoid scratching the glass.
After trimming, press down the edges firmly with your squeegee. To seal, run the blade along the edges to ensure the film is securely adhered. Adding a small amount of water solution can help in sealing the edges further.
Drying and Curing Time
Allow the tint to dry and cure for at least 24 hours. Avoid rolling down windows or washing the car during this period to prevent damaging the tint. Proper curing ensures the film adheres securely and reduces the risk of peeling.
If your tint includes a heat-repair process, follow manufacturer instructions carefully to finalize the application.
Cleaning and Post-Installation Care
After the curing period, clean the windows with a gentle glass cleaner and microfiber cloth. Use light pressure to avoid disturbing the tint film.
Avoid abrasive cleaners or scrubbing pads. Regular maintenance keeps your window tint looking new and prevents damage over time.
Common Mistakes to Avoid
Keep these points in mind to ensure a smooth application:
- Applying tint in direct sunlight can cause premature drying and bubbling.
- Not cleaning the windows thoroughly leads to trapped dirt and bubbles.
- Using low-quality tint film may result in peeling or bubbling over time.
- Rushing the trimming process can cause uneven edges and water leaks.
Patience and careful attention to detail make a big difference in the final look.
Tips for a Professional-Looking Finish
For a polished result:
- Work slowly, and don’t rush any step.
- Keep the tint film and windows moist during installation.
- Use a plastic scraper or squeegee with a felt edge to prevent scratches.
- Check your work in different lighting to spot missed bubbles or wrinkles.
Following these tips guarantees a sleek, professional appearance.
Additional Considerations
When applying car window tint, always check local regulations regarding tint darkness. Ensure your tint complies with legal standards to avoid fines.
Additionally, consider professional installation if you are unsure or want perfect results. Professional tinting often guarantees longer-lasting and flawless finishes.
Applying car window tint yourself can be rewarding with patience and practice. Following these detailed steps will help ensure your tinted windows look great and last a long time.
How to Tint a Window (UNDER 5 MINUTES)
Frequently Asked Questions
What are the best steps to ensure the window surface is properly prepped before tinting?
Start by thoroughly cleaning the car windows using a mixture of alcohol and water to remove dirt, grease, and any residues. Use a lint-free cloth or a microfiber towel to wipe the surface gently, ensuring no dust or particles remain. If necessary, apply a glass cleaner and wipe again to achieve a spotless surface. Proper preparation creates a smooth surface that allows the tint to adhere evenly and reduces bubbles or imperfections.
How can I prevent bubbles and creases during the application process?
To prevent bubbles and creases, work slowly and methodically. Use a squeegee or a tinting tool to press out air from the center of the film toward the edges, maintaining even pressure. Keep the tinting film moist with a spray solution to allow movement during placement. Take your time adjusting the film before final smoothing to ensure it adheres correctly without trapping air pockets. Also, work in a dust-free environment to minimize debris under the film.
What techniques should I use for trimming excess tint around the window edges?
Use a sharp utility knife or a professional tinting tool to carefully trim the excess film along the window’s edges. Press the film firmly against the glass and cut in a steady, continuous motion to avoid jagged edges. Make sure to follow the contours precisely, paying attention to corners and curves. After trimming, use a clean cloth to remove any adhesive residue, and re-smooth the edges with your squeegee to ensure a seamless finish.
Are there special tips for applying tint on curved or beveled windows?
Yes, applying tint on curved or beveled surfaces requires extra care. Use a wet application method, keeping the film moist to improve flexibility. Gently stretch and mold the film around the curves, working slowly to avoid tearing. Use your fingers or a soft tool to press the film into tight spots, ensuring it conforms closely to the shape. Patience and precise trimming help achieve a professional look on complex surfaces.
What maintenance steps should I follow after successfully applying car window tint?
Allow the tint to cure for a few days before cleaning, avoiding harsh chemicals or abrasive materials. When cleaning, use a mild soap solution and a soft cloth to wipe the windows gently. Avoid using ammonia-based cleaners, as they can damage the tint. Regular maintenance helps preserve the tint’s appearance and adhesive qualities, extending its lifespan and ensuring continued effectiveness.
Final Thoughts
To apply car window tint effectively, start by cleaning the window thoroughly to remove dirt and grease. Measure and cut the tint film to fit each window precisely. Carefully peel the adhesive backing and apply the film, smoothing out bubbles with a squeegee.
To ensure a clean finish, trim any excess film and use a utility knife for precise edges.
In conclusion, knowing how to apply car window tint simplifies the process and delivers professional results. Follow these steps for a smooth application and enjoy a sleek, tinted look on your vehicle.


