To DIY car window tint, start by cleaning your windows thoroughly, then cut your tint film to size, apply a soapy water solution to help with positioning, and carefully smooth out air bubbles as you adhere the film. With patience and the right tools, you can achieve a professional-looking tint at a fraction of the cost.
Applying your own car window tint is a cost-effective way to enhance privacy, reduce glare, and keep your car cooler. The process may seem daunting at first, but with some careful preparation, patience, and a steady hand, you can master this DIY project. It’s all about choosing the right film, ensuring your windows are spotless, and working slowly to prevent bubbles and creases. Whether you’re looking for a subtle tint or a darker shade for more privacy, this guide will walk you through the steps to get a smooth, professional finish right at home.
How to DIY Car Window Tint: A Step-by-Step Guide
Tinting your car windows yourself can save you money and give your vehicle a fresh new look. Proper installation also provides better privacy, keeps the interior cooler, and protects against UV rays. This guide will walk you through each step to help you successfully complete your DIY window tint project.
Understanding Different Types of Car Window Tint
Before starting, it’s important to know the different types of window tinting films available. The main types include dye-based, metalized, carbon, and ceramic tints. Each type offers unique benefits like durability, heat rejection, and UV protection.
- Dye-based tint: Affordable but may fade over time.
- Metalized tint: Reflects heat well but can interfere with signals.
- Carbon tint: Offers excellent UV protection and won’t fade.
- Ceramic tint: Provides top performance with high heat rejection and UV blocking, but is more expensive.
Gathering Your Tools and Materials
Proper tools make the tinting process smoother and result in a better finish. Here’s what you’ll need:
| Tools | Description |
|---|---|
| Spray bottle | Filled with a mixture of water and a few drops of dish soap for wetting surfaces |
| Squeegee or plastic card | To remove air bubbles and smooth out the film |
| Utility knife or razor blade | For trimming excess film |
| Microfiber cloths | For cleaning and drying surfaces without scratching |
| Heat gun or hairdryer | Helps to mold the film around curves |
| Measuring tape and marker | To measure and mark cut lines on the film |
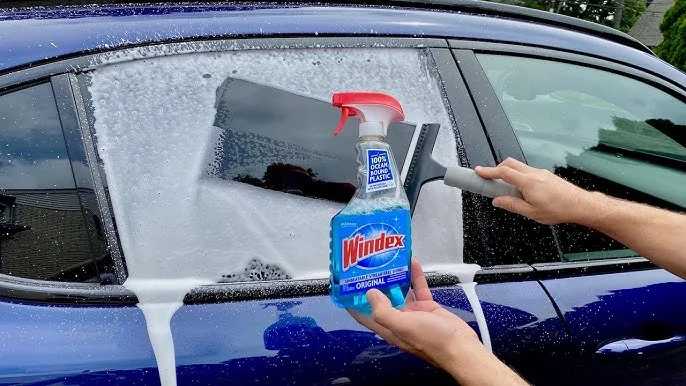
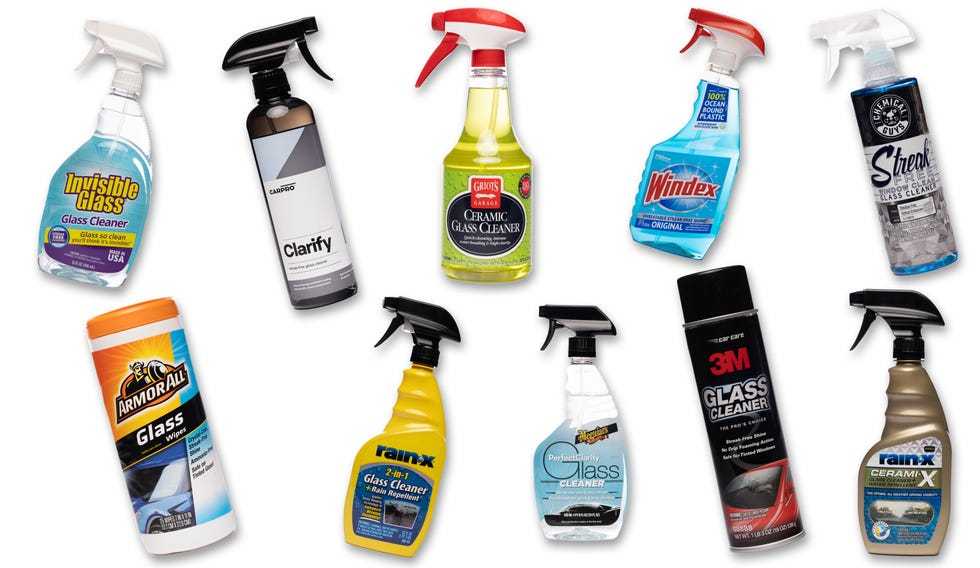
| Glass cleaner and paper towels | To thoroughly clean the windows before applying tint |
Preparing Your Vehicle and Workspace
Choose a clean, dust-free area with good lighting for tinting. Park your vehicle indoors or in a shaded spot to avoid dirt and debris. Clean each window thoroughly to remove dirt, grease, and any previous tint residue.
Use the glass cleaner and microfiber cloth to wipe down the windows. Make sure all dirt and oils are removed, as they can cause bubbles or imperfections.
Measuring and Cutting the Tint Film
Measure each window accurately with your measuring tape. Add an extra inch on all sides to allow for trimming and adjustments. Place the film on a flat surface and cut it to size using your utility knife or scissors.
Label each piece if you are tinting multiple windows to keep track of the correct cut for each.
Wet Application Process
Spray the window with the water-soap mixture generously. This allows for easier positioning of the film. Peel the backing off the tint film carefully, exposing the adhesive side.
Place the film onto the wet window, starting from the top and working downward. Use your hands or squeegee to gently smooth out the film and remove air bubbles. Keep the film wet during this entire process to prevent sticking prematurely.
Smoothing and Adjusting the Film
Once the film is positioned, use your squeegee to push out excess water and air bubbles. Start from the center and work toward the edges. If the film shifts, carefully lift and reposition it while wet.
For curved windows, gently heat the film with a heat gun or hairdryer to make it more flexible. Be cautious not to overheat, which could damage the film or glass.
Trimming Excess Tint and Final Touches
Allow the film to dry just enough so it sticks to the surface, but remains pliable. Use your utility knife or razor blade to trim off any excess film along the edges of the window for a clean finish.
Double-check the edges and smooth out any remaining bubbles or wrinkles. If bubbles persist, poke a tiny hole with the needle and smooth out the air.
Curing and Caring for Your Tinted Windows
Let the tint cure for at least 24 to 48 hours without rolling down the windows. During this period, avoid washing the windows or exposing them to excessive moisture. After curing, use a soft cloth to clean the tinted surfaces gently.
To maintain the tint’s appearance, wash your vehicle with a mild soap and water. Avoid abrasive cleaners or rough sponges that can scratch the film.
Additional Tips and Common Mistakes to Avoid
- Work in a dust-free environment to prevent particles from settling under the film.
- Use plenty of water during application to allow adjustability and bubble removal.
- Don’t rush the trimming process—measure twice, cut once.
- Avoid applying tint on hot, sunny days to prevent premature drying and bubbling.
Common mistakes include applying film on dirty windows, rushing through the trimming, and not allowing enough curing time. Taking your time and following each step carefully results in a professional-looking finish.
Related Topics for Better Results
- Choosing the right tint percentage: How visible you want the tint to be from outside.
- Legal considerations: Understanding tint laws in your area to avoid fines.
- Temperature and humidity: Best conditions for applying window tint.
- How to remove old tint: Step-by-step guide if you need to strip previous film before re-tinting.
- DIY versus professional tinting: Pros and cons of each approach.
By following these detailed steps and tips, you can successfully tint your car windows yourself. Remember, patience and careful work are key to achieving a professional-looking result that enhances your vehicle’s appearance and functionality.
Learn Tint in 60 seconds #windowtint #tint #tintingwindows #glass #cars #diy #diycrafts #walmart
Frequently Asked Questions
What tools do I need to properly apply car window tint myself?
To successfully tint your car windows, gather essential tools such as a squeegee or plastic scraper, a sharp utility knife or blade, a spray bottle filled with soapy water, a microfiber cloth, and a heat gun or hairdryer. These tools help you position the film accurately, remove excess moisture, and eliminate bubbles for a smooth finish.
How can I prevent air bubbles from forming during the application process?
To avoid air bubbles, ensure that you clean the window thoroughly before applying the film. Use the soapy water spray to loosen dirt and allow you to slide the tint into place. As you apply the film, use the squeegee to push out air and excess water from the center outward. Working slowly and patiently minimizes the chances of trapping air beneath the tint.
What is the best way to cut the tint film to match my car windows?
Measure your window dimensions accurately and cut the tint film slightly larger than the window itself. Lay the film on a clean, flat surface and use a straight edge and a sharp utility knife to trim it to the right size. For complex shapes or curves, cut the film carefully with smaller cuts and adapt it to the contours of your window during installation.
How do I handle curved or irregular window shapes when tinting myself?
Work slowly by heating the tint slightly with a heat gun or hairdryer to make it more pliable. Gently stretch and conform the film to the curves, taking care not to tear or distort it. Use your fingers or a squeegee to smooth out wrinkles, and trim excess material as needed to ensure a tight, clean fit around irregular shapes.
What tips can help me achieve a professional look when applying DIY car window tint?
Start with clean, dry windows and work in a dust-free environment. Take your time during application, ensuring the film is properly aligned before pressing it down. Use a steady hand and apply consistent pressure with the squeegee to remove bubbles and water. Finish by heating the edges gently to help the tint adhere securely and look seamless.
Final Thoughts
To diy car window tint effectively, gather the right tools and materials like tint film, a squeegee, and utility knife. Clean the windows thoroughly to prevent bubbles and imperfections. Carefully cut the film to fit your windows and apply it using steady, smooth strokes.
Proper preparation and patience make the process easier and ensure a professional look. Conclude by noting that the key to successful application lies in precision and practice. How to diy car window tint becomes straightforward when you follow these steps carefully.


