To fix car window tinting film quickly, start by carefully cleaning the window and then reapplying the film with a steady hand and some patience. Using a squeegee and a heat gun can help smooth out bubbles and wrinkles, ensuring a professional-looking finish.
If your tinting film has bubbling, peeling, or creasing, the best fix is to carefully remove the damaged section, clean the area thoroughly, and reapply the film smoothly. For minor issues like small bubbles, gentle heat and pressure can often do the trick without the need for complete removal.
Getting your window tint looking flawless doesn’t have to be a headache. When problems arise, the key is patience and proper technique—clean thoroughly, work slowly, and use the right tools. Whether you’re fixing small bubbles or replacing sections, knowing how to handle the tint properly can save you money and keep your car looking sharp. Just remember, a little careful effort goes a long way in restoring your vehicle’s sleek appearance.
How to Fix Car Window Tinting Film
Understanding Common Issues with Car Window Tinting
Car window tinting film can develop problems over time. Common issues include bubbling, peeling, cracking, and discoloration. Recognizing these problems early helps prevent further damage and ensures your vehicle looks great.
Tools and Materials Needed for Repair
Before fixing your tint, gather essential tools such as a spray bottle with soapy water, a plastic squeegee or scraper, a utility knife, clean microfiber cloths, and replacement tint film if necessary. Using quality materials makes the repair process smoother.
Assessing the Damage
Inspect the affected window to identify the type of problem. Is there bubbling? Peeling edges? Cracks or discoloration? Determining the cause helps you choose the best repair method and decide whether to patch or replace the film.
Removing Damaged Tint Film
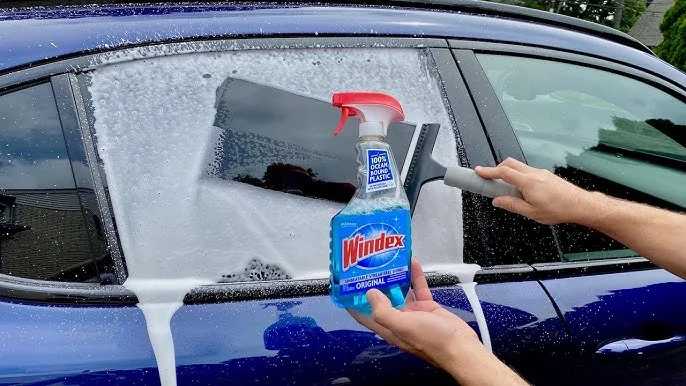
Start by cleaning the window with a glass cleaner to remove dirt. Spray the window with soapy water to loosen the film. Use a utility knife or scraper carefully to peel off damaged sections, working slowly to avoid scratching the glass. Be cautious not to damage the window surface.
Preparing the Surface for New Tint
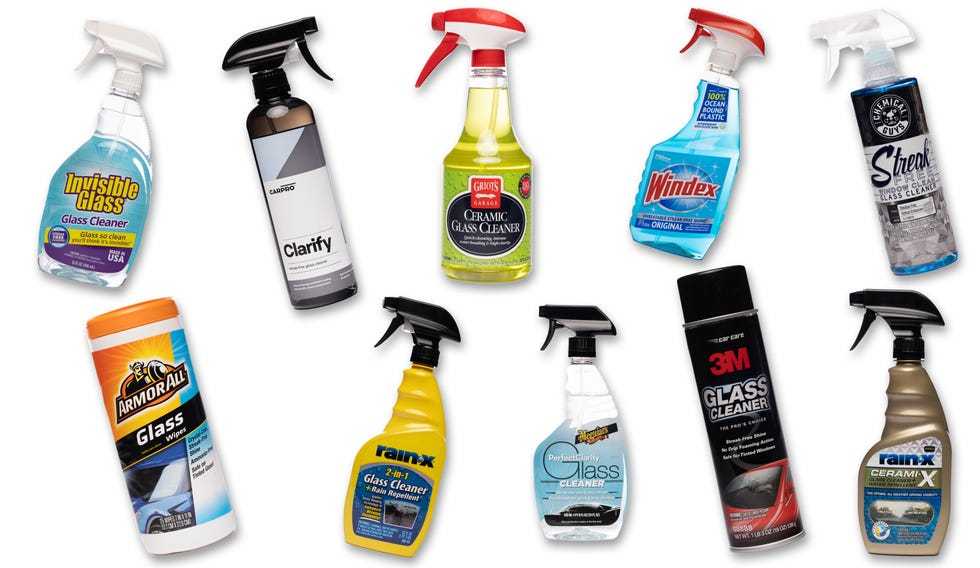
After removing the old film, clean the glass thoroughly with a mixture of vinegar and water or a commercial glass cleaner. Wipe with a microfiber cloth to remove any adhesive residue or dust. A smooth surface ensures the new film adheres properly.
Applying New Window Tint Film
Cut the new tint film to match your window’s size, leaving a small margin for adjustments. Spray the window with a generous amount of soapy water to facilitate positioning. Carefully peel the backing from the tint film and lay it on the wet glass, smoothing out air bubbles with a squeegee from the center outward.
Dealing with Air Bubbles During Installation
If bubbles appear, gently lift the film and reapply, using the squeegee to push out air. Small bubbles may resolve over time, but stubborn ones can be punctured with a pin and smoothed out. Patience during application helps achieve a professional finish.
Fixing Peeling and Bubbling Areas
For areas where the film is peeling, lift the edges gently and reapply the film with extra pressure. Use a heat gun on a low setting to soften the adhesive if needed. For persistent bubbles, create a small hole and press out trapped air with the squeegee.
Addressing Cracks and Discoloration
Cracks and discoloration usually indicate the need for a complete replacement. Do not attempt to repair cracked film, as it will not adhere properly and may compromise your privacy and UV protection. Replace the film entirely for the best results.
Using Heat to Repair or Adjust Tint Film
A heat gun or hairdryer can help mold the film to curved surfaces or smooth out minor imperfections. Hold the heat source at a safe distance to avoid overheating the film or glass. Carefully heat and press the film using the squeegee for a snug fit.
Tips for Maintaining and Preventing Future Damage
Regular cleaning with gentle solutions and a soft cloth keeps the tint looking fresh. Avoid using abrasive cleaners or scrubbing vigorously. Park in shaded areas when possible to prevent heat-related damage and peeling.
When to Seek Professional Help
If your tint has extensive damage or you’re unsure about DIY repairs, a professional tinting service can provide expert fixes. Professionals use specialized tools and techniques to ensure a flawless finish, especially for complex curves and large windows.
Additional Tips for a Successful Fix
- Work in a dust-free environment to prevent particles from sticking under the film.
- Use plenty of soapy water during installation to allow easy repositioning.
- Be patient and take your time to avoid mistakes that could worsen the damage.
Related Topics
- Best window tinting films for UV protection
- Legal restrictions on window tint darkness in different regions
- Benefits of professional versus DIY tinting repair
- How to choose high-quality tint film for durability
By understanding the common issues, using the right tools, and following detailed steps, fixing car window tinting film becomes manageable. Proper maintenance and careful handling help your tint last longer and keep your vehicle looking sharp. Remember, patience and attention to detail are key to achieving a professional-looking repair on your own.
Learn Tint in 60 seconds #windowtint #tint #tintingwindows #glass #cars #diy #diycrafts #walmart
Frequently Asked Questions
How can I remove air bubbles from the tint film after installation?
To eliminate air bubbles, gently press on the bubbles with a squeegee or a credit card wrapped in a microfiber cloth. Start from the center of the bubble and push outward to force the air out towards the edges. If the bubbles are persistent, you can create a small pinhole with a needle to release trapped air, then smooth the film with the squeegee. Applying a little water or tinting solution around the area can also help facilitate smooth adjustments without tearing the film.
What steps should I take if the tint film starts to peel at the edges?
When the edges begin to peel, first clean the area with a mild adhesive remover or alcohol to ensure no dirt or grease is causing poor adhesion. Carefully lift the peeling edge using a plastic scraper or fingernail, then apply a small amount of tint adhesive or clear double-sided tape underneath. Press down firmly and smooth out the edge to secure the film back in place. To prevent further peeling, avoid rolling down the window immediately or exposing it to high heat for a couple of days after fixing.
How do I repair small scratches or tears in the tinted film?
For minor scratches or tears, use a piece of clear heat-resistant tape or a specialized tint repair patch. Cut a small piece slightly larger than the damage and carefully stick it over the affected area, pressing out any air bubbles. If the tear is more significant, consider reapplying a patch of tint film over the damaged section, trimming the new piece to fit precisely, and using a high-quality adhesive to bond it securely. Be cautious to avoid damaging adjacent areas during the repair process.
What is the proper way to reapply tint film if I need to replace a section?
To reapply a section of tint film, first remove the damaged portion completely. Clean the surrounding area thoroughly with alcohol or a cleaning solution to remove any adhesive residue. Cut a new piece of tint film slightly larger than the area to ensure full coverage. Spray the window and the adhesive side of the new film with a tinting solution or water to ease placement. Carefully align the new section, press it down gently, and use a squeegee to remove any air bubbles or excess solution. Allow the adhesive to set without rolling down the window immediately to achieve the best bond.
How can I prevent a new tint film from peeling or bubbling over time?
To prevent issues with your tint film, ensure the installation process is thorough, keeping the surface clean and free of dust or grease. Avoid rolling down the windows or exposing the car to extreme heat for at least a few days after installation. Regularly clean the tinted windows with gentle cleaning solutions, avoiding abrasive materials that could damage the film. If you notice signs of peeling or bubbling early, address them promptly to restore adhesion and prevent further deterioration.
Final Thoughts
To fix car window tinting film, start by cleaning the affected area with a mild solution to remove dirt and debris. Carefully peel back the damaged section, ensuring not to tear the film further. Then, cut a new piece to match the size of the peeled area and apply it smoothly using a squeegee. If you follow these steps precisely, you can restore your tint efficiently. Remember, knowing how to fix car window tinting film saves time and money while maintaining your vehicle’s appearance.


