To get your car windows tinted quickly and effectively, start by choosing a reputable tinting service or decide if you want a DIY kit. Ensure you understand the legal restrictions in your area regarding tint darkness. The process involves selecting the right type of tint, preparing your vehicle, and either letting professionals handle the installation or following proper DIY steps carefully.
Getting your car windows tinted can significantly enhance your vehicle’s appearance, reduce glare, and protect your interior from UV damage. Whether you’re seeking a professional installation or considering a DIY approach, understanding the process, legal regulations, and choosing the right tint are key. The first step is to research local laws and find a reliable tinting professional or gather quality materials if going the DIY route. Proper preparation and application ensure a sleek, long-lasting finish that boosts both style and comfort.
How to Get Car Windows Tinted
Understanding Car Window Tinting Basics
Getting your car windows tinted is a popular choice for many vehicle owners. It helps reduce glare, keeps the interior cooler, and provides privacy. Before you start, it’s important to understand the different types of tint films available.
There are mainly three types: dyed, metalized, and ceramic films. Dyed films are affordable and block some heat and UV rays but may fade over time. Metalized films reflect heat better and add durability but can interfere with electronic signals. Ceramic films are high-end options that offer excellent heat rejection and UV protection without signal interference.
Legal Regulations and Tinting Laws
Every state or country has rules about how dark your window tint can be. These laws specify the minimum visible light transmission (VLT) percentage. For example, some states allow only light tints on front windows while permitting darker tints on rear windows.
Violating local tint laws can lead to fines, required removal, or vehicle inspection issues. To avoid problems, research your area’s specific regulations before choosing a tint darkness level. Usually, official government websites or local DMV offices provide this information.
Choosing the Right Tint Shade for Your Car
Selecting the correct tint shade is essential for both aesthetics and legality. Consider how much sunlight you want to block and how much privacy you desire.
Most tint films range from 5% (very dark) to 70% (light). For the front windshield, most laws restrict tinting to a narrow strip near the top, called a “sun strip.” For side windows, darker tints are often permitted on the rear but not on front doors.
Evaluate your preferences alongside legal limits. A good rule is to choose a tint that balances privacy, heat reduction, and compliance.
Preparing Your Vehicle for Tinted Windows
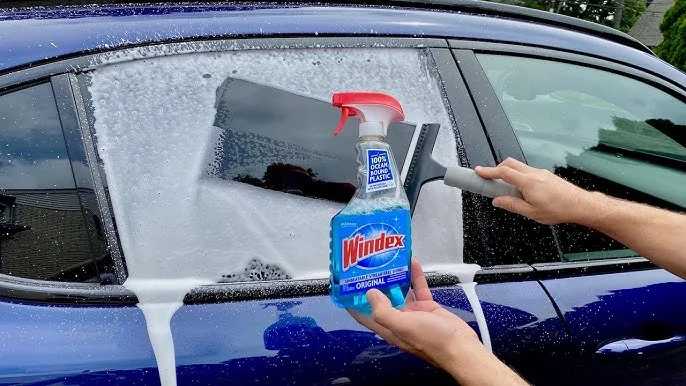
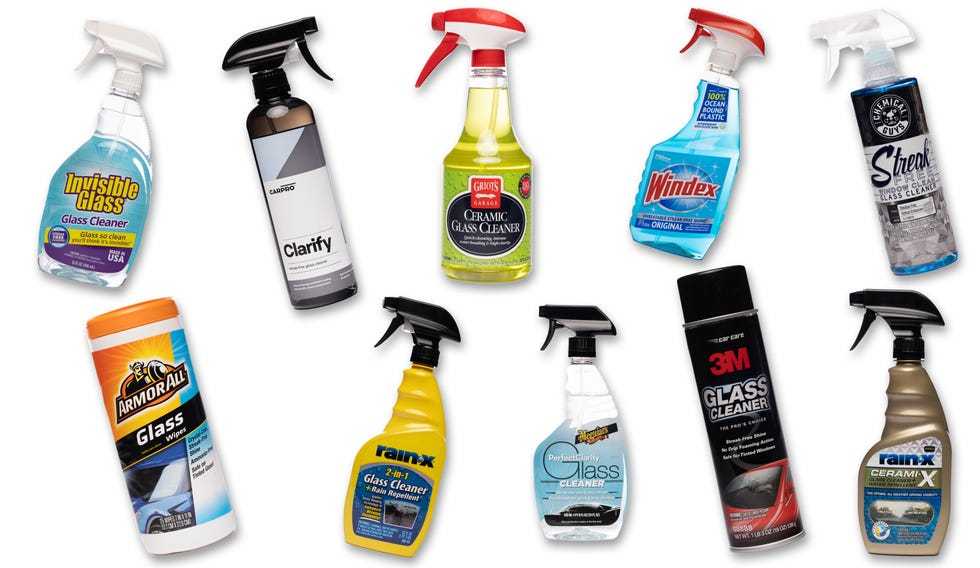
Proper preparation ensures a smooth installation process. Start by thoroughly cleaning all windows with a glass cleaner and a microfiber cloth. Remove any dirt, oil, or debris that could cause bubbles or imperfections.
Next, if your windows have existing tint, adhesive residue, or stickers, remove them. Use a razor blade carefully to scrape off old tint carefully. Some spots may need cleaning with a specialized adhesive remover.
Finally, ensure the temperature inside and outside your vehicle is warm but not too hot. Optimal conditions help the tint adhere properly and prevent bubbles.
Deciding Between DIY Tinted Window Films and Professional Installation
You can choose to tint your windows yourself or hire a professional. DIY kits are widely available and usually cheaper than professional services. They come with detailed instructions and all necessary tools.
However, professional installation often results in cleaner, more even tinting. Experts have experience working with different films and can handle tricky areas like curves and corners. They also typically offer warranties, which protect you against bubbling, peeling, or fading.
Consider your budget, skill level, and the importance of a flawless appearance when making this decision.
DIY Window Tinting: Step-by-Step Guide
If you opt for DIY tinting, follow these steps carefully:
- Gather all supplies: tint film, spray solution, razor blades, squeegee, and a heat gun.
- Remove any existing tint or stickers from the windows.
- Lay the window film on a clean, flat surface to measure and cut it slightly larger than the window.
- Spray the window with a solution to prevent sticking during application.
- Remove the protective backing from the tint film and carefully place it on the window.
- Use a squeegee to smooth out air bubbles, starting from the center toward the edges.
- Trim excess film using a razor blade for a clean edge.
- Apply heat with a heat gun if needed to conform the film to curves.
- Allow the film to dry and cure for several days before rolling down the windows.
Always work in a dust-free environment to prevent debris from getting trapped under the film.
Professional Window Tinting Process
Professional installers follow a detailed process to deliver high-quality results:
- Vehicle is parked in a shaded, dust-free area.
- Existing tint, dirt, or adhesives are thoroughly cleaned off.
- Exact measurements are taken, and films are cut to size.
- Windows are masked to prevent overspray or damage.
- Film is carefully applied, ensuring no air bubbles or creases.
- Edges are trimmed for a perfect fit.
- Heat guns or specialized tools are used to smooth and conform the film.
- Final inspection ensures quality and adherence to legal standards.
Professional shops often provide a warranty, giving you peace of mind about the durability of the tint.
Maintenance Tips for Tinted Windows
Proper care extends the life of your tinted windows. Avoid rolling down windows for at least 48 hours after installation to allow the film to set. Use only soft cloths and mild cleaners designed for tinted glass.
Avoid ammonia-based products like typical household glass cleaners, as they can damage the tint. Instead, opt for a cleaner specifically formulated for automotive windows. Regularly inspect for bubbles or peeling and address issues promptly by consulting a professional.
Washing your vehicle in a shaded area prevents water spots and preserves the tint’s appearance longer.
Cost Considerations and Budgeting
The cost of window tinting depends on several factors, including the size of your vehicle, type of film, and whether you choose DIY or professional installation.
- DIY kits
- Typically range from $50 to $150, including all materials.
- Professional tinting
- Usually costs between $200 and $600, depending on the vehicle and film quality.
Investing in higher-quality films can save money in the long run, as they tend to last longer and perform better.
Additional Tips and Considerations
– Always verify the legal tint limits for your area before purchasing or applying film.
– Choose high-quality films for better UV protection and durability.
– For complex curves or large windows, professional installation is recommended.
– Keep your windows clean to maintain visibility and appearance.
– Regularly check for signs of peeling, bubbling, or fading, and fix issues promptly.
By considering these key points, you can ensure a successful window tinting experience that enhances your vehicle’s comfort and appearance.
Learn Tint in 60 seconds #windowtint #tint #tintingwindows #glass #cars #diy #diycrafts #walmart
Frequently Asked Questions
What are the main steps to prepare your car before tinting the windows?
Start by thoroughly cleaning your car’s windows to remove dirt, dust, and grease. Use a glass cleaner and a lint-free cloth to ensure a spotless surface. Avoid touching the windows with dirty hands afterward. Additionally, inspect the windows for any damage or scratches and repair them if necessary. Proper preparation ensures the tint adheres smoothly and lasts longer.
How can I choose the right type of window tint for my vehicle?
Consider your local laws regarding tint darkness and reflectivity, as these vary by region. Decide whether you want a dyed, metalized, ceramic, or carbon film based on your needs for heat rejection, glare reduction, and UV protection. Consult with a professional to match the tint type to your vehicle and preferences, ensuring maximum effectiveness and compliance.
What should I look for when selecting a professional window tinting service?
Look for a service with good reputation and positive customer reviews. Check if they have experienced technicians and offer warranties on their work. Review their portfolio or ask for samples of previous projects to assess the quality of their tinting. A reputable professional will use high-quality materials and follow proper installation practices to achieve a clean, durable finish.
How long does the window tinting process typically take?
The entire process can take anywhere from a few hours to a full day, depending on the number of windows and the complexity of the job. Usually, a professional tinting session involves cleaning, measuring, applying the film, and allowing it to cure. Planning for a half-day appointment ensures you give the installer enough time for a thorough job.
What maintenance steps should I follow after getting my windows tinted?
Avoid rolling down the windows for at least 48 hours to let the tint cure properly. Use only mild soap and water to clean the windows; avoid abrasive cleaners or rough cloths that could scratch the film. Regular maintenance will keep the tint looking sharp and extend its lifespan, preventing bubbling or peeling over time.
Final Thoughts
To get car windows tinted, start by researching local regulations to ensure compliance with legal limits. Choose a reputable tinting service with experienced technicians for quality work.
Prepare your vehicle and discuss your preferences clearly with the provider. Confirm the type of tint and the expected durability before proceeding.
Getting car windows tinted involves selecting a trusted shop and following legal guidelines. To ensure a successful process, inquire about the proper steps and choose the right tint for your needs.


