To prep your car windows for tinting, start by thoroughly cleaning the glass to remove dust, dirt, and grease, ensuring a smooth surface for the tint. Then, lightly sand the window with fine-grit sandpaper to eliminate any imperfections, and apply a cleaning solution to remove residue. Finally, mark the window for precise tint application and make sure the glass is completely dry before starting.
Properly prepping your car windows is crucial for achieving a flawless tint job that lasts. A clean, smooth surface not only helps the tint adhere better but also prevents bubbles and peeling down the line. Taking the time to prepare your windows carefully can save you headaches later and give your vehicle a sleek, professional look. In this guide, we’ll walk you through each step to ensure your windows are perfectly ready for tinting, making the process straightforward and stress-free.
How to Prep Car Windows for Tint: A Complete Guide
Understanding Why Proper Preparation Matters
Preparing your car windows correctly before tinting ensures a smooth application and long-lasting results. Poor preparation can lead to bubbles, peeling, or uneven tint. Taking time to prep guarantees a professional look and maximizes the tint’s durability.
Gathering the Right Supplies
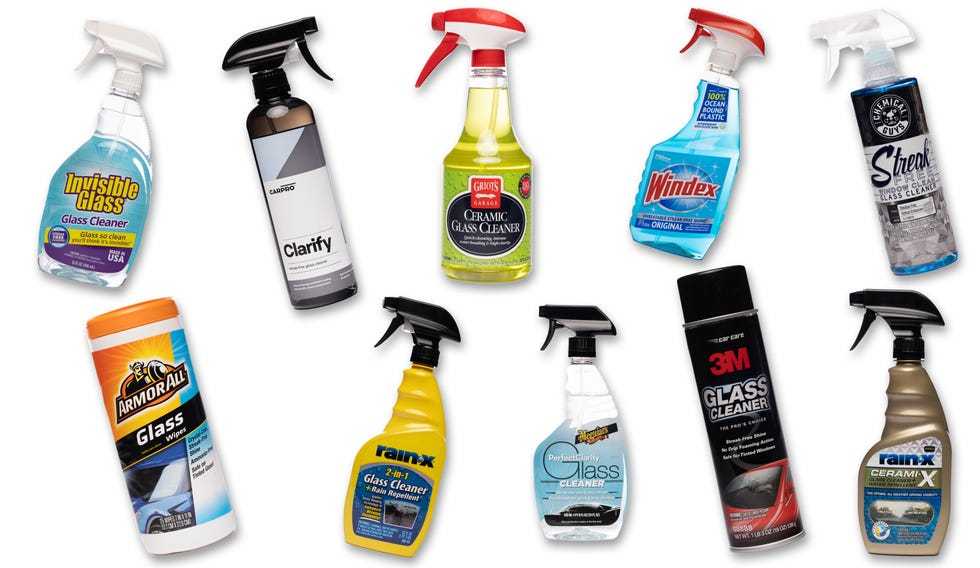
Before starting, collect all necessary tools and materials. This includes glass cleaner, isopropyl alcohol, a razor blade or scraper, microfiber cloths, masking tape, and gloves. Having everything on hand makes the process easier and faster.
Cleaning the Windows Thoroughly
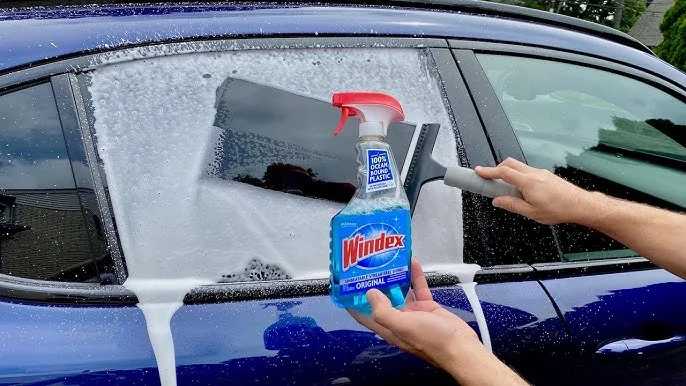
Start by removing loose dirt and debris from the window surface. Spray a quality glass cleaner liberally over the entire window. Use a microfiber cloth to wipe away all grime, fingerprints, and dust. This creates a clean surface for the tint adhesive to stick properly.
Dealing with Stubborn Residue
If spots of adhesive or sticky residues remain, apply isopropyl alcohol directly onto a cloth. Wipe over these areas until completely clean. Avoid using harsh chemicals that can damage the glass or interfere with the tint adhesion.
Removing Oil and Grease
Oil and grease can cause bubbles and peeling over time. After initial cleaning, use a fresh towel dampened with alcohol to wipe the window again. This extra step ensures all contaminants are gone and helps the tint adhere evenly.
Ensuring the Surface is Dry
Use a clean, dry microfiber cloth to thoroughly dry the window. Moisture can cause the tint to lift or develop bubbles. Make sure the window is completely free of water before proceeding.
Creating a Proper Work Environment
Choose a shaded, dust-free space to apply the tint. Direct sunlight or windy areas can interfere with proper adhesion. Keep the workspace clean by removing any loose dust or particles frequently.
Masking Off Adjacent Areas
Use masking tape to cover areas around the window that you want to protect from accidental scratches or adhesive contact. This helps keep your work precise and neat.
Inspecting the Window for Damage
Check the glass for chips, cracks, or scratches before applying the tint. Damaged glass can affect the tint’s appearance and longevity. Repair any issues with auto glass repair kits when necessary.
Addressing Window Curves and Edges
Windows with curves or edges may need special attention. Use a razor blade to gently lift and clean these areas separately. Proper cleaning here prevents air pockets and ensures a smooth finish.
Preparing the Tint Film
Before applying, cut the tint film to the correct size for each window. Leave a small margin to accommodate adjustments during installation. Do not touch the adhesive side to avoid fingerprints or dust contamination.
Handling and Storage of Tint Film
Keep the tint film in a clean, dust-free area. Store it away from direct sunlight or heat to prevent warping or damage. Handling it carefully minimizes the risk of scratches or dirt sticking to the adhesive side.
Final Inspection Before Application
Once cleaning and masking are complete, double-check the window surface. Look for any remaining dust, streaks, or residues. A flawless surface is key to a professional tint job.
Additional Tips for Optimal Results
- Always work in a dust-free environment to avoid particles trapping under the tint
- Use a squeegee or plastic card to remove air bubbles during application
- Wear gloves to prevent fingerprints or oils from transferring onto the glass or tint film
- Take your time during cleaning to ensure a perfectly smooth surface
Common Mistakes to Avoid During Preparation
- Skipping thorough cleaning steps that lead to bubbles
- Using harsh chemicals that damage the glass or tint adhesive
- Applying tint in a dusty or sunny environment
- Failing to remove oil, grease, or residues
Properly prepping your car windows before tinting sets the stage for a flawless finish and durable results. By gathering the right tools, cleaning meticulously, and creating a clean workspace, you can achieve professional-looking tinting at home. Taking these steps ensures your investment in tinting pays off with lasting beauty and function.
learn how to tint 👨🏻🏫 #teaching
Frequently Asked Questions
What is the best way to clean the glass surface before applying window tint?
To ensure a smooth application, start by thoroughly cleaning the glass with a mixture of glass cleaner and lint-free cloth. Remove any dirt, dust, or grease that could cause bubbles or imperfections. For stubborn residues, use a razor blade carefully to scrape away any adhesive or debris. Make sure the surface is completely dry and free of streaks before proceeding.
How can I remove any previous window tint or adhesive residue effectively?
Begin by applying a window adhesive remover or a mixture of rubbing alcohol and water to loosen old tint adhesive. Use a razor blade or plastic scraper to gently peel away the old tint. After removing the tint, clean the glass with a solvent-based cleaner to eliminate any leftover adhesive. Rinse with water and dry thoroughly to prepare for new tint application.
What environmental conditions should I consider before prepping my car windows for tint?
Choose a clean, dust-free environment with low humidity and moderate temperatures. Avoid applying tint in direct sunlight or on a hot day, as this can cause premature drying or bubbling. Working in a shaded garage or shaded area provides better control over the application process, leading to more precise results.
How can I smooth out the glass surface to ensure proper tint adhesion?
After cleaning, use a microfiber cloth or a soft squeegee to wipe the glass surface in all directions. This process removes any remaining dust or streaks and helps create an even, smooth surface. Ensuring the glass is free of imperfections allows the tint to adhere seamlessly and reduces the risk of bubbles.
Final Thoughts
Preparing car windows for tint involves cleaning the glass thoroughly with a streak-free cleaner. Remove all dirt, dust, and grease to ensure a smooth surface. Use a lint-free cloth for the best results.
Next, dry the window completely to prevent bubbles and imperfections. Check for any residual dirt or smudges and wipe them away.
To wrap up, understanding how to prep car windows for tint helps achieve a perfect finish. Proper preparation minimizes issues and ensures durable results.


