To effectively remove car window tint at home, start by warming up the film with a hairdryer to loosen the adhesive, then carefully peel it off using your fingers or a plastic scraper. Applying a solution of soapy water or commercial window tint remover can help dissolve stubborn adhesive residues. Finish by cleaning the glass thoroughly with a window cleaner for a spotless finish.
Removing car window tint yourself might seem daunting, but it’s definitely doable with the right tools and patience. If you want to avoid costly trips to the shop, knowing how to do it at home can save you time and money. Whether you’re preparing your windows for a new tint or just want clear, unobstructed visibility, this guide will walk you through simple steps to remove the tint safely and effectively without damaging your car’s glass. Just take it slow, follow these easy tips, and you’ll have your windows looking fresh in no time.
How to Remove Car Window Tint at Home
Removing window tint from your car can seem tricky, but with the right tools and techniques, you can do it easily at home. This process not only saves money but also lets you change your car’s look whenever you want. Let’s walk through each step carefully to make the removal smooth and safe.
Gather the Necessary Supplies
Before you begin, it’s important to gather all the supplies you’ll need. Having everything ready will make the process faster and more efficient. Here’s what you should prepare:
- Spray bottle filled with warm water or a mixture of water and dish soap
- Plastic scraper or squeegee
- Razor blade or utility knife (use carefully to avoid scratches)
- Cleaning cloths or microfiber towels
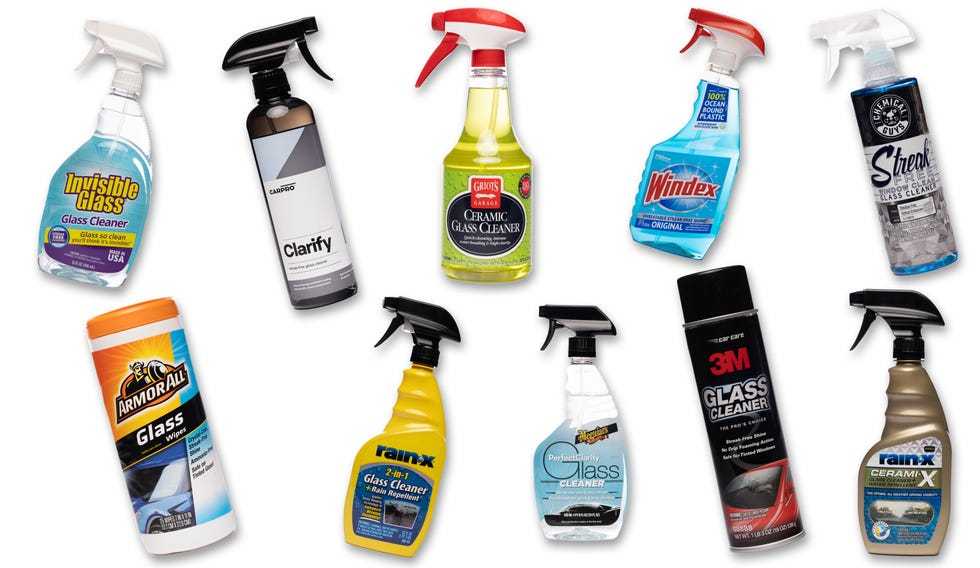
- Glass cleaner
- Aluminum foil or plastic wrap
- Goo Gone or a similar adhesive remover
- Gloves and eye protection (for safety)
Preparing Your Vehicle and Workspace
Choose a shaded, well-ventilated area to work on your car. This prevents the cleaning solutions from drying too quickly and ensures safe handling. Park your vehicle in a safe spot and clean the window surface with glass cleaner to remove any dirt or grime.
Make sure your windows are cool to the touch, not hot from direct sunlight, to avoid accidental burns or damage. Wearing gloves and eye protection is recommended, especially when working with chemicals or sharp tools.
Loosen the Tint with Hot Water or Steam
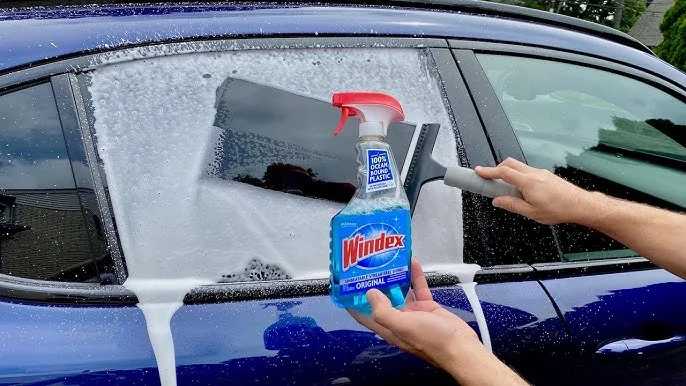
Start by softening the tint film, which makes removal easier. Fill your spray bottle with warm water mixed with a few drops of dish soap if desired. Spray generously onto the tinted window, focusing on the edges.
You can also use steam from a handheld steamer or hot water to produce heat. The heat helps loosen the adhesive bonds holding the tint to the glass. Be cautious to avoid burns or cracking the glass with excessive heat.
Applying Heat Safely
Hold the steamer or hot water spray close to the film without touching the glass directly. Keep moving the heat source across the surface for about 30 seconds to a minute. Reapply as needed until the film becomes more pliable.
Peeling Off the Tint
After softening the tint, gently lift the edges with your fingers or a plastic scraper. Be patient and work slowly to avoid scratching the glass. Use the scraper or squeegee to lift and peel the film off in sections.
If the tint resists peeling, apply more heat and spray with water to further loosen the adhesive. It’s normal for some areas to come off easily while others require more effort.
Handling Stubborn Sections
For tough spots, reapply heat and use the plastic scraper to gently pry the film. Do not use metal tools, as they may scratch the glass. Take your time, especially around corners and edges.
Remember, peeling the tint in small pieces reduces stress on the glass and makes the process safer and cleaner.
Removing Residual Adhesive
Even after peeling off the tint, a sticky adhesive layer often remains. To remove this residue, apply a small amount of Goo Gone or a similar adhesive remover onto a clean cloth. Let it sit for a few minutes to break down the glue.
Once the adhesive softens, wipe it away using circular motions. For stubborn spots, reapply the remover and use the plastic scraper gently. Rinse the glass thoroughly with water afterward to remove any chemical residue.
Cleaning the Glass Thoroughly
After all adhesive is gone, clean the entire window with glass cleaner and a microfiber cloth. This step helps eliminate any leftover debris or chemical residues. Make sure the glass is spotless for a clear view and to prepare for any new tint if you choose to install it later.
Tips for a Successful Tint Removal
Following these tips can make the process smoother and prevent damage:
- Work slowly to avoid cracking or scratching the glass.
- Use plastic tools rather than metal ones to prevent scratches.
- Apply heat evenly and avoid excessive force.
- Keep the area well-ventilated when using chemical removers.
- Test any chemical product on a small area first to check for damage.
Additional Methods for Removing Car Window Tint
If traditional methods do not work well, consider alternative techniques:
Using Vinegar Solution
Mix equal parts of white vinegar and water in a spray bottle. Spray onto the tint and let it sit for several minutes. The acidity helps weaken the adhesive, making peeling easier.
Applying Commercial Tint Remover
Specialized tint removal products are available at auto parts stores. Follow the manufacturer’s instructions carefully. These solutions are often more effective for older or stubborn tint films.
Preventing Damage During Removal
Avoid using metal blades or excessive force, as these can scratch or crack the glass. Ensuring proper heat application and patience is key. Regularly check your progress to prevent accidental damage.
When to Seek Professional Help
If your attempts to remove the tint are unsuccessful or if you are worried about damaging your windows, it’s best to consult a professional. Professionals use specialized tools and techniques for a damage-free removal process.
Additional Tips for DIY Car Window Tint Removal
To make the entire process safer and more pleasant:
- Wear old clothes and gloves to protect your skin.
- Work in a dust-free environment to prevent debris from sticking to the glass.
- Keep a trash bag nearby to dispose of peelings and used materials.
- Be patient – rushing can lead to scratches or broken glass.
Removing car window tint at home is achievable with some preparation and patience. Use the right tools, follow safety guidelines, and work gradually to get the best results. Once all residue is cleaned away, your windows will look clear and ready for new tint or a fresh start.
DON'T WASTE TIME – Easiest Way To Remove Window Tint In 3 Minutes
Frequently Asked Questions
What materials do I need to remove car window tint at home?
To remove car window tint at home, gather items like a hairdryer or heat gun, plastic scraper or credit card, rubbing alcohol or adhesive remover, spray bottles, microfiber cloths, and gloves. These tools help loosen the adhesive and protect your glass during the process.
How can I soften the tint film to make removal easier?
Start by heating the tinted area with a hairdryer or heat gun on a low setting. Keep the dryer moving to avoid overheating the glass. The heat softens the adhesive, making it easier to peel the tint off without tearing or leaving residue.
What are effective methods for peeling off stubborn tint film?
Once the tint is heated, gently lift a corner with your fingers or a plastic scraper. Slowly peel the film back, keeping the heat source nearby to maintain flexibility. For stubborn spots, re-apply heat and use a commercial adhesive remover or rubbing alcohol to loosen the adhesive further.
How do I clean off adhesive residue after removing the tint?
Spray rubbing alcohol or adhesive remover on the remaining sticky area. Use a microfiber cloth to scrub gently until the residue lifts. Repeat the process if necessary, and finish by cleaning the window with soap and water to remove any leftover chemicals.
Are there any precautions I should take during the removal process?
Protect your hands with gloves and work in a well-ventilated area to avoid inhaling fumes from adhesives or removers. Be cautious with heat sources to prevent damaging the glass, and avoid scratching the window surface with metal tools. Always test a small section first to ensure safety and effectiveness.
Final Thoughts
Removing car window tint at home is simple with the right tools and techniques. Start by heating the tint with a hairdryer or heat gun to loosen the adhesive. Carefully peel back the edges and use a plastic scraper to lift the film. Apply a mixture of soapy water or rubbing alcohol to help remove any residue.
In conclusion, knowing how to remove car window tint at home allows you to refresh your vehicle easily. Follow these steps to ensure a clean, residue-free surface without professional help.


