To repair your car’s front glass quickly, start by assessing the damage to determine if it’s a small chip or a large crack. For minor chips, using a windshield repair kit can often fix the problem in minutes. If the damage is extensive, replacing the glass may be necessary.
In brief, repairing your car’s front glass involves cleaning the damaged area, sealing cracks or chips with appropriate repair kits for minor issues, or consulting a professional for full replacement when the damage is severe. Acting promptly can prevent the crack from spreading and ensure your safety on the road.
Cracked or damaged front glass not only affects the appearance of your vehicle but also compromises safety and visibility. Whether it’s a small chip or a large crack, knowing how to repair or replace your car’s front glass can save you time and money. Starting with simple DIY repairs for minor damage can often restore clarity and prevent further deterioration. However, for extensive cracks, professional assistance is recommended to ensure your windshield’s integrity and your safety on the road. Understanding your options and acting quickly can help you address the issue effectively and keep your vehicle in top condition.
How to Repair Car Front Glass: A Step-by-Step Guide
Repairing your car’s front glass can seem challenging, but with the right tools and instructions, it becomes manageable. Whether you have a small chip or a larger crack, addressing the damage early helps prevent further issues. This section covers essential steps to fix your car’s front glass effectively.
Understanding Car Front Glass Damage
Car front glass, commonly known as the windshield, can suffer from various types of damage. Recognizing the damage type helps determine the best repair approach. Common issues include chips, cracks, and shattered glass.
Types of Damage
- Stone Chips: Small dings caused by rocks or debris hitting the windshield.
- Cracks: Lines that spread from a point of impact, varying in size and shape.
- Shattered Glass: Complete breakage, often requiring replacement.
Signs That Repair Is Needed
- Visible cracks or chips impairing visibility.
- Cracks expanding over time.
- Damage located directly in the driver’s line of sight.
Tools and Materials Needed for Repair
Gathering the right equipment is crucial for a successful repair. Here’s a list of commonly used tools:
| Item | Purpose |
|---|---|
| Windshield repair kit | Contains resin, applicators, and curing strips for fixing chips and small cracks |
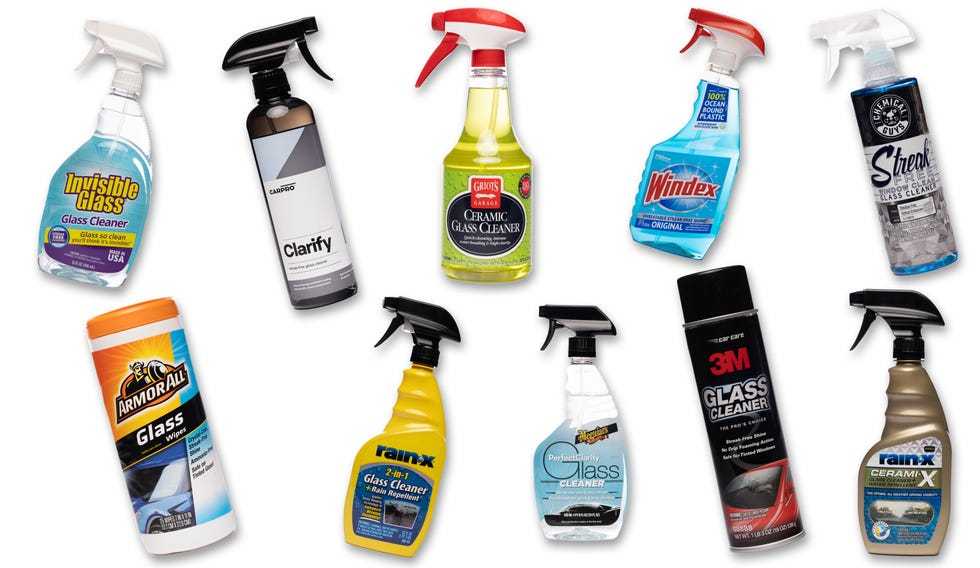
| Glass cleaner and isopropyl alcohol | Prepares the surface for repair by removing dirt and oil |
| Polishing compound | Helps smooth out the repaired area for a clearer look |
| Rubber gloves | Protects your hands during the repair process |
| Utility razor blade or scraper | Removes excess resin or debris |
| UV curing light or sunlight | Hardens the resin quickly |
Step-by-Step Process for Repairing Small Chips and Cracks
Most minor damages can be fixed at home using a windshield repair kit. Follow these detailed steps for the best results.
Preparation
- Park your vehicle in a shaded area to prevent the resin from curing too quickly.
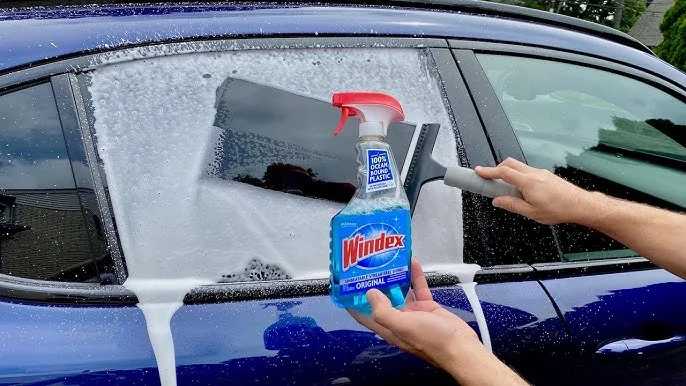
- Clean the windshield thoroughly with glass cleaner and a lint-free cloth.
- Use isopropyl alcohol to remove any oil or residue from the damage area.
Applying the Repair Resin
- Attach the adhesive disc included in the repair kit over the damaged area.
- Secure the applicator bridge onto the disc, ensuring it aligns properly.
- Place the resin syringe into the applicator and gently squeeze to fill the crack or chip with resin.
Curing the Resin
- Expose the resin to UV light or direct sunlight for about 10-15 minutes, allowing it to harden.
- If using a UV light, follow the manufacturer’s instructions regarding curing time.
Finishing Touches
- Remove the applicator and carefully scrape off excess resin with a razor blade.
- Polish the repaired area with a polishing compound to restore clarity.
- Inspect the repair, ensuring the damage is less visible and the windshield is smooth.
Handling Larger Cracks and Full Glass Damage
For cracks longer than a few inches or extensive damage, repair may not be sufficient. In such cases, replacement becomes necessary. Always consult a professional if the damage compromises safety.
When to Consider Windshield Replacement
- Cracks crossing the driver’s line of sight.
- Multiple cracks or large chips.
- Structural damage affecting the integrity of the windshield.
- Damage caused by impact with large objects.
Choosing a Replacement Option
If replacement is needed, you can opt for a professional service or, in some cases, DIY installation. Always ensure the new windshield is OEM (original equipment manufacturer) quality for safety and durability.
Best Practices for Maintaining Your Windshield Post-Repair
Maintaining your windshield prolongs the repair and prevents future damage. Here are some tips:
- Regularly clean with non-abrasive glass cleaner.
- Avoid sudden temperature changes, such as pouring hot water over a cold windshield.
- Address chips and cracks promptly to prevent expansion.
- Replace windshield wipers if they leave streaks or scratches.
Additional Tips for Successful Repairs
- Always follow the instructions provided in your repair kit.
- Perform repairs in a dust-free environment to avoid debris contamination.
- Wear protective gloves and eyewear during repairs.
- If unsure or uncomfortable, seek professional help to ensure proper repair or replacement.
Common Mistakes to Avoid
- Waiting too long to fix chips or cracks, which allows damage to worsen.
- Using cheap or incompatible repair kits that may not cure properly.
- Applying resin without cleaning the surface thoroughly.
- Ignoring safety standards and regulations regarding windshield repairs.
Related Topics and Advanced Techniques
For those interested in further expanding their knowledge, consider exploring topics like:
- Using high-quality UV curing lights for faster resin hardening.
- Installing rain sensors or cameras behind the windshield.
- Understanding legal requirements for windshield chips and cracks in your region.
- Advanced tinting and UV protection for added durability.
Properly repairing your car front glass ensures your safety and maintains the vehicle’s value. By following these detailed steps and tips, you can effectively fix minor damages and know when to seek professional help for more extensive issues.
How to Repair a Windshield Chip or Crack
Frequently Asked Questions
What are the necessary tools for repairing a cracked car front glass?
To repair a cracked car front glass, gather essential tools such as a windshield repair kit, which includes resin, an applicator, and curing strips. You will also need gloves, cleaning cloths, a razor blade or scraper to remove any loose glass, and possibly a suction cup tool to handle the glass safely. Properly preparing your workspace and wearing safety gear ensures a smooth repair process and minimizes risks.
How can I assess whether my windshield needs a full replacement or just a repair?
Examine the size and location of the damage. Small chips and cracks less than a few inches in diameter, especially if located away from the driver’s line of sight, can often be repaired effectively. However, if the crack is longer than six inches, or if it spans across the driver’s view, a full windshield replacement might be necessary. Also, consider if the damage has compromised the structural integrity or if there are multiple cracks, which typically require replacing the glass.
What steps should I follow to properly repair minor cracks on my car’s front glass?
Begin by cleaning the area around the crack thoroughly to remove dirt and debris. Secure the windshield repair kit and follow the manufacturer’s instructions carefully. Apply the resin into the crack using the applicator, ensuring it penetrates deep within the damage. Use curing strips to cover the filled crack and expose it to sunlight or UV light as recommended. Once cured, remove the strips and polish the area to restore clarity. Performing these steps carefully can prevent the crack from spreading further.
How can I prevent further damage to my windshield after a repair?
Avoid sudden temperature changes, such as using hot water on a cold windshield or blasting the heater directly at the glass. Drive cautiously over rough terrains and avoid hitting potholes at high speeds. Regularly inspect the repair site for any signs of worsening damage and address any new cracks promptly. Using protective films or coatings can also add an extra layer of defense against future impacts.
Is it safe to drive immediately after repairing a car front glass crack?
Most minor repairs allow you to drive shortly after completing the process, but it’s best to wait at least an hour to ensure the resin has fully cured. Check the repair for any remaining bubbles or surface irregularities. If the crack was significant or if the repair was not performed professionally, consider avoiding driving until a professional inspection confirms the repair’s effectiveness. Always prioritize safety and proper curing to ensure the windshield maintains its strength.
Final Thoughts
Pour réparer le verre avant de votre voiture efficacement, commencez par nettoyer la zone endommagée avec un chiffon doux. Appliquez un kit de réparation spécifique, en suivant attentivement les instructions. Si la fissure est importante, il est préférable de faire appel à un professionnel pour une réparation durable.
En conclusion, savoir comment réparer car front glass permet d’économiser du temps et de l’argent. En utilisant les bonnes techniques et outils, vous pouvez réparer la plupart des petits éclats ou fissures vous-même.


