To repair laminated glass at home, start by assessing the damage to determine if a simple fix is possible or if professional help is needed. For minor chips or cracks, you can use clear epoxy resin and a few basic tools to fill in the gaps, restoring clarity and strength. For larger breaks, it’s often safer to replace the entire pane, but temporary fixes like applying a safety tape can help prevent further damage.
If you notice small cracks or chips in your laminated glass, cleaning the area and carefully filling it with a clear, durable epoxy can buy you time and improve safety. However, for extensive damage, replacing the glass is the best long-term solution, though some temporary repairs can be done at home to prevent injury.
Cracks in laminated glass are common, but fixing them yourself can save money and time. Begin by cleaning the glass thoroughly, then use specialized resin or epoxy to fill in the cracks. Make sure to follow the product instructions carefully. For larger damage, consider consulting a professional for replacement, but small repairs can often be handled with DIY kits. Always prioritize safety and proper tools when attempting these fixes.
How to Repair Laminated Glass at Home
Laminated glass is widely used because of its strength and safety features. Damage such as cracks or chips can occur unexpectedly, but fixing laminated glass at home is often possible with the right tools and techniques. This guide will walk you through each step, giving you the confidence to repair your laminated glass effectively and safely.
Understanding Laminated Glass and Its Common Damage
Laminated glass consists of two or more sheets of glass bonded together with a plastic interlayer, usually polyvinyl butyral (PVB). This design helps hold the glass together when cracked, preventing shards from falling out.
Common damage to laminated glass includes:
- Cracks: Usually caused by impact or temperature fluctuations.
- Chips and Dings: Often from stones or debris hitting the glass.
- Delamination: The plastic layer begins to peel or separate.
Knowing the type of damage helps determine the repair method suitable for your situation.
Safety First Before Starting Repairs
Before attempting to repair laminated glass, prioritize safety. Wear protective gloves and eye protection to avoid injury from sharp glass edges or shards.
Ensure your workspace is clean, dry, and well-lit. If the damage is extensive or the glass window is large, consider consulting a professional instead of a DIY repair.
Gathering Essential Tools and Materials
For a successful DIY repair, gather the following items:
- Safety gear: Gloves, safety glasses, dust mask.
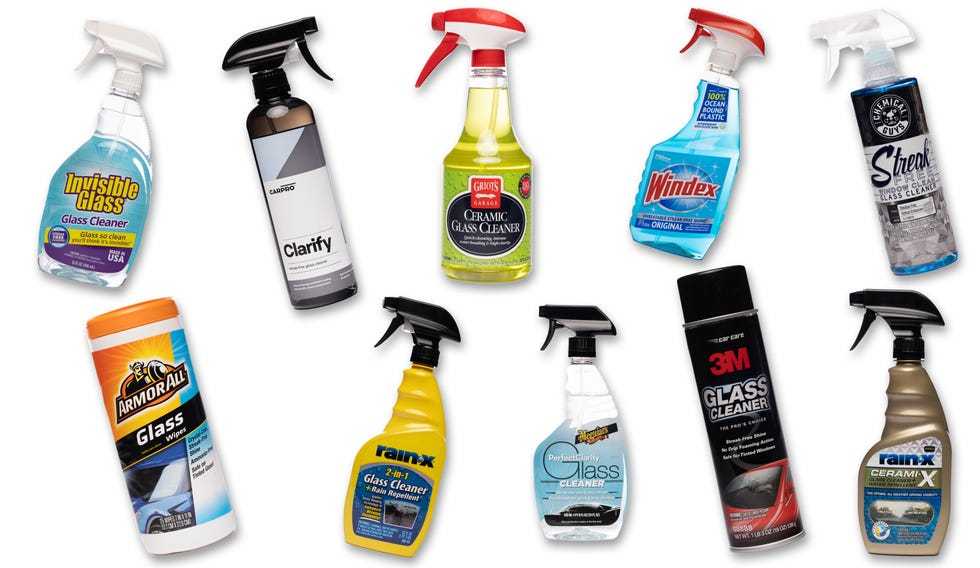
- Cleaning supplies: Glass cleaner, soft cloth, razor blade.
- Repair materials: Epoxy resin, UV-curing adhesive, or specialized laminated glass repair kit.
- Tools: Small spatula or applicator, syringes for resin, plastic scraper.
- Optional: Replacement glass if the damage is too severe to fix.
Check that all materials are compatible with laminated glass to prevent further damage.
Assessing the Damage and Choosing a Repair Method
Inspect the damage carefully. Small cracks or chips can often be repaired at home, but large or deep cracks might require glass replacement.
Options for repairing laminated glass include:
- Resin injection: Filling cracks with transparent epoxy resin to prevent spreading.
- Surface bonding: Applying adhesive to reinforce cracked areas.
- Full panel replacement: Replacing the entire pane if damage is extensive.
The decision depends on the size and location of the damage, as well as your comfort with DIY repairs.
Preparing the Damaged Area for Repair
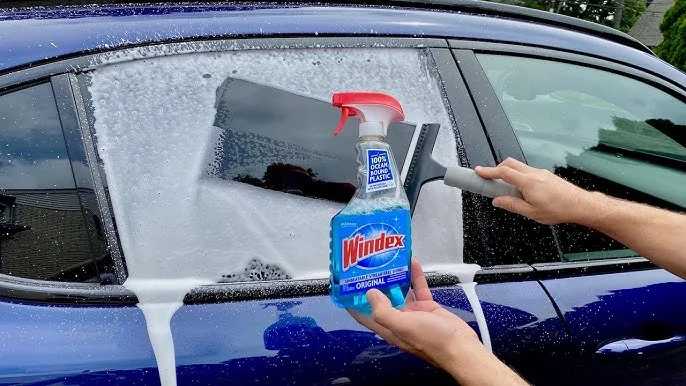
Start by cleaning the damaged area thoroughly to remove dirt, dust, and loose glass fragments. Use a clean, soft cloth and glass cleaner.
Next, gently remove any loose shards with a razor blade or plastic scraper. Be careful not to cause further cracks or injuries.
If necessary, lightly sand around the crack with fine-grit sandpaper to help the adhesive bond better, but avoid excessive sanding that could weaken the glass.
Applying the Repair Resin or Adhesive
Follow these steps to apply the resin or adhesive:
- Mix the epoxy resin or prepare the UV-curing adhesive as directed on the package.
- Use a syringe or small spatula to carefully fill the crack with the resin, ensuring it penetrates deep into the fracture.
- Apply a thin layer of adhesive over the surface of the crack to seal it.
- If using UV-curing adhesive, expose the patched area to UV light for the recommended time to cure the resin.
Be patient during this process to ensure the resin fully infiltrates the crack for maximum effectiveness.
Allowing the Repair to Cure Properly
Proper curing is crucial. Follow the instructions for curing time carefully, which can range from a few minutes to several hours.
Avoid touching or applying pressure on the repaired area during this period to prevent disturbing the bond.
Ensure the workspace remains dust-free and dry while curing to avoid contamination of the repair.
Finishing Touches for a Neat Repair
Once cured, inspect the repair closely. Use a razor blade to trim any excess resin that might have oozed out.
Wipe the surface gently with a soft cloth to restore clarity. If needed, lightly sand the surface with fine-grit sandpaper to smooth out rough patches.
Consider applying a glass polish to improve transparency and appearance if the repair area looks dull.
Additional Tips for Successful Home Repairs
– Work in a controlled environment to prevent dust and debris from settling on the repair.
– Avoid repairing laminated glass in extreme temperatures; ideal conditions are between 60-80°F (15-27°C).
– Use only high-quality repair materials specified for laminated glass to ensure durability.
– Keep a small kit of repair supplies handy for future minor damages.
– If the crack is larger than six inches or the damage compromises the glass integrity, contact a professional for replacement.
When to Seek Professional Help
While small cracks and chips are manageable at home, extensive damage requires expert intervention. Large cracks may weaken the glass or cause safety hazards.
Additionally, structural damage to glazed windows or windshields should always be handled by professionals to ensure safety and compliance with regulations.
Maintaining Laminated Glass Post-Repair
After completing repairs, regularly clean and inspect your laminated glass. Use non-abrasive glass cleaners to keep it clear.
Avoid applying excessive force around the repaired area, and address any new damages promptly to prevent escalation.
This regular maintenance prolongs the lifespan of your laminated glass and keeps it looking its best.
Useful Tips and Precautions
– Never attempt to repair glass if it is heavily cracked or shattered, as it may be unsafe.
– Always wear protective gear during repairs to avoid injuries.
– Dispose of broken glass properly to prevent injury to yourself or others.
– Consider applying a protective film over the glass for extra safety in high-risk areas.
By following these detailed steps, you can successfully repair laminated glass on your own in many situations and save costs on professional replacement. However, always prioritize safety and know when to call in the experts for significant damage.
Can You Repair Laminated Window Glass? – LearnToDIY360.com
Frequently Asked Questions
What tools do I need to repair laminated glass at home?
To repair laminated glass, gather tools such as a glass cutter, a utility knife, clean cloths, rubbing alcohol, a putty knife, and a repair kit designed for glass fixing. Depending on the damage, you might also require adhesive or resin specifically formulated for laminated glass repairs. Having these tools ready ensures you can properly clean, cut, and reseal the glass surface.
How can I remove debris and dirt from laminated glass before repairing?
Start by gently wiping the glass surface with a soft cloth soaked in a mixture of water and mild soap. For stubborn dirt or grease, use rubbing alcohol applied with a clean cloth to thoroughly clean the area. Avoid scratching the glass by not using abrasive materials. Ensure the surface is completely dry before proceeding with any repairs.
What steps should I take to patch a small crack in laminated glass?
Begin by cleaning the crack area to remove any dust or debris. Use a resin repair kit designed for glass to fill the crack, following the manufacturer’s instructions carefully. Apply the resin with a small applicator or syringe, then use a curing tool or sunlight to harden it. Once cured, smooth out any excess resin to restore the glass’s surface seamlessly.
Can I use household materials to fix laminated glass, or should I buy a specialized repair kit?
While some minor repairs can be attempted with household materials like clear nail polish or super glue, these solutions often provide only temporary fixes. For a durable and safe repair, invest in a specialized laminated glass repair kit, which contains the appropriate resin and tools for a professional-looking and lasting result.
What precautions should I take during the repair process to ensure safety?
Always wear safety gloves and protective eyewear to prevent injuries from glass shards or chemicals. Work in a well-ventilated area, especially when handling adhesives or resins. Handle broken glass carefully to avoid cuts, and dispose of any damaged pieces safely according to local disposal guidelines. Taking these precautions keeps the repair process safe for you and others around you.
Final Thoughts
Repairing laminated glass at home is manageable with proper tools and patience. First, clean the damaged area thoroughly to remove dirt and debris. Use a glass adhesive or resin to fill cracks, applying it carefully with a syringe or applicator. Allow the resin to cure as instructed on the product.
For minor damage, consider replacing the damaged layer if possible, or applying a protective film afterward. Regular maintenance prevents further issues and extends the lifespan of your glass.
In conclusion, knowing how to repair laminated glass at home helps save time and money. Follow these steps to effectively restore your glass and maintain its integrity.


