To replace car window tint quickly and effectively, start by carefully removing the old film with a steamer or scraper, then thoroughly clean the glass. Next, measure and cut the new tint precisely before applying it smoothly with a squeegee to avoid bubbles. Finish by trimming any excess and letting the film set.
Replacing car window tint might seem daunting, but with a few simple steps, you can do it yourself and save money. First, peel off the existing tint using heat or a scraper, making sure not to scratch the glass. Clean the window thoroughly to remove any residue or adhesive. Carefully measure and cut your new tint to fit each window, then apply it gradually, smoothing out bubbles as you go. Finally, trim excess film and allow the tint to cure. This approach ensures a professional-looking finish and boosts your vehicle’s privacy and sun protection without needing a costly trip to the pros.
How to Replace Car Window Tint
Changing your car window tint can seem like a big task, but with the right steps, it becomes manageable. Whether your current tint is damaged, bubbling, or you simply want a different shade, replacing it can improve your car’s look and comfort. This guide breaks down the process into simple, clear steps to help you achieve a professional finish.
Understanding Why You Might Need to Replace Your Window Tint
Over time, window tint can peel, fade, or bubble due to sun exposure and weather conditions. Damage to the tint may also compromise privacy and UV protection. Replacing your tint restores the appearance and functionality of your windows, making your driving experience more comfortable.
Gathering the Necessary Tools and Materials
Before starting, collect everything you’ll need to ensure a smooth process. The essentials include:
- Spray bottle with water and a few drops of dish soap
- Rubber squeegee or plastic scraper
- Utility knife or razor blade
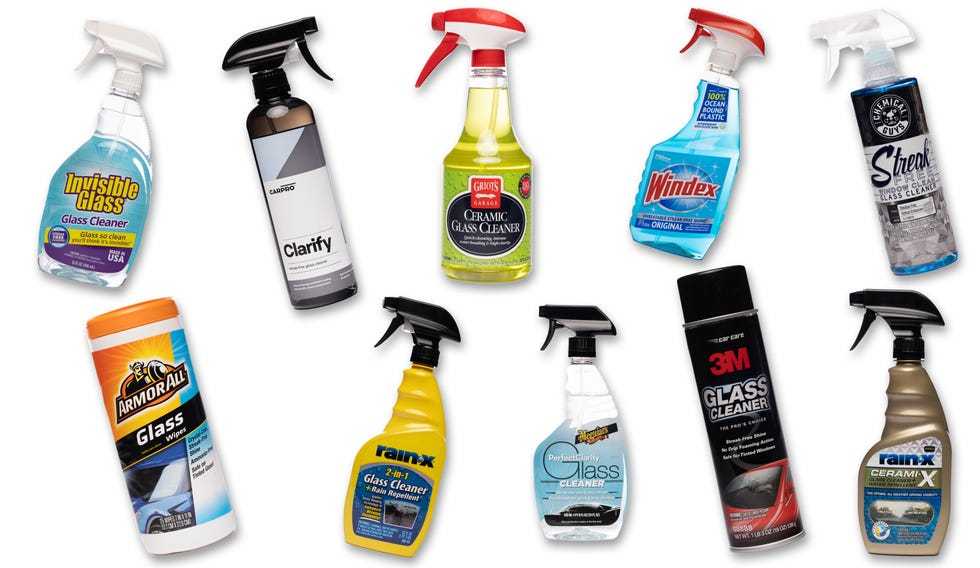
- Glass cleaner or alcohol-based cleaner
- New window tint film
- Microfiber cloths
- Gloves and protective mask (optional)
Having all these tools at hand helps prevent delays and protects your car’s interior during the process.
Preparing the Vehicle for Tint Removal
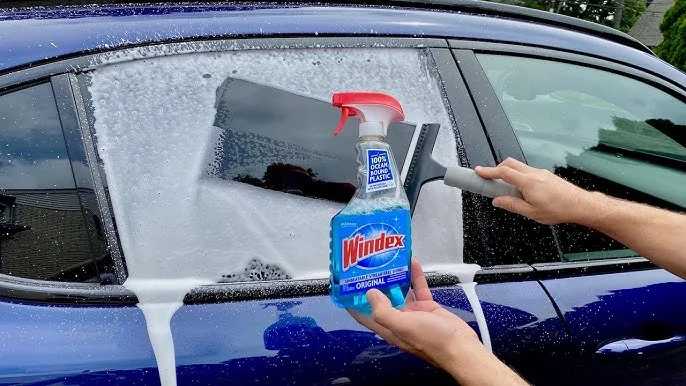
Start by parking your car in a shaded, dust-free area. Clean the windows thoroughly with glass cleaner to remove dirt and debris. Removing surface grime ensures better adhesion of the new tint and helps prevent scratches.
Removing the Old Window Tint
Step-by-step removal process
Applying heat to loosen the tint
Use a heat gun or hairdryer on a low setting to warm the existing tint. This softens the adhesive, making it easier to peel off. Keep the heat moving to avoid damaging the glass.
Peeling off the old tint
Start at one corner and gently lift the edge with your fingers or a plastic scraper. Slowly peel back the tint, pulling it at an angle. Be patient to prevent tearing or leaving adhesive residue.
Removing adhesive residue
Spray the glass with a mixture of water and a few drops of dish soap or an adhesive remover. Use a scraper or microfiber cloth to gently scrub off any leftover adhesive, ensuring a clean surface.
Preparing the Surface for New Tint
After removal, thoroughly clean the window with a glass cleaner or alcohol-based solution. Make sure no dust, glue, or dirt remains. A spotless surface ensures the new tint adheres smoothly and lasts longer.
Measuring and Cutting the New Window Tint
Measuring your window
Use a tape measure to determine the size of each window. Add a small margin to account for overlaps and errors. Writing these measurements helps with precise cutting.
Cutting the tint film
Lay the tint on a flat surface and trace the measurements with a marker or a piece of tape. Carefully cut along the lines using a utility knife or razor blade. Remember to cut slightly larger than the window size for adjustments.
Applying the New Window Tint
Preparing the film for application
Peel off the protective backing from the tint film. Spray the adhesive side lightly with water and a few drops of dish soap. This allows for easier positioning and adjustment.
Positioning the tint
Place the adhesive side onto the wet glass, starting at the top and smoothing downward. Use your hands or a squeegee to eliminate air bubbles and excess water. Adjust the film as needed before it dries.
Smoothing out air bubbles and water
Work from the center outward with the squeegee or plastic scraper. Keep applying gentle pressure to push out trapped air and water. For stubborn bubbles, puncture them with a needle and smooth them out.
Final Touches and Curing
Once the tint is in place, wipe the surface with a microfiber cloth. Allow the film to dry undisturbed for at least 24 hours. Avoid rolling down windows or exposing the car to rain during this period.
Tips for Achieving a Professional Finish
- Work in a dust-free environment to prevent particles from sticking to the film.
- Use a steady hand when cutting to ensure clean edges.
- Don’t rush the process. Take your time to remove bubbles and align the film properly.
Common Mistakes to Avoid
| Mistake | Description | How to Avoid |
|---|---|---|
| Using too much water | Can cause excess moisture and uneven application. | Spray lightly and evenly during application. |
| Applying in Dusty Environments | Dust can get trapped under the film, ruining the finish. | Choose a clean, shaded area with minimal dust. |
| Not aligning properly | Misaligned tint can look uneven and may bubble. | Measure twice and take your time during positioning. |
Related Topics: Tint Laws and Maintenance
Before tinting, check your local laws regarding legal tint percentages. Proper maintenance includes cleaning the windows with a soft cloth and avoiding abrasive cleaners. Proper care extends the life of your new tint.
Replacing window tint yourself can save money and give you a sense of accomplishment. Patience and attention to detail will help you achieve a neat, professional finish that enhances your vehicle’s look and comfort.
DON'T WASTE TIME – Easiest Way To Remove Window Tint In 3 Minutes
Frequently Asked Questions
What tools do I need to replace my car window tint properly?
To replace your car window tint, gather tools such as a spray bottle filled with soapy water, a squeegee or plastic scraper, a utility knife, a clean microfiber cloth, and possibly a heat gun or hairdryer. These tools help you remove the old tint without damaging the window and apply the new film smoothly for a professional finish.
How can I prevent bubbles from forming under the new tint during installation?
Apply a generous layer of soapy water on the window before placing the new tint. This allows you to reposition the film easily and helps eliminate air pockets. Use a squeegee to work out any bubbles, starting from the center and moving outward. Taking your time during installation reduces the chance of trapping air and creating bubbles.
What is the best way to remove old window tint without damaging the glass?
Start by heating the old tint with a heat gun or hairdryer to loosen the adhesive. Carefully peel off the film with your fingers or a plastic scraper, working slowly to avoid scratching the glass. Use a window cleaner or adhesive remover to clean off any remaining glue or adhesive residue, ensuring a smooth surface for the new tint.
How long should I wait before rolling down my windows after replacing the tint?
Allow the adhesive to cure fully by waiting at least 24 to 48 hours before rolling down your windows. Following the manufacturer’s instructions, avoid lowering the windows too soon, as this can cause the tint to shift or bubble, leading to a less professional appearance.
What steps can I take to ensure a long-lasting car window tint installation?
Ensure the window surface is thoroughly cleaned and free of dirt or grease before applying the tint. Use proper installation techniques, including applying even pressure with a squeegee and avoiding dust or debris during installation. Afterward, keep the windows rolled up and avoid washing the car for at least a few days to allow the adhesive to set properly.
Final Thoughts
To replace car window tint, start by thoroughly cleaning the window surface to ensure a smooth application. Carefully peel off the old tint without leaving residue. Measure and cut the new tint slightly larger than the window for precise fitting. Use a squeegee to remove air bubbles and ensure even contact, then trim the excess film.
In conclusion, knowing how to replace car window tint helps you maintain privacy and comfort. Follow these steps carefully to achieve a clean, professional look and avoid damage.


