To replace your rear windshield at home, you’ll need some basic tools, patience, and a step-by-step approach. Start by carefully removing the old glass and cleaning the frame thoroughly. Then, apply new adhesive, position the new windshield precisely, and secure it until set.
If done correctly, replacing your rear windshield at home can save you money and give you a sense of accomplishment. First, gather the right tools like a windshield removal knife, suction cups, and adhesive. Next, carefully detach the broken glass, clean the frame, and apply new adhesive before fitting the replacement glass. Allow it to cure properly before driving to ensure safety and durability.
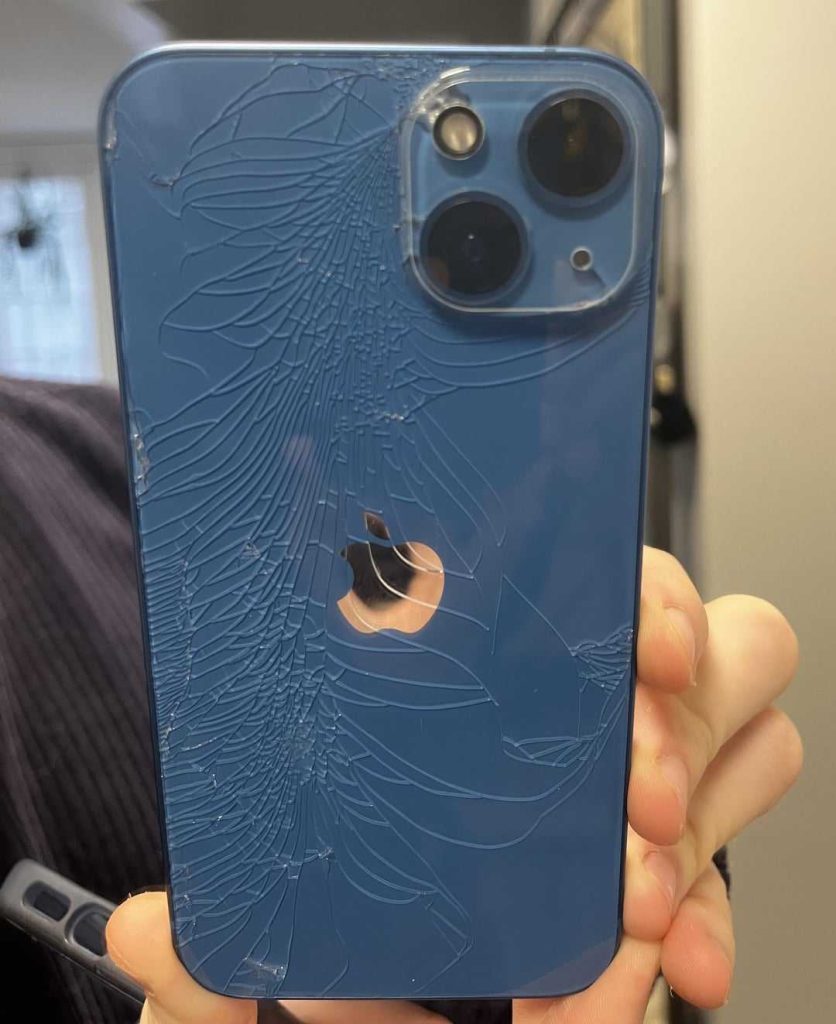
Cracked or shattered rear windshields can be dangerous and impair your visibility. Replacing it at home might seem daunting, but it’s doable with patience and careful handling. This guide breaks down the process into simple, manageable steps so you can restore your vehicle’s safety and appearance without needing professional help. With the right prep work and attention to detail, you’ll be able to replace your rear windshield confidently and efficiently.
How to Replace Rear Windshield at Home: A Complete Guide
Understanding the Basics of Rear Windshield Replacement
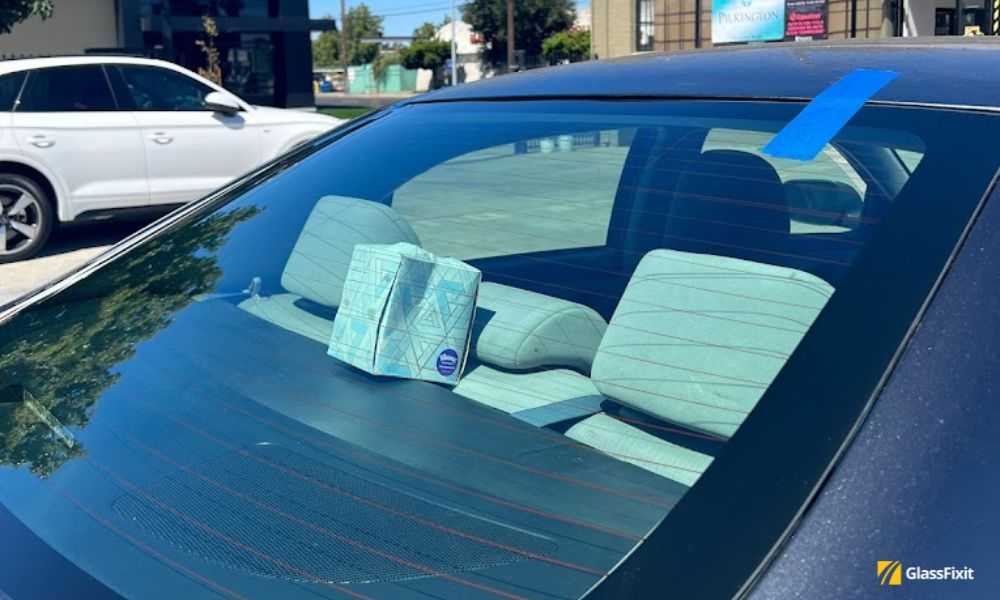
Replacing your rear windshield at home requires some preparation and basic tools. Before starting, it’s important to understand the structure of your vehicle’s rear window. The rear windshield is typically held in place with adhesive and rubber sealing, which creates a tight, secure fit. Knowing this helps you plan the removal and installation process carefully.
Gathering the Necessary Tools and Supplies
Having the right tools can make the replacement smoother and safer. You will need:
- New rear windshield glass
- Window adhesive or urethane sealant
- Rubber gloves for safety
- Plastic putty knives or scrapers
- Glass suction cups for handling large glass
- Masking tape to mark the window
- Utility knife or wire for cutting old sealant
- Cleaning supplies like glass cleaner and rags
- Safety goggles and protective clothing
Proper preparation ensures you have everything needed to complete the job without unnecessary delays.
Preparing Your Workspace for the Replacement
Choose a clean, flat area with plenty of space to work on your vehicle. Protect the surrounding environment with tarps or blankets to catch any broken glass. Make sure the vehicle is parked on a level surface and is turned off with the parking brake engaged. Remove any loose items from inside the car that could fall or get damaged during the process.
Removing the Old Rear Windshield
Start by carefully removing any rubber trimming or molding around the window with your scraper or putty knife. Use masking tape around the edges to prevent glass shards from damaging the vehicle paint or interior. Carefully cut through the adhesive using a wire or utility knife, working slowly to avoid cracking the glass.
Handling the Glass Safely
Glass can be heavy and fragile, so handle it with care. Use suction cups to grip the windshield securely. If the glass cracks during removal, replace it cautiously to avoid injury. Always wear safety goggles and gloves to protect yourself from sharp edges and glass splinters.
Cleaning and Preparing the Frame
Once the old glass is removed, clean the frame thoroughly. Remove any remaining adhesive or debris with a scraper. Wipe the area with a glass cleaner or rubbing alcohol to ensure a clean surface. This step is critical to guarantee a strong bond with the new window.
Applying New Adhesive for the Rear Windshield
Before placing the new glass, apply a continuous bead of urethane sealant around the frame’s perimeter. Follow the manufacturer’s instructions for the right type of adhesive and curing time. Be precise and avoid gaps or lumps that could weaken the seal.
Positioning the New Rear Windshield
Carefully lift the new windshield using suction cups, aligning it with the frame markings. Slowly lower the glass into place, ensuring it fits snugly into the sealant bead. Press gently around the edges to ensure full contact and adhesion.
Securing and Curing the New Windshield
After installing the glass, use masking tape to hold it in position while the adhesive cures. Follow the manufacturer’s recommended curing time, typically 24 hours, to achieve maximum strength. Avoid opening doors or applying pressure to the window during this period.
Final Checks and Clean-Up
Once the adhesive has set, carefully remove the masking tape and clean the glass with a gentle glass cleaner. Inspect the seal for gaps or bubbles, and ensure the window is securely in place. Clean up broken glass and tools, disposing of any debris safely.
Additional Tips for a Successful Replacement
- Work in a shaded area to prevent the adhesive from curing too quickly.
- Handle the glass delicately to prevent cracks or chips.
- Follow all safety instructions when working with adhesives and glass.
- Consult your vehicle’s manual for specific instructions or precautions.
Common Challenges and How to Overcome Them
Replacing a rear windshield can be tricky, especially if the sealant has hardened over time. If adhesive is stubborn, use a hot air gun carefully to soften it without damaging the glass or vehicle. If you’re unsure about handling large glass pieces, consider enlisting the help of a friend or professional.
How to Prevent Future Damage
Pay attention to parking habits to avoid hitting objects that could crack the glass. Regularly clean the rear window to spot cracks early. Repair small chips promptly to prevent them from spreading.
Related Topics: When to Call a Professional
While doing it yourself can save money, some situations require expert help. If your windshield has deep cracks or is shattered, or if you’re uncomfortable handling large glass, it’s safer to hire a professional. They have specialized tools and experience to ensure a perfect fit and seal.
Replacing your rear windshield at home can be manageable with proper planning and safety precautions. Take your time to gather tools, prepare the workspace, and follow each step carefully. This not only saves money but also gives you a sense of accomplishment in maintaining your vehicle. Just remember, safety first—if unsure, don’t hesitate to seek professional assistance.
How to PROPERLY Replace a Rear Windshield (No Special Tools DIY)
Frequently Asked Questions
What tools do I need to replace a rear windshield at home?
To replace a rear windshield yourself, gather essential tools including a utility knife or windshield removal tool, a caulking gun with automotive-grade sealant, a suction cup tool for handling the glass, masking tape, gloves for safety, and a screwdriver set. Having these items ready ensures a smoother replacement process and helps prevent damage to the new windshield or vehicle.
How can I safely remove the old rear windshield without damaging my car?
Start by carefully removing any interior trim or panels around the windshield. Use a utility knife or specialized removal tools to cut through the old sealant. Apply gentle pressure with a suction cup to lift the glass while gradually working around the edges. Take your time and avoid sudden force to prevent cracking the vehicle’s frame or damaging adjacent surfaces.
What is the best way to ensure proper sealing when installing the new rear windshield?
First, thoroughly clean the area around the opening to remove debris and old adhesive. Apply a fresh layer of automotive-grade sealant evenly around the frame. Carefully position the new windshield using suction cups, making sure it aligns perfectly. Press firmly to seat the glass and hold it in place until the sealant begins to set. Proper sealing prevents leaks and ensures long-lasting installation.
Are there any precautions I should take during the DIY rear windshield replacement?
Yes, wear protective gloves and eye protection to avoid injuries from glass shards or chemicals. Work in a well-ventilated area to safely handle fumes from sealants. Take your time to avoid rushing, which can cause mistakes. If you’re unsure about handling the glass or tools, consider seeking assistance or professional advice to ensure safety and quality results.
Final Thoughts
To replace the rear windshield at home, gather the necessary tools such as a glass cutter, adhesive remover, and new sealant. Carefully remove the broken glass, cleaning the frame thoroughly before installation. Apply the adhesive evenly and position the new windshield precisely.
Be patient and follow each step carefully to avoid damaging the vehicle. Once installed, let the adhesive cure properly before driving. With proper preparation and attention to detail, replacing the rear windshield at home becomes manageable.
In conclusion, replacing the rear windshield at home requires careful handling and patience. Follow these steps to ensure a successful installation. Whether you have a minor crack or complete break, knowing how to replace rear windshield at home saves time and money.


