To tint your car windows like a pro, start by thoroughly cleaning the glass, then carefully cut the tint film to fit each window, apply a high-quality solution to prevent bubbles, and finally, use a squeegee to smooth out the film for a flawless finish. With patience and attention to detail, you can achieve a sleek, professional look right at home.
In short, tinting your car windows involves cleaning the glass, cutting and applying the film, and smoothing out any bubbles. This guide walks you through each step to help you get professional results without the need for a professional. Whether you’re looking for privacy, UV protection, or just a style upgrade, learning how to tint your windows yourself can be both rewarding and cost-effective.
If you’re ready to give your car a fresh look and enjoy the benefits of tinted windows, following these simple steps will make the process straightforward and achievable. Not only does it enhance your vehicle’s appearance, but it also provides added comfort and protection against the sun’s rays. So grab your supplies and let’s get started on transforming your car’s windows seamlessly!
How to Tint Car Windows Step by Step
Gather All Necessary Materials Before You Start
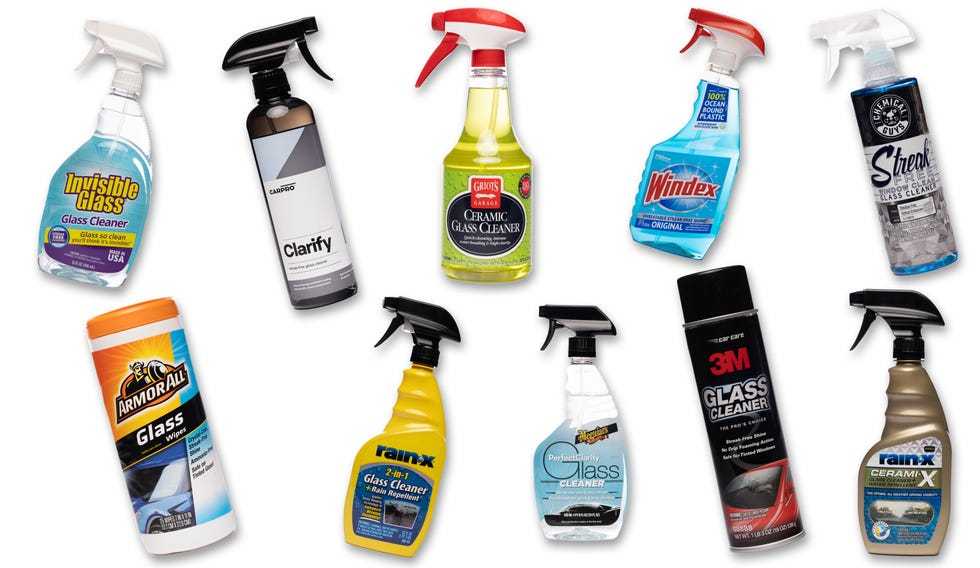
Before you begin tinting your car windows, collect all the needed supplies. You will need tint film, a spray bottle filled with a water and soap mixture, a squeegee or a plastic card, a utility knife, microfiber cloths, and isopropyl alcohol. Having everything ready ensures a smoother installation process and reduces interruptions.
Selecting the Right Tint Film
Choose the appropriate type of tint film based on your preferences and local laws. Options include dye-based, metalized, hybrid, or ceramic films. Consider factors like heat rejection, UV protection, and glare reduction when selecting your tint. Be aware that some states have strict regulations on the permissible darkness levels for window tint.
Measuring and Cutting the Tint Film
Start by measuring each window you plan to tint. Use a ruler or measuring tape to get precise dimensions. Cut the tint film slightly larger than the window to allow for trimming later. Use a utility knife for clean, straight cuts and double-check measurements before cutting to avoid waste.
Preparing Your Car Windows
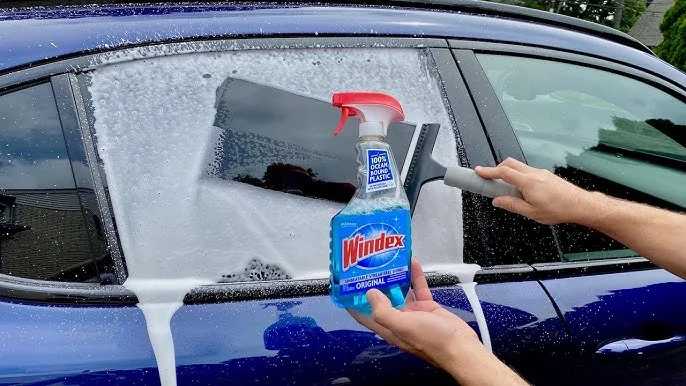
Thoroughly clean and dry each window surface using a microfiber cloth and isopropyl alcohol. Remove any dirt, dust, or grease to prevent bubbles and imperfections in the tint. Make sure the glass is completely dry before proceeding to avoid trapping moisture under the film.
Applying the Tint Film
Spray the water and soap mixture generously onto the outside of the window. Peel the backing off the tint film carefully, exposing the adhesive side. Place the film onto the wet window, starting at the top and aligning it precisely. The water allows you to reposition the film if needed.
Smoothing Out Bubbles and Wrinkles
Use a squeegee or plastic card to gently push out air bubbles from the center toward the edges. Work slowly and methodically, ensuring the film adheres flatly to the glass. If bubbles persist, lift the film gently and reapply, smoothing again afterward.
Trimming Excess Film
Once the film is properly positioned and bubbles are removed, trim the edges with a utility knife. Follow the contours of the window carefully for a professional look. Use a steady hand and measure twice to avoid cutting too much or too little.
Drying and Curing the Tint
Allow the tint to dry and cure for at least 24 to 48 hours without rolling down the windows. During this time, avoid washing the car or exposing the film to excessive moisture or dust. Proper curing ensures the tint bonds well and lasts longer.
Final Inspection and Touch-Ups
After the drying period, inspect the windows for any remaining bubbles or imperfections. Use a pin to gently prick bubbles if needed, then smooth them out again. If edges lift, use an additional strip of tint or adhesive to secure them properly.
Additional Tips for a Perfect Tint Job
– Work in a dust-free environment to prevent debris from settling under the film.
– Wear gloves to avoid fingerprints on the adhesive side.
– Take your time during each step for better results.
– Consider practicing on a small window first if you’re new to tinting.
– Follow local laws regarding legal tint darkness and reflective properties.
Common Mistakes to Avoid
Avoid rushing through the process, as this can lead to bubbles, wrinkles, or uneven edges. Do not peel the backing off the entire film at once; work in sections to control placement better. Never use too much water, which can cause the film to slip, or too little, which makes smoothing difficult.
Maintaining Your Tinted Windows
After installation, clean your windows gently with a soft cloth and avoid ammonia-based cleaners. Regular maintenance helps preserve the tint’s appearance and functionality. Also, avoid rolling down windows for at least a few days to allow the film to set.
Safety Precautions During Installation
Work in a well-lit, ventilated area to avoid inhaling fumes. Protect your eyes with safety glasses when cutting or trimming. Wear gloves to prevent fingerprints and skin irritation. Keep tools away from children during the process.
Additional Resources and Professional Help
If you’re unsure about DIY tinting, consider seeking professional services for a flawless finish. Many auto shops offer expert installation with warranties. You can also find tutorial videos online for further guidance and tips.
Summary of the Step-by-Step Process
- Gather all materials needed before starting
- Select the proper tint film according to your preferences and legal restrictions
- Measure and cut the tint film to size
- Clean and prepare each window thoroughly
- Apply the film carefully, smoothing out bubbles and wrinkles
- Trim excess film for a neat edge
- Allow the tint to dry and cure properly
- Inspect and make any necessary adjustments or touch-ups
Following these detailed steps will help you achieve professional-looking results when tinting your car windows. Remember to be patient and meticulous, as quality results depend on careful application. With practice, your skill will improve, and you’ll enjoy the benefits of cooler, private, and stylish car windows.
How To Tint Windows – Window Tinting For Beginners – Learn To Tint Windows – Tint Training Classes
Frequently Asked Questions
What materials do I need to properly tint my car windows?
To tint your car windows, gather high-quality tint film suitable for automotive use, a spray bottle filled with a mixture of water and a few drops of dish soap, a squeegee or a plastic card to smooth out bubbles, a utility knife or razor blade for trimming, a clean microfiber cloth, and isopropyl alcohol to clean the windows thoroughly before application. Having these tools ready will help ensure a smooth installation process.
How can I prepare my car windows before applying the tint?
Start by thoroughly cleaning the windows with isopropyl alcohol and a microfiber cloth to remove dirt, grease, and any residues. Use a scraper or razor blade to eliminate old tint or adhesive films if present. Make sure the windows are completely dry and free of dust or lint. Proper preparation creates a clean surface that helps the tint adhere evenly and reduces the risk of bubbles or imperfections.
What is the best way to apply tint film without creating bubbles or wrinkles?
Begin by spraying a soapy water solution onto the window surface and the adhesive side of the tint film. Position the film on the glass, then use a squeegee or plastic card to press out air bubbles from the center outward. Work slowly and carefully, reapplying the solution as needed to allow adjustments. After smoothing out the surface, trim any excess film along the edges with a utility knife. Patience during these steps ensures a clean, bubble-free finish.
How long should I wait before rolling down the windows after tint application?
Allow the tint to cure properly by waiting at least 24 to 48 hours before rolling down the windows. This period gives the adhesive time to bond securely with the glass. Check the manufacturer’s instructions for specific curing times, as some films may require longer periods to fully set. Avoid rolling down the windows too early, which can cause the tint to shift or develop air bubbles.
What tips can help me achieve a professional-looking tint finish?
Work in a clean, dust-free environment and take your time during each step. Use plenty of soapy water to facilitate smooth positioning of the film and to prevent bubbles. Gentle, even pressure with the squeegee ensures a uniform application. Carefully trim excess material and avoid touching the adhesive side after cleaning. Patience and attention to detail will result in a sleek, professional tint job that enhances your vehicle’s appearance and privacy.
Final Thoughts
To tint car windows step by step, start by cleaning the windows thoroughly to remove dirt and grease. Measure and cut the film to fit each window precisely. Spray the window with a solution of water and a few drops of soap before applying the tint. Use a squeegee to eliminate bubbles and ensure a smooth finish. Allow the film to set and dry completely for optimal results. Following these steps makes the process straightforward and effective, ensuring a professional-looking tint every time.


