To use car window markers effectively, start by cleaning the surface thoroughly to ensure the ink adheres properly. Then, shake the marker, test it on a small area, and carefully draw your design or message. Let it dry completely before touching or exposing it to weather elements. Always store the markers capped and upright for longevity.
Using car window markers is a fun and easy way to personalize your vehicle or communicate messages during events. To get the best results, clean your windows well before drawing, use smooth, steady strokes, and give the ink ample time to dry. With practice, you’ll be able to create vibrant, eye-catching designs that last.
If you’re wondering how to use car window markers, the key is preparation and patience. Start with a clean surface, shake the marker well, and draw gently to avoid smudging. Let your artwork dry completely before rolling your windows up or exposing your car to weather. This simple process makes creating temporary or permanent designs on your vehicle straightforward and enjoyable, perfect for everything from decoration to advertising.
How to Use Car Window Markers
Car window markers are a fun and easy way to personalize your vehicle or share messages with others. Knowing how to use them properly can help you create clear, vibrant designs that last. This guide will walk you through the best practices for applying, using, and removing car window markers effectively.
Choosing the Right Car Window Markers
Start by selecting high-quality markers designed specifically for vehicle glass. Look for markers that offer bright colors, fade resistance, and weatherproof ink. These features ensure your artwork remains vivid over time, despite exposure to sunlight and rain.
Consider whether you want markers with different tip sizes. Fine tips are great for detailed writing or intricate designs, while broader tips work well for bold messages or large drawings. Check reviews and product descriptions to find markers suitable for your needs.
Preparing Your Vehicle Surface
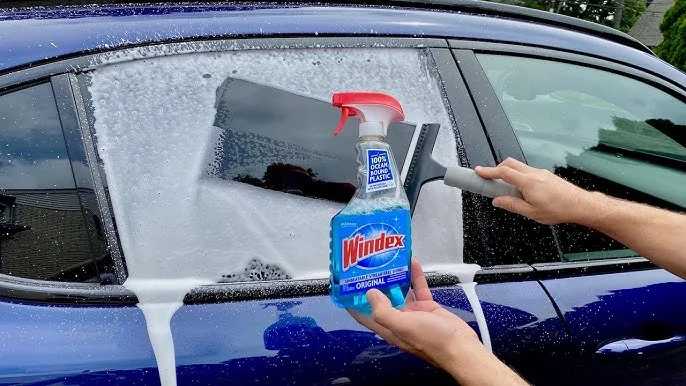
Before applying the markers, clean the window thoroughly. Use a glass cleaner and a lint-free cloth to remove dirt, dust, and grease. A clean surface helps the ink adhere better and prevents smudging or smearing.
Make sure the window is dry before you start drawing. Avoid applying markers under direct sunlight or on very hot surfaces, as heat can cause the ink to spread or not adhere properly.
Planning Your Design
Sketch out your ideas on paper first, especially if you’re creating a detailed design. This step helps you visualize how your message or artwork will look on the window.
Use light pencil marks directly on the glass if needed. Many markers are opaque enough to cover pencil lines, but this helps avoid mistakes during the actual drawing process.
Applying Car Window Markers
Step-by-step Drawing Process
- Start with a steady hand and draw slowly to ensure accuracy.
- Use the fine tip for writing letters or creating detailed elements.
- Switch to thicker tips for bold lines or filling in larger areas.
- Let each part dry for a few seconds before adding more ink to prevent smudging.
Work from top to bottom to avoid accidental smears. Keep a cloth or paper towel nearby to quickly clean mistakes or smudges.
Creating Clear and Vibrant Messages
Write in bold, simple fonts for maximum visibility. Use contrasting colors to make your message stand out, especially against dark or tinted windows.
If incorporating images or decorative elements, plan their placement carefully to maintain balance and readability.
Enhancing Your Design with Additional Techniques
Adding Colors and Shadows
Use multiple colors to make your artwork pop. Blending shades can add depth, while outlining with black or darker colors creates a sharp contrast.
For shadow effects, lightly sketch or layer darker tones around your main elements to give a 3D appearance.
Incorporating Text and Symbols
- Use clear, legible fonts for messages such as “For Sale” or “Happy Birthday”.
- Draw symbols or icons to complement your text, like hearts, stars, or smiley faces.
- Keep your messages simple for easy reading from a distance.
Drying and Setting Your Artwork
Allow the ink to dry completely before rolling down the windows or cleaning the glass. Drying times vary but generally take a few minutes to a half-hour.
To improve durability, some users apply a light spray of clear acrylic sealer over the artwork. This step can help resist smudges, water, and UV damage.
Maintaining and Preserving Your Car Window Art
Cleaning Your Artwork
Use a soft cloth or sponge with mild soap and water to gently wipe the surface. Avoid harsh chemicals or abrasive scrubbers, which can remove or smear the ink.
For stubborn stains or dirt, a mixture of water and vinegar works well without damaging the design.
Removing Car Window Markers
If you want to change your design or remove it altogether, use a window cleaner or rubbing alcohol. Spray it on the marked area and wipe with a clean cloth.
For tougher ink, apply a little more rubbing alcohol and gently scrub until the markings fade. Be gentle to prevent scratching the glass surface.
Tips for Long-Lasting and Effective Designs
- Apply the markers in cool, dry weather for best adhesion and drying times.
- Avoid touching your artwork until it is fully dry.
- Regularly clean the window to prevent dirt buildup that can obscure your design.
- Store unused markers capped tightly and away from extreme temperatures to keep them fresh.
Related Topics
Besides using car window markers, explore other ways to decorate your vehicle, such as magnetic signs or removable decals. These options can be easier to change frequently, especially if you often update your messages or designs.
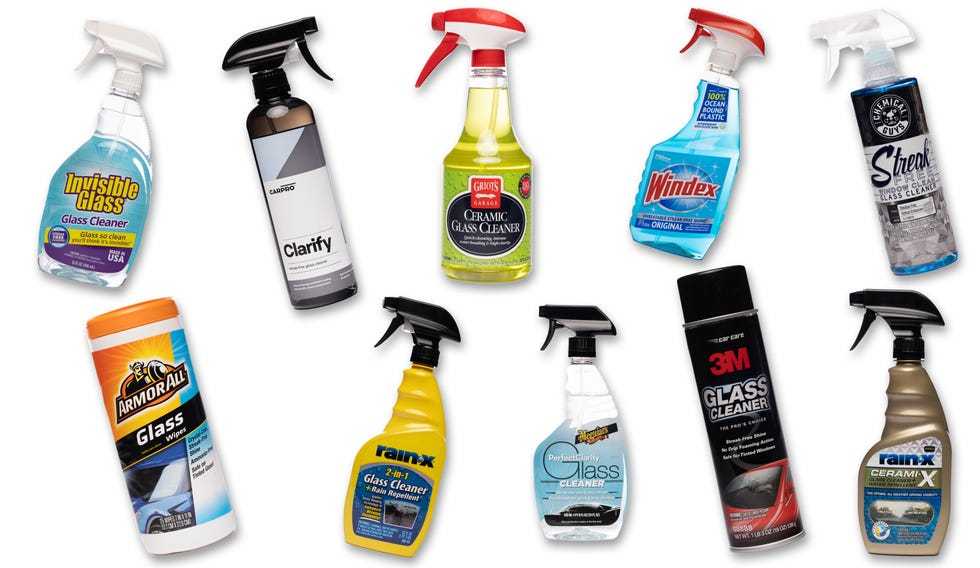
Learn about the best cleaning products for car glass and how to protect your vehicle’s interior from marker stains or overspray. Understanding these topics helps ensure your vehicle looks great and your artwork remains vibrant.
Can These Giant Markers Make Awesome Car Art?: 8 Washable Window Markers for Cars – 15mm Jumbo
Frequently Asked Questions
How can I prepare my car windows before applying the markers?
Start by thoroughly cleaning the windows with a glass cleaner to remove dirt, dust, and grease. Use a soft cloth or paper towels to ensure the surface is completely dry and free of any residues. This preparation helps the marker ink adhere better and prevents smudging or peeling shortly after application.
What techniques should I use to create precise designs with car window markers?
Use stencils or masking tape to outline your designs before drawing. For detailed work, work slowly and steady your hand for clean lines. If you make a mistake, gently wipe the area with a damp cloth before the ink dries. Practicing on paper beforehand can also help improve your control and accuracy.
How do I ensure the markings last longer on my car windows?
Allow the ink to dry completely before rolling down the windows or exposing the car to rain or heavy moisture. Applying a clear sealant or aerosol fixative designed for glass surfaces can also help protect your designs and extend their durability. Regularly clean your windows without abrasive materials to maintain the illustrations.
What steps should I follow to remove car window markings if needed?
Use a glass cleaner or rubbing alcohol to gently wipe off the markings. For stubborn areas, apply a little more alcohol or a commercial glass cleaner and let it sit for a few moments. Wipe the surface with a soft cloth until the ink lifts entirely, ensuring no residue remains that could interfere with future drawings.
Final Thoughts
Using car window markers is simple and effective for customizing your vehicle. Start by cleaning the window surface thoroughly to ensure the marker adheres well. Shake the marker well before use, then draw your design or message with smooth, steady strokes. Allow the ink to dry completely before closing the windows or touching the surface. By following these steps, you can easily learn how to use car window markers and create clear, lasting designs.


