To tint your car windows like a pro, start by gathering the right materials, understanding the legal requirements, and following a step-by-step process. With patience and attention to detail, you can achieve a sleek, professionally-looking finish right at home.
Tinting car windows enhances privacy, reduces heat, and adds a stylish touch to your vehicle. Learning how to do it yourself can save money and give you a sense of accomplishment. This guide will walk you through everything you need to know to tint your car windows effectively and confidently, from preparing your tools to applying the film smoothly and evenly. Whether you’re a beginner or looking to refine your skills, these simple steps will help you achieve professional results and enjoy your cooler, more private ride.
Learn How to Tint Car Windows
Tinting your car windows is a great way to add privacy, reduce heat, and protect your interior from sun damage. Whether you’re doing it for the first time or looking to improve your skills, understanding the process is essential. This section provides a detailed overview of how to learn how to tint car windows effectively.
Understanding the Benefits of Car Window Tinting
Before diving into the process, it’s helpful to know why tinting is popular among car owners. Tinted windows can block out harmful UV rays, helping you and your passengers stay comfortable. It also enhances security by making it harder for outsiders to see inside your vehicle.
Another advantage is that window tinting can protect your car’s interior from fading and cracking caused by sun exposure. Moreover, tinted windows can give your car a sleek, stylish look that boosts its overall appearance.
Legal Regulations and Tinting Laws
It’s important to understand the laws in your area before tinting your car windows. Different states and countries have specific limits on how dark your tint can be. These laws are designed to ensure driver safety and road visibility.
Common regulations include restrictions on the front windshield and front side windows. Always check with local authorities or a professional tinting shop to ensure compliance and avoid fines or penalties.
Types of Window Tint Films
Not all window tints are the same; choosing the right film makes a big difference. The most common types include:
- : Affordable and available in various shades, but may fade over time.
- : Reflective and durable, they reduce glare and block heat effectively.
- : Offer a matte finish, longer-lasting, and resist fading without interfering with electronics.
- : The top-tier choice, providing excellent heat rejection, UV protection, and durability.
Tools and Materials Needed for Tinting
Gathering the right tools can make your tinting job easier and result in a cleaner finish. Essential items include:
- High-quality window tint film
- Spray bottle filled with soapy water
- Utility knife or sharp blade
- Squeegee or rubber squeegee
- Microfiber cloths
- Heat gun or hairdryer
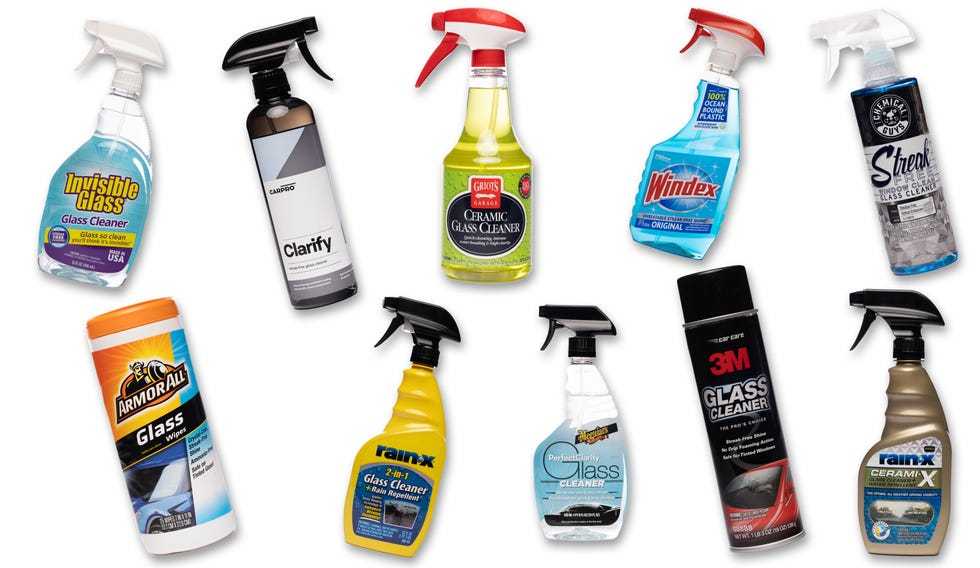
- Glass cleaner
- Gloves (optional but recommended)
Preparing Your Vehicle for Tinting
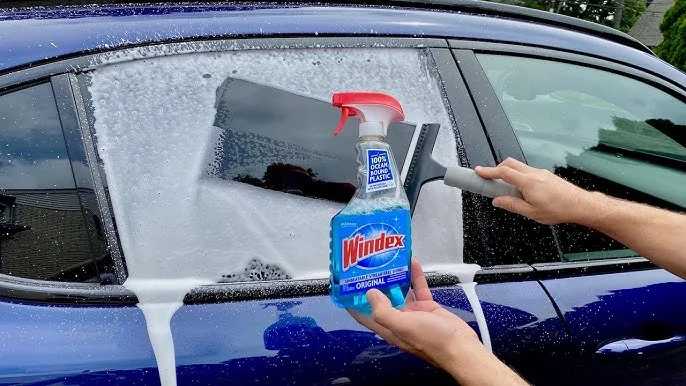
Start by thoroughly cleaning your windows to remove dust, dirt, and grease. Use a glass cleaner and microfiber cloth for a streak-free surface. A clean window helps the tint adhere better and reduces bubbles.
Next, carefully measure your windows to determine the right amount of film needed. Cutting the film slightly larger than the window allows for adjustments during application.
Step-by-Step Tinting Process
Step 1: Cutting the Tint Film
Lay your tint film on a clean, flat surface. Using your measurements, cut the film to size, leaving about 1 to 2 inches of extra material on all sides. This extra helps with positioning and trimming later.
Step 2: Preparing the Window
Spray the window generously with soapy water. This allows you to reposition the tint film easily and prevents it from sticking prematurely.
Step 3: Applying the Tint Film
Peel the backing off the tint film carefully. Spray the adhesive side with more soapy water. Place the wet film onto the wet window, adjusting for proper alignment.
Use a squeegee to smoothly eliminate air bubbles and excess water, working from the center outward. Be gentle but firm to prevent creases or tears.
Step 4: Trimming Excess Film
Once the film is securely in place, use a utility knife to trim the edges precisely. Take your time to ensure a clean, professional look without damaging the window rubber or frame.
Step 5: Heat Shrinking and Final Adjustments
Use a heat gun or hairdryer to gently shrink the film, especially on curved surfaces. This step helps the tint conform to the shape of your windows.
Re-squeegee the surface to remove any remaining bubbles or moisture, applying more heat as needed.
Drying and Curing Time
Allow the tint to cure for at least 24 to 48 hours before rolling down the windows or exposing the car to rain. During this time, avoid touching or cleaning the tinted windows to prevent damage.
Tips for Achieving a Professional Finish
Patience is key; take your time during each step. Work in a dust-free environment to avoid particles sticking to the film. Regularly rewet the film during application to decrease the risk of bubbles.
Practicing on a small or less visible window can help you gain confidence before tackling the main windows.
Common Mistakes to Avoid
- Not cleaning the windows thoroughly before applying the film
- Applying the tint in high heat or direct sunlight, which can cause premature drying
- Using dull blades for trimming, resulting in jagged edges
- Failing to use enough soapy water, leading to bubbles or wrinkles
- Ignoring local laws and regulations regarding tint darkness
Maintaining Your Tinted Windows
Once the tint is cured, clean your windows with a soft cloth and a gentle cleaner. Avoid abrasive materials or ammonia-based cleaning products that can damage the film.
Periodic inspections can help identify any bubbling, peeling, or scratches early so they can be repaired or replaced.
Professional vs. DIY Window Tinting
While DIY tinting saves money and can be rewarding, professional installation offers expert craftsmanship, especially on difficult curves and rear windows. Professionals also ensure compliance with local laws and provide warranties.
If you decide to do it yourself, invest in quality tools and materials, follow the steps carefully, and allot plenty of time for the job.
Related Topics to Explore
- Choosing the Right Tint Film: Comparing different types based on budget and needs.
- Benefits of Ceramic Window Tints: Why they’re considered the best for heat rejection and UV protection.
- Legal Considerations for Window Tinting: How to avoid fines and ensure your tint is legal.
- How to Remove Old Window Tint: A guide for replacing or updating your existing tint.
- Cost of Vehicle Window Tinting: Average prices for DIY and professional services.
Learning how to tint car windows provides a practical skill that can make your vehicle look better and feel more comfortable. Understanding the different types of films, legal rules, and application techniques is key to a successful tint job. With patience and attention to detail, you can get professional-looking results that last for years to come.
How To Tint Windows – Window Tinting For Beginners – Learn To Tint Windows – Tint Training Classes
Frequently Asked Questions
What are the essential tools needed for tinting car windows at home?
To tint car windows effectively, you need several key tools. These include a squeegee or plastic card to smooth out bubbles, a utility knife for trimming excess film, a spray bottle filled with a mixture of water and a few drops of dish soap, a clean microfiber cloth for cleaning, and a heat gun or hairdryer to help mold the tint to the curves of your windows. Having a steady hand and patience will also contribute to a professional-looking result.
How can I prepare my car windows before applying tint film?
Start by thoroughly cleaning the windows with a glass cleaner to remove dirt, dust, and grease. Use a razor blade or scraper to remove any old tint or glue residues. Make sure the surface is completely dry and free of streaks. When preparing, work in a dust-free environment to prevent particles from getting trapped under the film. Proper preparation ensures better adhesion and a smooth finish for your tint job.
What is the best way to apply the tint film without creating bubbles or creases?
Begin by spraying the window with the water-soap mixture, then peel the backing off the tint film and place it on the wet glass. Use a squeegee to press the film from the center outward, removing excess water and air bubbles. Keep the film moist during application to allow for adjustments. After positioning the film, use a heat gun or hairdryer to gently mold it to the window’s contours, and finally, trim any excess edges with a sharp blade.
How do I ensure the tint film adheres properly and lasts over time?
Ensure the surface is thoroughly cleaned and dried before applying the film. Apply the tint in a dust-free environment and work carefully to eliminate air bubbles. After installation, avoid rolling down the windows for at least 24-48 hours. Regularly clean the tinted windows with a gentle, ammonia-free cleaner to prevent damage. Properly applied, high-quality film can last for several years with minimal maintenance.
Are there legal considerations I should keep in mind when tinting my car windows?
Yes, each region has specific regulations regarding the darkness and reflectivity of window tint. Check local laws to ensure your tint complies with the legal limits for front, side, and rear windows. Using non-compliant tint can result in fines or the need to remove the film. To stay within legal boundaries, consider using films that specify they meet the required visible light transmission (VLT) percentages for your area.
Final Thoughts
Learning how to tint car windows is a practical skill that enhances your vehicle’s appearance and privacy. It involves choosing the right tint, preparing the surface, and applying the film carefully.
Practicing these steps ensures a clean, professional finish. Properly tinted windows also offer protection from UV rays and reduce glare while driving.
By understanding the process, you gain confidence to tint your car windows effectively. In conclusion, learn how to tint car windows to improve your vehicle’s style and comfort effortlessly.


