Thinking of giving your car a sleek, private look without breaking the bank? The best DIY car window tint is easy to apply, affordable, and offers excellent UV protection when chosen wisely. For a successful DIY tint job, pick a high-quality film that’s simple to install and lasts long without bubbling or peeling.
In short, the top car window tint for DIY projects combines affordability, ease of installation, and durability. Look for a film that’s beginner-friendly, offers good heat rejection, and complies with local laws to ensure a smooth and satisfying experience. With the right product, you can transform your vehicle’s look and comfort yourself without professional help.
Adding tint to your car windows is a fantastic way to boost privacy, reduce glare, and protect your interior from sun damage. But choosing the right tint for a DIY job can be tricky—some films are hard to work with, while others fade quickly. This guide will help you pick the best options suited for beginners, ensuring your DIY project turns out smooth, professional-looking, and long-lasting. Whether you’re a first-timer or just want a quick upgrade, knowing what to look for in a window tint will save you time, frustration, and money.
Best Car Window Tint for DIY: A Complete Guide to Choosing and Applying the Perfect Tint
Understanding the Different Types of Car Window Tints
Choosing the right tint starts with knowing the types available. There are primarily three kinds of window tint films: dyed, metallic, and ceramic.
Dyed films are affordable and good for reducing glare but may fade over time.
Metallic tints contain tiny metal particles that reflect heat and enhance privacy but can interfere with radio signals.
Ceramic films are top-tier, offering excellent heat rejection and UV protection without signal interference, though they tend to be more expensive.
For DIY projects, select a film that balances cost, ease of application, and durability.
Understanding these differences helps you pick the tint that best fits your needs and skill level.
Factors to Consider Before Choosing Your DIY Car Window Tint
Before buying tint film, evaluate several important factors.
Think about your local laws regarding tint darkness and reflectivity to avoid legal issues.
Check the level of heat rejection and UV protection the film provides; higher ratings mean better protection.
Consider your car’s window shape and size, as larger or complex windows may require more precise application.
Understand your budget since high-quality films cost more but often deliver better performance.
Finally, review your skill level—some films are easier to install and ideal for beginners, while others may require advanced techniques.
Choosing the Best Tint Film for DIY Application
Selecting the right tint film is essential for a successful DIY project.
Look for films that come with clear instructions and user-friendly features like adhesive backing or pre-cut options.
Consider getting a kit that includes application tools such as a squeegee, spray bottles, and cutting tools.
Polyethylene-based films are flexible and forgiving, making them suitable for novice installers.
Also, check customer reviews and ratings to see real-life experiences with the film, especially regarding ease of application and durability.
Opt for brands with a good reputation, as they often offer better quality and customer support.
Preparing Your Vehicle for Window Tint Installation
Preparation is key for a smooth DIY tint application.
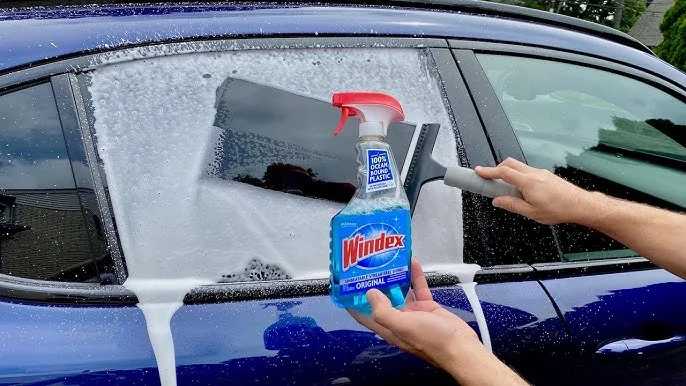
Wash your car thoroughly, focusing on the windows, to remove dirt, dust, and grease.
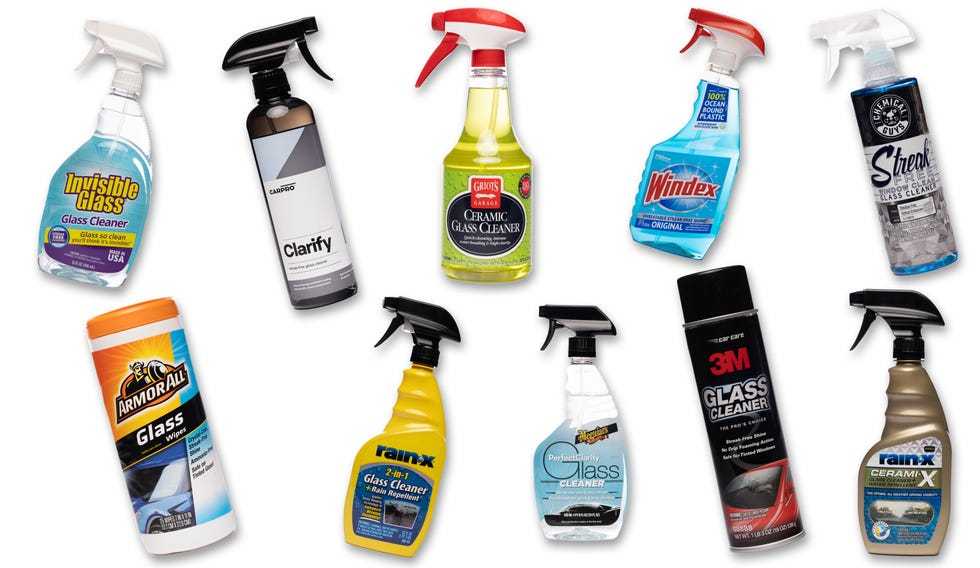
Use a glass cleaner and lint-free cloth for a streak-free surface.
Let the windows dry completely before starting the installation process.
Use painter’s tape to mark off areas around the window for precision.
Remove any existing tint or stickers if necessary, to prevent bubbles and peeling during application.
Gather all necessary tools beforehand to ensure a hassle-free process.
Step-by-Step Guide to Applying Car Window Tint
Applying tint requires patience and attention to detail.
Start by measuring your windows and cutting the film slightly larger than the window size.
Spray a mixture of water and a few drops of dish soap onto the window and the adhesive side of the film.
Carefully peel the backing off the film and place it on the wet window surface.
Use a squeegee to smooth out bubbles and excess water from the center outward.
Trim the excess film with a utility blade for a clean fit.
Wipe the surface with a lint-free cloth to remove smudges and ensure clarity.
Allow the film to dry and cure for at least 24 hours before rolling down the windows fully.
Tips to Achieve a Professional-Looking DIY Window Tint
Getting a clean, bubble-free finish takes practice.
Work in a clean, dust-free environment to prevent particles from getting trapped under the film.
Keep the application solution handy to reposition the film if needed.
Use a steady hand when trimming edges for a sharp, finished look.
Patience is essential—take your time to smooth out bubbles and wrinkles.
If bubbles appear after installation, puncture them carefully with a needle and smooth out the air.
Regularly clean your tools to avoid dirt transfer onto the film.
Common Challenges and How to Overcome Them
DIY tinting can present some hurdles, but they are manageable.
Bubbles are common, but they can often be pressed out with a squeegee or needle-punctured.
Wrinkles may form if the film is not applied smoothly; rewetting and repositioning can fix this.
Over-cutting or uneven edges can be avoided by carefully measuring and trimming.
Fading or peeling over time can stem from poor initial application or low-quality film; choosing the right film reduces this risk.
Patience and following instructions diligently will help you avoid most issues.
Maintaining and Caring for Your DIY Tinted Windows
Proper maintenance extends the life of your tint.
Wait at least one week before rolling down windows after installation to allow the adhesive to set.
Clean tinted windows with a soft cloth and a gentle, ammonia-free cleaner.
Avoid abrasive scrubbers that can scratch the film surface.
Do not use window partner sprays with high alcohol content, as they can damage the tint.
Regular inspections can identify peeling or bubbles early, allowing for timely repairs.
Proper care helps your tint stay vibrant and protective for years.
Additional Tips for Successful DIY Window Tinting
For better results, consider these extra tips.
Practice on a small or less visible window first to build confidence.
Watch instructional videos to understand techniques visually.
Use a heat gun cautiously to conform the film to complex curves, if necessary.
Keep your workspace clean and free of dust at all times.
Always follow the manufacturer’s instructions closely for best results.
Remember, patience and careful attention to detail are key for a professional finish.
Related Topics: Advanced Techniques and Troubleshooting
Once comfortable with basic tinting, you can explore advanced methods.
Techniques like contour cutting or using a heat gun can help tackle curved or complex windows.
Troubleshooting common issues such as peeling edges or persistent bubbles is vital for long-term satisfaction.
Joining online forums or local DIY groups can provide valuable tips and support.
Keep practicing, and soon you’ll be able to handle challenging projects with more confidence.
Always prioritize safety and quality to achieve the best results.
This comprehensive guide aims to give you all the information needed to select the best car window tint for DIY projects. With the right preparation, tools, and patience, you can achieve a sleek, professional-looking finish that enhances your vehicle’s appearance and comfort.
How to Choose the RIGHT Window Tint | Don't Make A Mistake
Frequently Asked Questions
What tools are essential for applying car window tint yourself?
To achieve a professional-looking tint, gather tools such as a squeegee, a razor blade or utility knife, a spray bottle with soapy water, a clean microfiber cloth, and measuring tape. These tools help you cut and apply the film smoothly, avoiding bubbles and wrinkles during installation.
How can I choose the right tint darkness for my vehicle?
Select a tint darkness that complies with local laws and suits your preferences for privacy and glare reduction. Test different shades by holding samples against your window before purchasing. Opt for a film that balances visibility from inside and outside, ensuring safety and legal compliance.
What are some common mistakes to avoid during a DIY tint installation?
Avoid rushing the process or skipping surface preparation. Make sure the glass is thoroughly cleaned and free of dust and grease. Do not stretch the film excessively, and take your time aligning it properly. Small errors like air bubbles or miscuts can be difficult to fix once the film sets.
How can I ensure the tint adheres properly and lasts long?
Apply the tint in a dust-free environment with stable temperatures. After installation, use a squeegee to remove air bubbles and excess water. Allow the film to cure as recommended by the manufacturer, typically for a few days, and avoid rolling down windows immediately afterward.
Is it possible to remove DIY window tint if I change my mind later?
Yes, you can remove DIY window tint using heat from a hairdryer or heat gun to loosen the adhesive. Carefully peel back the film and use a glass cleaner or adhesive remover to clean any remaining residue. Patience and gentle methods help prevent damage to the glass during removal.
Final Thoughts
The best car window tint for diy is easy to install and cost-effective. It offers good heat rejection and privacy without professional help. Choosing a product with clear instructions ensures a smoother process.
With proper preparation, you can apply the tint neatly and efficiently. Focus on cleaning the window thoroughly and working in a clean environment.
In conclusion, selecting the best car window tint for diy suits those who want a quick, affordable upgrade. It provides excellent results if you follow the instructions carefully.


