Quick fix for car window tint bubbles? Carefully prick the bubbles with a pin, smooth out the air, and reapply gentle heat with a hairdryer to help the tint adhere smoothly. For a lasting solution, you’ll want to drain the trapped air and fix the bubbles without damaging the tint or window.
Bubbles in car window tint can be frustrating and ruin the sleek look of your vehicle. Luckily, many bubbles can be repaired with a few simple steps if caught early. The key is to carefully release trapped air and ensure the tint adheres properly to the glass again. Whether you notice small bubbles forming during installation or after, addressing them quickly can save you from costly re-tinting. In this guide, we’ll walk you through effective methods to fix those unsightly bubbles, helping you restore your car’s window tint to professional-looking perfection without needing to replace the entire film.
How to Fix Car Window Tint Bubbles
Understanding Why Bubbles Form in Car Window Tint
Bubbles in car window tint happen mainly because of air getting trapped during installation. Sometimes, moisture also gets trapped under the film, causing bubbles. Poor application techniques or using low-quality tint materials can make bubbles more likely. Recognizing the cause helps in preventing or fixing them effectively.
Common Causes of Bubbles in Car Window Tint
- Inaccurate application techniques
- Applying tint in humid or dusty environments
- Using low-quality or incompatible tint films
- Failure to properly clean the window surface before installation
- Bottom edges or corners not sealed properly
How to Prevent Bubbles Before Installation
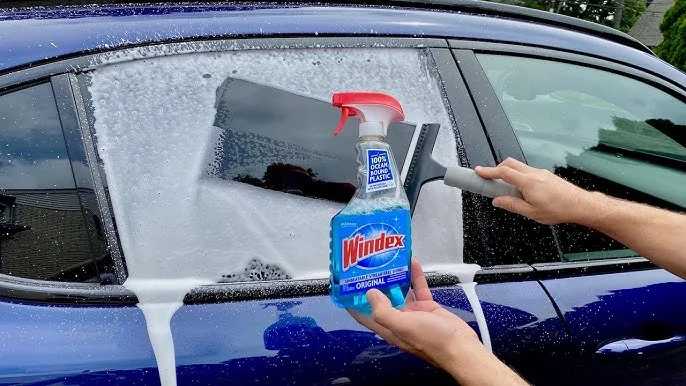
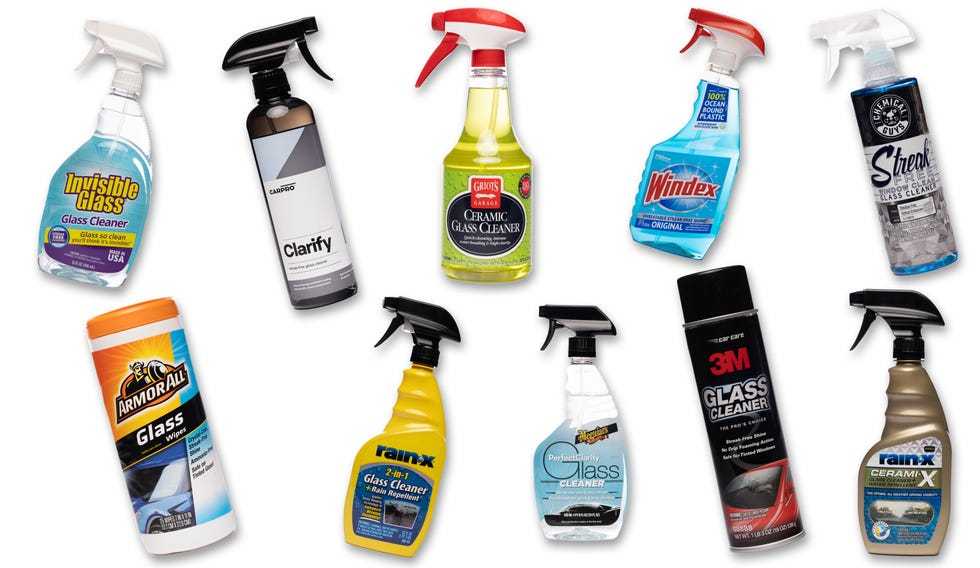
Proper preparation can significantly reduce bubbles. First, thoroughly clean the window using a glass cleaner and a lint-free cloth. Next, ensure you work in a dust-free, climate-controlled environment. Use high-quality tint film and tools like a squeegee and spray solution to apply the film smoothly.
Tools Needed to Fix Car Window Tint Bubbles
- Plastic or rubber squeegee
- Spray bottle with soapy water or specific tint application solution
- Pin or needle
- Blower or heat gun (optional but helpful)
- Lint-free cloth
- Alcohol-based cleaner
Step-by-Step Guide to Removing Small Bubbles
- Start by cleaning the window again to remove any dust or dirt that can interfere with the removal process.
- Use a spray bottle to lightly dampen the surface with soapy water. This allows for easier movement of the tint film.
- Gently lift the edge of the bubble area using your fingers or a pin, but only if the film is loosely attached.
- Use a squeegee to push the bubble toward the edge, applying firm but gentle pressure.
- Be sure to keep the surface and film wet to prevent scratching or tearing.
Handling Larger or Persistent Bubbles
For bigger or stubborn bubbles, more care is needed:
- Use a pin or needle to carefully puncture the bubble’s center, then smooth out the air.
- Reapply a small amount of water or application solution to help move the film.
- If the bubble is close to the edge, peel back the film slightly and reapply it, smoothing out as you go.
When to Use Heat for Bubble Removal
Applying gentle heat can help the film become more pliable, making it easier to smooth out bubbles. Use a heat gun or hairdryer set to a low temperature, keeping it at least a few inches away to prevent damage. Warmth helps the tint adhere better and reduces the appearance of bubbles.
Re-Sealing or Reapplying the Tint
If bubbles are persistent or large, reapplication might be necessary. Carefully peel back the affected section, clean the window again, and reapply the film. Use plenty of application solution to position the tint accurately and remove all trapped air.
Professional Repair vs. DIY Fixes
While minor bubbles can often be fixed at home, large or stubborn bubbles may require professional attention. Experts have specialized tools and experience to ensure a clean look. DIY fixes are suitable for small bubbles but always proceed carefully to avoid damaging the tint.
Additional Tips for Maintaining Your Window Tint
To prevent future bubbles:
- Avoid washing windows with abrasive cleaners or scrubbing tools.
- Don’t lower or tint windows during extreme weather conditions.
- Regularly clean the tint with a soft cloth and gentle cleaner.
- Address any damage or bubbling early before it worsens.
Common Mistakes to Avoid When Fixing Bubbles
- Trying to fix bubbles without cleaning the surface thoroughly
- Applying excessive pressure when smoothing out bubbles
- Using inappropriate tools that can scratch or damage the tint
- Attempting to fix large bubbles without proper heating or reapplication
Additional Tips for a Long-Lasting Tint
Use a high-quality tint film designed for durability and heat resistance. Follow manufacturer instructions precisely during installation. Regular maintenance and prompt repairs will keep your tint looking smooth and clear for years.
Fixing car window tint bubbles requires patience and proper technique. Start with thorough cleaning and work slowly when smoothing out or reapplying the film. Use the right tools and heat carefully to aid in the process. Proper application and maintenance prevent bubbles from forming and help your tint last longer. Whether fixing small bubbles yourself or seeking professional help for bigger issues, understanding the correct methods ensures a clean, bubble-free finish that enhances your car’s appearance and comfort.
Remove old bubbled window tint #windowtint #windowfilm #diy #tint #howto
Frequently Asked Questions
What steps can I take to smooth out bubbles that appear after tinting my car windows?
To smooth out bubbles post-application, start by gently pushing the bubbles toward the edges using a squeegee or a credit card wrapped in a soft cloth. If the bubbles are stubborn, use a pin to carefully puncture them and then smooth out the area. Applying heat with a heat gun or a hairdryer can help the film settle better, but ensure you keep the heat at a safe distance to avoid damaging the tint. Patience and gentle handling will help the solution blend seamlessly into the window surface.
How can I prevent future bubbles from forming in my car window tint?
Ensure the window surface is spotless and free of dust, dirt, and grease before applying the tint. Use a high-quality cleaning solution and lint-free cloth to clean the glass thoroughly. Properly aligning the tint film and applying it evenly with a squeegee prevents air pockets. Also, work in a dust-free environment with controlled temperature and humidity. Following detailed instructions during installation helps minimize the risk of bubbles forming later.
Is there a safe way to fix large bubbles that have appeared long after the tinting process?
If large bubbles develop after some time, you can carefully lift the edges of the affected area and use a pin to release trapped air. After releasing the bubble, use a squeegee to push the air toward the edge of the film. Applying gentle heat can help the tint conform better to the glass. However, if the bubbles persist or cover a significant area, consulting a professional installer may provide a more durable solution and prevent damaging the tint or the window.
Final Thoughts
Pour réparer les bulles dans la teinte de fenêtre de voiture, commencez par nettoyer la surface. Ensuite, utilisez une aiguille pour percer délicatement chaque bulle. Pressez doucement pour expulser l’air et lissez la zone.
Pour éviter que cela ne se reproduise, assurez-vous que la surface est propre et sèche avant l’application. Si les bulles persistent, il peut être nécessaire de retirer la film et de recommencer avec une nouvelle couche.
En résumé, savoir comment fixer les bulles dans la teinte de fenêtre de voiture est essentiel pour un fini professionnel. Suivez ces étapes simples et fixez correctement le film.


