Why Is My Car Window Tint Bubbling Causes And Fixes
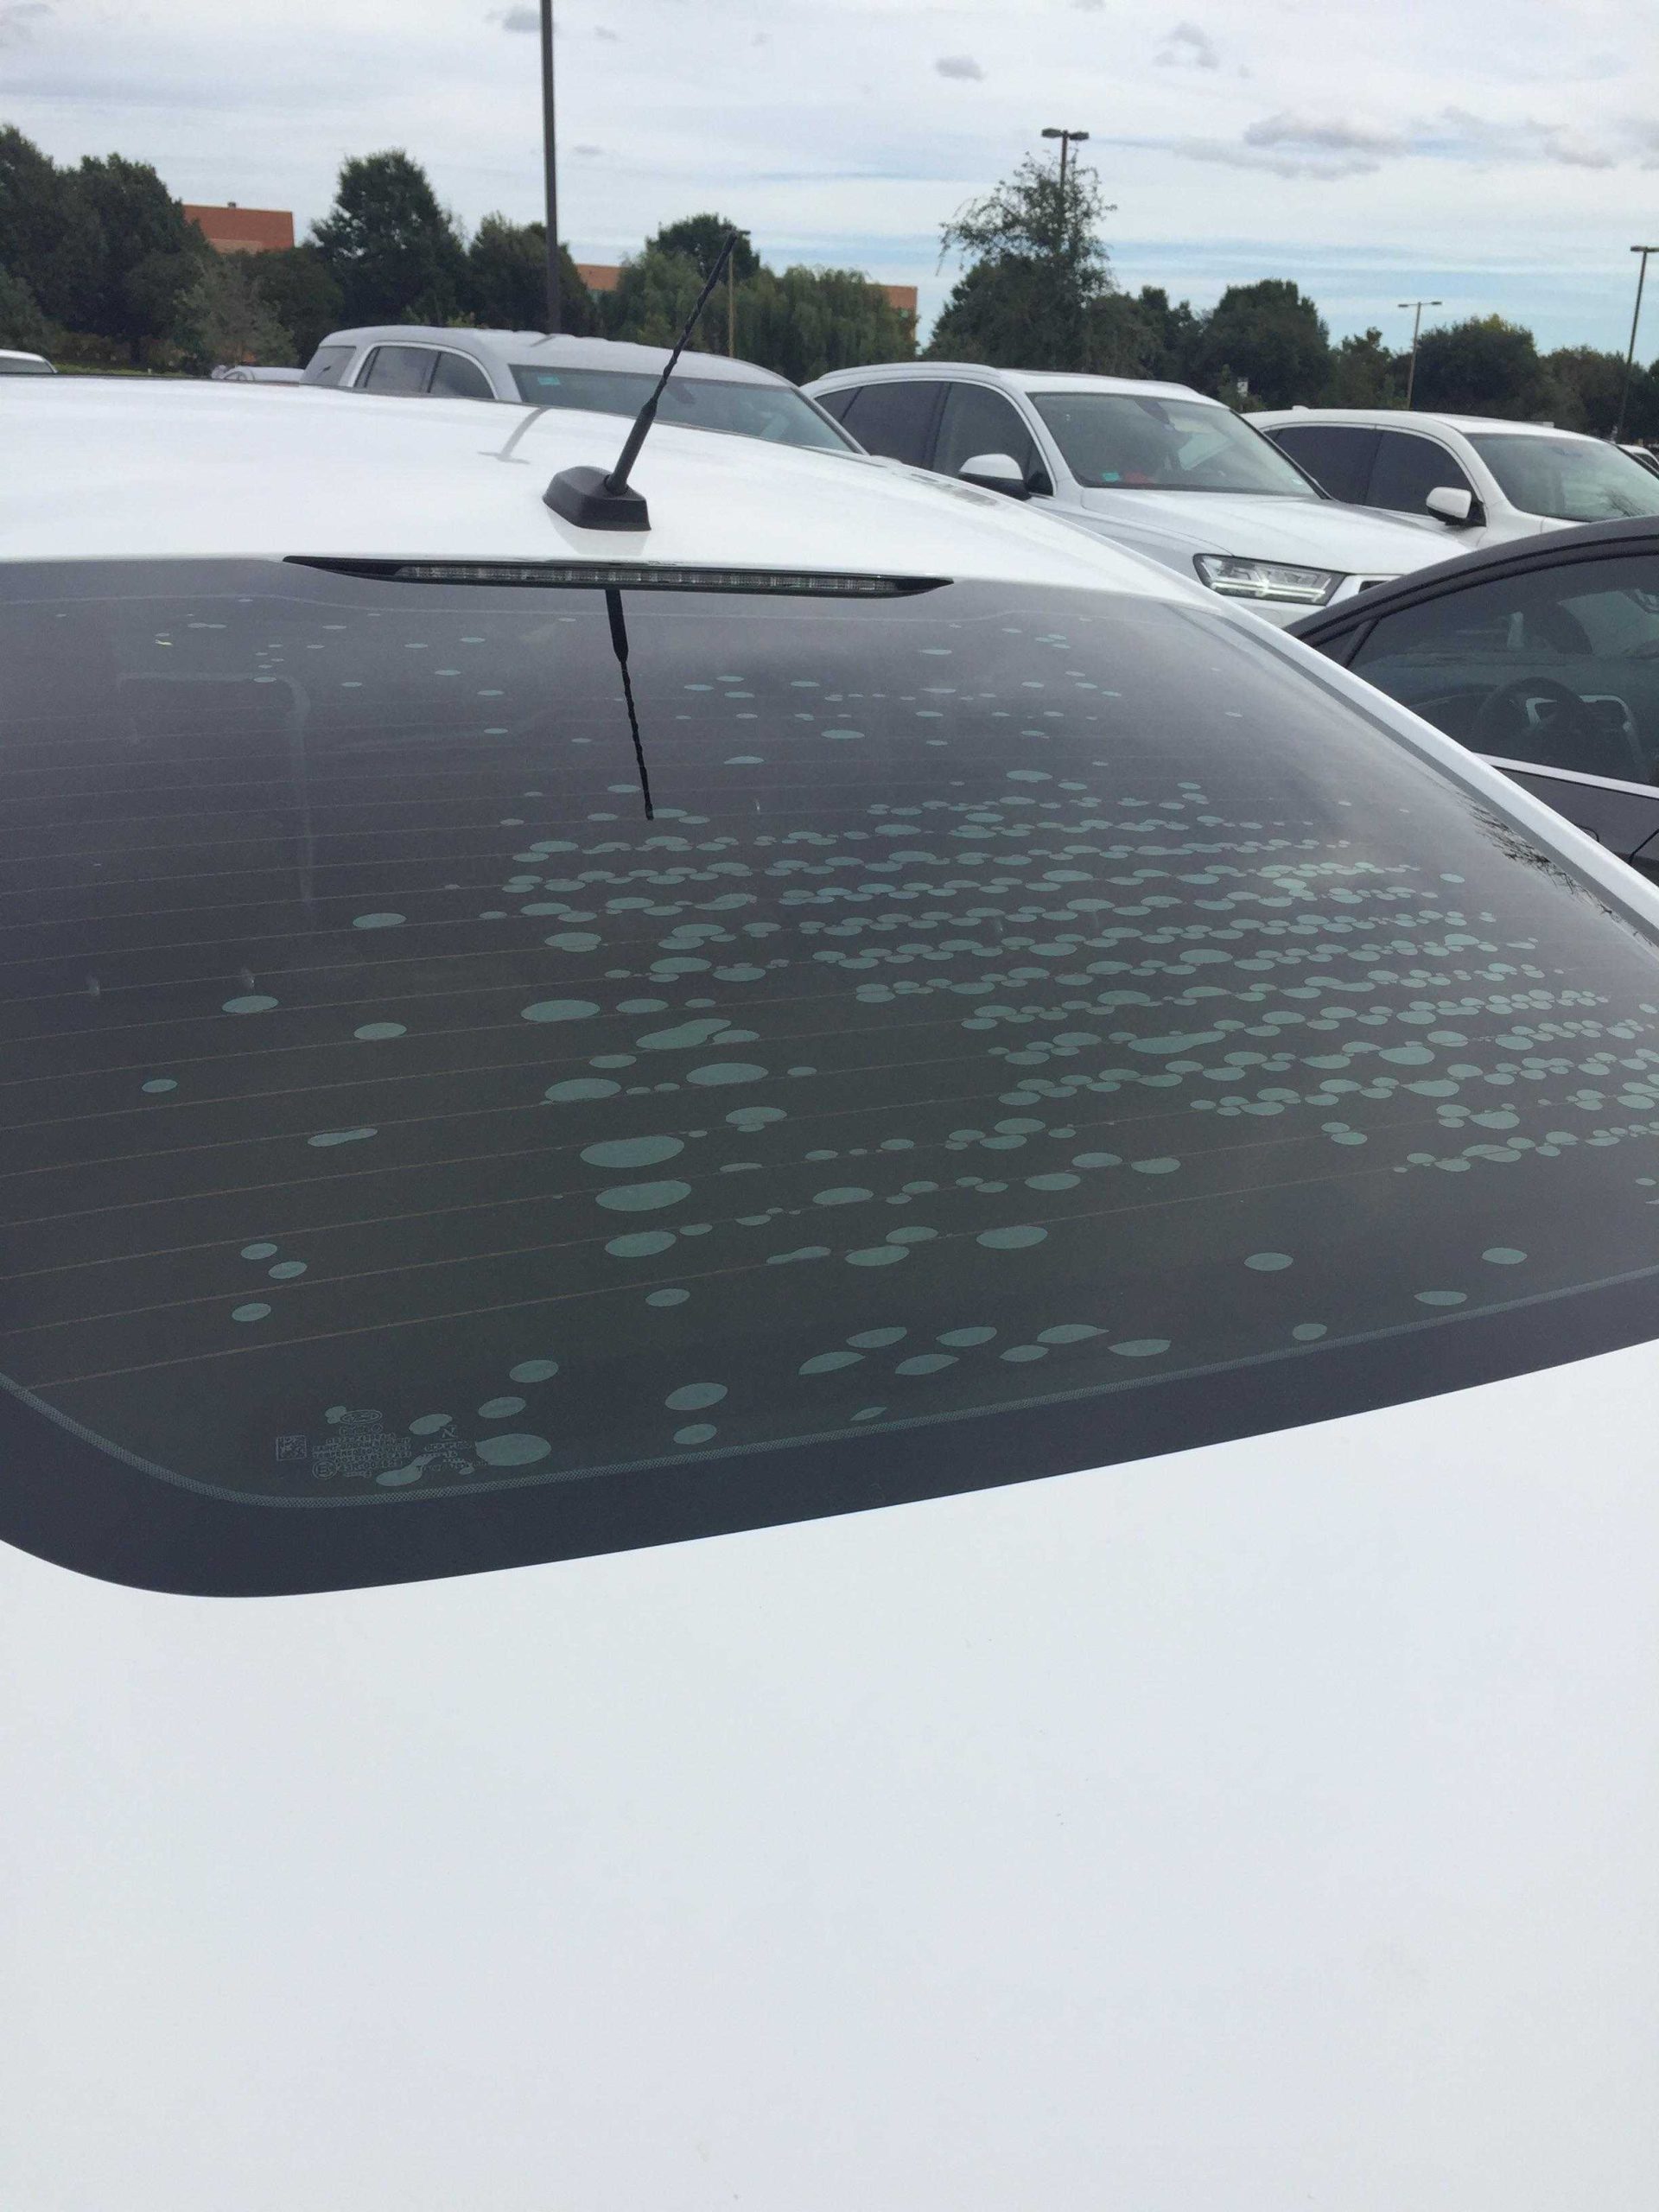
Bubbling window tint can turn your sleek ride into a canvas of unsightly blisters, making you wonder what went wrong. The quick answer is that bubbles form due to poor installation, age, or exposure to heat and moisture, which causes the adhesive to loosen or trap air underneath. Addressing this issue early can save you money and restore your car’s appearance.
If your car window tint is bubbling, it’s often a sign of either improper application, age, or environmental damage. These bubbles can not only diminish your vehicle’s aesthetic but also impact your privacy and UV protection. Understanding why bubbles form helps you decide whether to attempt a DIY fix or seek professional help. The good news is that most bubbling issues can be prevented or repaired with the right approach, ensuring your windows stay clear, sleek, and bubble-free for longer.

Why Is My Car Window Tint Bubbling?
Understanding the Basics of Car Window Tinting
Car window tinting involves attaching a thin film to your vehicle’s windows to block UV rays, reduce glare, and improve privacy. The tinting material is applied using a special adhesive that bonds the film to the glass surface. When installed correctly, the tint should stay smooth and secure for years. However, bubbling can occur, which affects both appearance and function.
Common Reasons Behind Bubbling in Car Window Tint
Bubbling usually happens due to a few key reasons. Knowing these causes can help you decide whether to fix the problem yourself or seek professional help. The most common issues involve improper installation, environmental factors, and the quality of materials used.
Improper Installation Techniques
One main reason for bubbling is incorrect installation. If the installer did not properly clean the glass beforehand, dirt and dust could get trapped under the film. This causes air pockets to form, leading to bubbles. Rushing during installation can also cause inconsistent adhesion, creating bumps and bubbles over time.
Poor Quality or Defective Tint Film
Low-quality tint films are more prone to bubbling. Cheaper films may not have the necessary adhesive strength or clarity. Sometimes, defective rolls of tint contain air bubbles or other imperfections that become visible after application. Investing in good quality films reduces these risks significantly.
Environmental Factors and Temperature Variations
Extreme weather conditions can lead to bubbling. High temperatures during or immediately after installation can cause the adhesive to become overly soft and trap air. Conversely, rapid cooling can also cause the film to contract unevenly and create bubbles. Humidity levels during installation are also critical; high moisture can interfere with proper adhesive curing, resulting in bubbles.
Steps in the Bubble Formation Process
Bubbles are essentially pockets of air or moisture trapped between the film and glass. They can form immediately after installation or appear gradually over time. Understanding this progression helps in diagnosing the root cause.
Immediate Bubbles Post-Installation
These often happen because of dust, dirt, or improper cleaning before applying the tint. Any foreign particles can prevent complete adhesion, resulting in bubbles right after the installation.
Gradual Bubbles Over Time
Bubbles that appear weeks or months later indicate problems like adhesive failure, moisture seeping in, or geographical issues such as temperature fluctuations. These bubbles tend to grow if not addressed promptly.
How to Identify Bubbling Problems Early
Regular inspection of your tinted windows helps catch bubbling issues early. Look for small air pockets or irregularities along the edges of the film. Bulging bubbles often indicate more serious bonding issues that may worsen without intervention.
Visual Inspection Tips
- Check for visible air pockets or blisters
- Observe if bubbles grow larger over time
- Notice any peeling or lifting of the film edges
If any of these signs appear, it’s best to evaluate the cause and seek repair options.
How to Prevent Car Window Tint Bubbling
Prevention is always better than fixing problems later. Proper installation, quality materials, and controlled environmental conditions can help maintain a smooth, bubble-free tint.
Proper Installation Practices
– Ensure the glass surface is thoroughly cleaned with alcohol and non-abrasive cloths before installation.
– Use professional tools like squeegees to remove air and moisture evenly.
– Follow manufacturer instructions carefully, especially temperature and curing time recommendations.
Using High-Quality Tint Films
– Purchase films from reputable brands known for durability and clarity.
– Check for warranties that cover bubbling or defects.
– Avoid cheap or counterfeit products that lack proper adhesive or UV protection.
Optimal Environmental Conditions
– Install tints in a climate-controlled environment to prevent rapid temperature changes.
– Avoid high-humidity days when moisture can interfere with adhesive bonding.
– Allow sufficient curing time before exposing windows to sunlight or extreme weather.
DIY Fixes for Bubbling Car Window Tints
Minor bubbles that appear shortly after installation can sometimes be fixed at home. However, extensive bubbling often requires professional attention.
Small Bubbles and How to Remove Them
– Use a pin or needle to carefully puncture the bubble.
– Gently press out the trapped air with a squeegee or cloth.
– Reapply heat using a hairdryer on low setting to help the adhesive settle.
When to Seek Professional Repair
– If bubbles are large or multiple, professional removal and reapplication may be the best option.
– Professional technicians can also identify and fix underlying issues such as improper adhesion or moisture infiltration.
Professional Solutions for Bubbling Tints
Experts can remove the bubbling film without damaging your windows. They may recommend re-tinting with higher-quality films and better installation techniques.
Re-tinting Process
– Removal of the old, bubbled film using specialized tools.
– Thorough cleaning of the glass surface.
– Proper reinstallation with attention to environmental and technical details.
Long-Term Maintenance Tips
– Regularly inspect your windows for early signs of bubbling.
– Avoid rolling down windows or exposing tinted surfaces to harsh chemicals.
– Schedule professional check-ups if your tint begins to bubble or peel.
Related Topics to Consider
- Best types of window tint films for durability
- How to choose a professional tint installer
- Benefits of high-quality window tinting
- Legal tinting limits in your area
Addressing bubbling in car window tint requires understanding its causes and taking proactive steps. Proper installation, using quality materials, and maintaining optimal environmental conditions extend the life of your tint and keep your vehicle looking sharp. If bubbling has already appeared, quick action can prevent further damage and preserve both the appearance and functionality of your windows.
Remove old bubbled window tint #windowtint #windowfilm #diy #tint #howto

Similar Posts