To quickly remove scratches from your Harley windshield, start by gently polishing the affected area with a specialized plastic polish or a DIY mixture of toothpaste and water. For deeper scratches, wet sanding with fine-grit sandpaper followed by polishing can restore clarity. Regularly maintaining your windshield with protective coatings helps prevent future scratches and keeps it looking like new.
Scratches on your Harley windshield can be frustrating, but don’t worry—most minor marks can be polished out easily. The key is choosing the right method based on the depth of the scratch, whether it’s a superficial scuff or a deeper gouge. With a little patience and the right products, your windshield can regain its clarity and shine, making your rides safer and more enjoyable.
Getting scratches on a Harley windshield is an all-too-common problem for riders who love the open road. Whether from debris, cleaning, or accidental bumps, these blemishes can hinder your view and detract from your bike’s sleek appearance. Fortunately, there are simple, effective ways to tackle this issue at home without needing professional help. This article will guide you through easy steps you can take to remove or minimize scratches, helping you keep your Harley looking sharp and ensuring your rides are crystal clear every time.
How to Remove Scratches from Harley Windshield
Understanding Why Windshield Scratches Happen
Scratches on your Harley windshield can occur for various reasons. Common causes include debris hitting the glass, improper cleaning methods, or contact with abrasive materials. Recognizing the root cause helps prevent future damage and guides the right repair method.
Assessing the Depth of the Scratches
Before attempting any removal, check how deep the scratches are. Light surface scratches usually can be polished out, while deeper gouges might require professional help. To examine the scratches, hold a coin or fingernail near the damage to see if it catches or feels rough.
Gathering the Necessary Supplies
Having the right tools and products makes scratch removal easier. Essential items include:
- Microfiber cloths
- Automotive glass polish
- Cerium oxide paste
- Polishing pads or applicator pads
- Water and mild soap
- Plastic or glass polishing compound
Avoid using household cleaners or abrasive materials that can worsen scratches.
Cleaning Your Windshield Properly
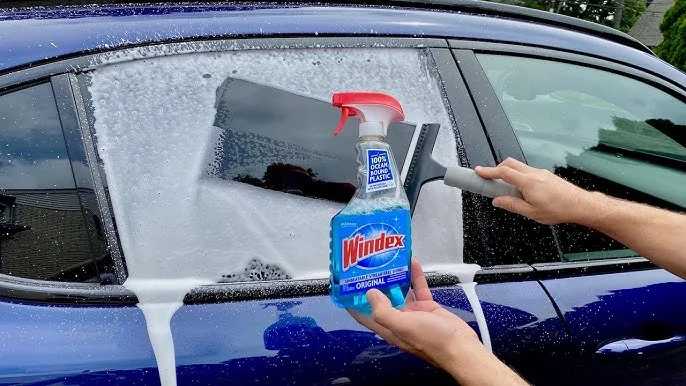
Start by cleaning the windshield thoroughly to remove dirt and debris. Use warm water mixed with mild soap and a soft microfiber cloth. Gently wipe the surface in circular motions, ensuring no grit remains that could scratch the glass further.
Polishing Light Scratches with Glass Polish
For superficial scratches, a dedicated automotive glass polish often does the trick. Apply a small amount of polish to a clean, soft cloth or applicator pad. Rub the polish over the scratched area in small circles, applying gentle pressure. Continue polishing for several minutes, then wipe away excess product with a clean microfiber cloth.
Using Cerium Oxide Paste for Deeper Scratches
Cerium oxide is a powerful polishing agent effective in removing moderate scratches. Mix cerium oxide powder with water to create a paste. Wear gloves and carefully apply the paste to the scratch using a polishing pad or cloth. Use a buffer or rotary tool for even polishing, moving in small circles. Keep the area moist by spritzing with water to avoid overheating.
Manual vs. Mechanical Polishing Techniques
Manual polishing involves hand rubbing with a cloth and polish, suitable for light scratches. Mechanical polishing uses a power buffer or polisher, which provides more consistent pressure and speed for stubborn scratches. Always start slow and test on a small area to prevent damage.
When to Seek Professional Help
If scratches are deep or extensive, DIY methods may not suffice. Deep gouges might weaken the windshield or cause visibility issues. In such cases, replacing the windshield or consulting a professional for repair is the safest choice.
Preventing Future Scratches
Protect your Harley windshield by:
- Using a high-quality, soft cloth for cleaning
- Avoiding abrasive cleaners and scrubbers
- Parking in shaded areas to prevent debris buildup
- Applying a protective film or coating designed for glass
Regular maintenance and careful handling extend the life of your windshield.
Additional Tips for Effective Scratch Removal
Consider these practical tips:
- Work in a shaded area to prevent quick drying of products
- Use a gentle touch to avoid worsening scratches
- Follow product instructions carefully for best results
- Test any chemical or polish on a small, inconspicuous area first
Patience and attention to detail are key to achieving a clear, scratch-free windshield.
Related Topics to Explore
For more on maintaining your Harley, explore topics like:
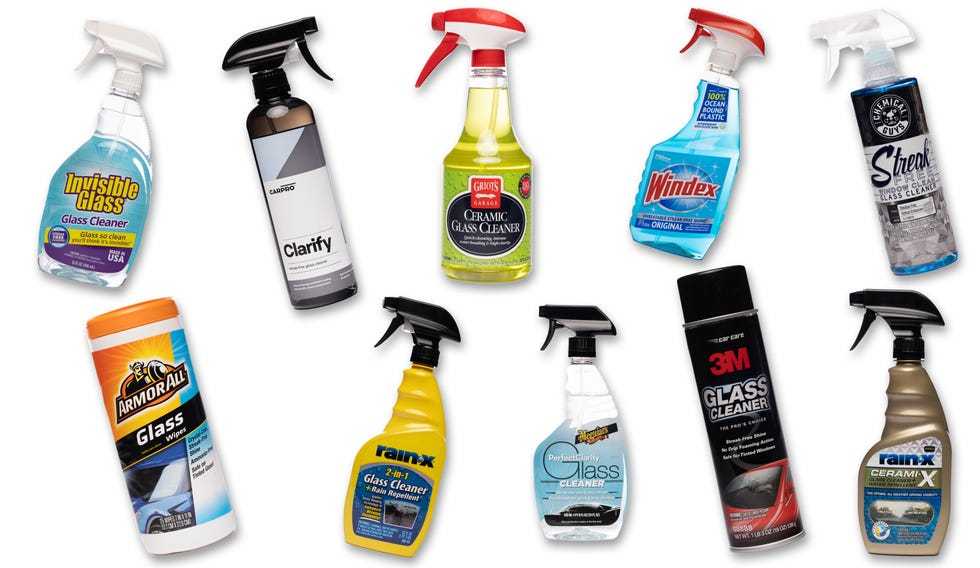
- Best cleaning products for motorcycle windshields
- How to replace a damaged Harley windshield
- Tips for protecting your Harley from environmental damage
- Choosing the right windshield tint and accessories
These can help preserve your bike’s appearance and functionality over time.
Final Advice for Scratch Removal
Triumph over scratches by staying patient and using proper techniques. Remember, light scratches can often be polished away, but deep gouges might need professional attention. Keep your Harley windshield in top shape with regular care to enjoy clear visibility during every ride.
How to polish your motorcycle's windshield.
Frequently Asked Questions
What is the best method to smooth out minor scratches on a Harley windshield?
To smooth out minor scratches, start by cleaning the windshield thoroughly to remove any dirt or debris. Apply a plastic polish or a dedicated windshield scratch remover using a soft cloth. Gently buff the scratched area in circular motions until the scratches become less noticeable. Repeat the process if necessary, but avoid applying excessive pressure to prevent further damage.
Can I use common household products to fix scratches on my Harley windshield?
While some household products like toothpaste or baking soda may temporarily reduce the appearance of small scratches, they are not designed for windshield repair and might cause further damage. It’s best to use products specifically formulated for plastic or windshield surfaces, such as plastic polish or scratch remover, to achieve safer and better results.
When should I consider professional repair for scratches on my windshield?
If scratches are deep, cover a large area, or persist after DIY efforts, seek professional assistance. Experts can assess the damage accurately and use specialized tools and techniques to restore your windshield effectively. Prompt professional repair can prevent the scratches from worsening and ensure clear visibility during rides.
Final Thoughts
To remove scratches from Harley windshield, start by cleaning the surface with soap and water to eliminate dirt. Apply a plastic polish or a specialized scratch remover using a soft cloth. Gently buff the scratched area in a circular motion until the blemish lessens. If scratches persist, consider using a polishing compound designed for plastics.
Regular maintenance can prevent future scratches and keep your windshield clear. For deep scratches, consult a professional for repair options. Remember, proper care extends the life of your Harley windshield and enhances ride safety.
In conclusion, knowing how to remove scratches from Harley windshield helps maintain its clarity and longevity. Regular cleaning, gentle buffing, and using the right products make a noticeable difference.


