Looking to give your car a sleek, private look while protecting your interior from UV rays? Tinting your car windows with film is a cost-effective and rewarding DIY project that can transform your vehicle’s appearance and comfort. To tint your car windows, clean the glass thoroughly, measure and cut the film to fit each window, apply a soapy water solution to prevent bubbles, and carefully smooth out the film with a squeegee. Finish by trimming excess film and allowing it to set for a few days. Doing it yourself not only saves money but also gives you a personalized touch to your vehicle’s style.
Tinting car windows with film is a straightforward process that enhances privacy, reduces glare, and keeps your car cooler. Start by prepping your windows with a thorough cleaning, then precisely cut the film to match each window’s dimensions. Use a soapy water mixture to help position the film smoothly and prevent bubbles, then carefully squeegee out any air and excess moisture. Trim the edges for a perfect fit, and let the film settle over the next few days. This simple guide enables you to achieve professional-looking results at home, saving money and making your ride uniquely yours.
How to Tint Car Windows with Film: A Complete Guide
Understanding Car Window Tinting
Tinting your car windows involves applying a thin film of material to the glass surface. This film helps reduce heat, glare, and UV rays inside your vehicle. Knowing the basics will prepare you for a successful tinting process and ensure you choose the right type of film.
Types of Car Window Tint Films
There are several kinds of tint films, each with different features:
- These are the most affordable options. They provide good privacy but may fade over time. They are ideal for those on a budget.
- These contain tiny metallic particles that reflect heat and UV rays. They are durable and effective but can interfere with electronic signals.
- The latest in window tinting technology. They offer excellent heat rejection, UV protection, and signal clarity without metal content. They are more expensive but provide superior performance.
Legal Regulations for Window Tinting
Before starting, check local laws regarding window tinting. Most areas limit how dark your tint can be, especially on the front windows and windshield. Violating these laws can lead to fines or the need to remove the tint.
Understanding Visible Light Transmission (VLT)
VLT measures how much light can pass through the film. A higher VLT means a lighter tint, while a lower VLT results in a darker one. Ensure your chosen film complies with local VLT restrictions for different windows.
Gathering Necessary Tools and Materials
Preparing correctly ensures a smooth tinting process:
- Window tint film of your preferred type and size
- Spray bottle with a mixture of water and a few drops of dish soap
- Utility knife or precision cutter
- Squeegee or plastic card
- Microfiber cleaning cloths
- Heat gun (optional, for professional results)
- Gloves and protective eyewear (for safety)
Step-by-Step Guide to Tinting Car Windows with Film
Step 1: Preparing Your Vehicle
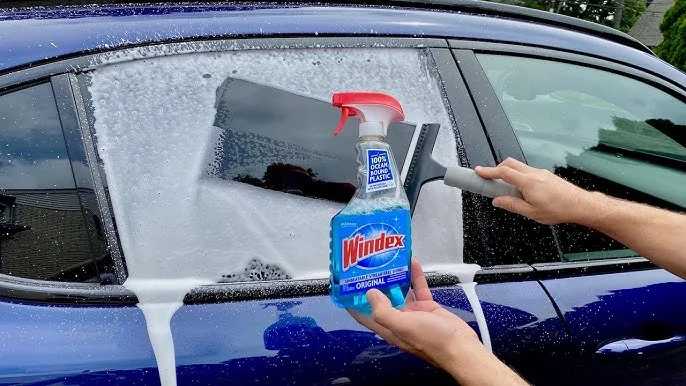
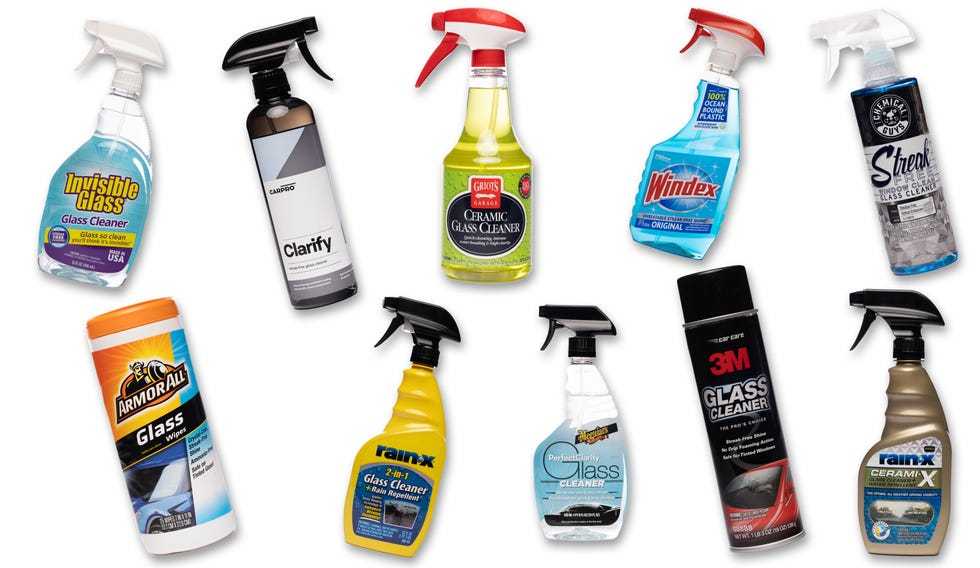
Start by cleaning all windows thoroughly using a microfiber cloth and a glass cleaner. Removing dirt and grease prevents bubbles and imperfections in the tint.
Step 2: Measuring and Cutting the Film
Measure each window accurately. Add an extra inch to each side for adjustments. Cut the tint film to match the shape of the window, leaving some overlap.
Step 3: Wetting the Surface
Spray a generous amount of water and soap mixture onto the window. This allows you to position the film without it sticking permanently right away.
Step 4: Applying the Film
Peel the backing off the tint film carefully. Place the film on the wet window surface. Use your hands or squeegee to smooth out air bubbles and excess water from the middle outward.
Step 5: Smoothing and Trimming
Use a plastic card or squeegee to press the film flat. Trim the excess edges with a utility knife for a precise fit. Ensure the film adheres well to all edges.
Step 6: Drying and Setting
Allow the film to dry for at least 24 hours. Avoid raising windows or exposing the car to rain during this time. Drying ensures the film bonds properly to the glass.
Tips for a Professional-Looking Finish
Achieving clean lines and bubbles-free surfaces can be simple with patience. Work slowly and methodically, and use a heat gun to soften the film if necessary for tight corners.
Handling Common Issues
Bubbles are common but manageable. Use a pin to puncture larger bubbles and push the air out with your squeegee. Creases may indicate improper cutting or application pressure.
Maintenance and Care After Tinting
Once the film is dry, avoid using abrasive cleaners or scrubbing the tint. Cleaning with a mild soap solution and a soft cloth will prolong its lifespan. Regular inspections ensure no peeling or bubbling occurs.
Safety Precautions During Installation
Wear gloves to avoid fingerprints. Work in a clean, dust-free environment. Use safety glasses when handling sharp tools, and ensure good ventilation when working with adhesives or chemicals.
Professional vs. DIY Tinting
While DIY tinting is cost-effective, hiring a professional guarantees a high-quality finish. Professionals have specialized tools and experience, especially for complex curves or large windows.
Additional Related Topics
Explore related topics such as choosing the best tint film for your climate, the benefits of ceramic versus dyed films, and how to remove old or bubbling tint safely.
Summary of Best Practices
- Clean windows thoroughly before application
- Measure accurately and cut excess film
- Work in a dust-free environment
- Apply water and soap mixture generously
- Use proper tools for smoothing and trimming
- Allow sufficient drying time
- Follow legal regulations to avoid fines
Tinting your car windows with film can be a rewarding DIY project when approached with patience and care. Proper preparation, correct technique, and choosing the right film ensure a professional look and long-lasting results. Whether you do it yourself or hire a professional, understanding the process helps you make the best decisions for your vehicle’s appearance and functionality.
Learn Tint in 60 seconds #windowtint #tint #tintingwindows #glass #cars #diy #diycrafts #walmart
Frequently Asked Questions
What are the essential tools needed to tint car windows with film?
To tint car windows effectively, gather tools such as a window tinting film, a sharp utility knife or blade, a squeegee, spray bottles filled with soapy water, microfiber cloths, and a heat gun or hairdryer. These tools help you cut, apply, and smooth the film, ensuring a clean and professional finish.
How can I prepare my car windows before applying the tint film?
Start by thoroughly cleaning the windows with a glass cleaner to remove dirt, dust, and grease. Use a razor blade or scraper to eliminate any stubborn residues or old tint remnants. Dry the surface completely with a microfiber cloth, and then wipe it with a mixture of water and a few drops of dish soap. Proper preparation creates a smooth surface for better film adhesion.
What steps should I follow to ensure the tint film adheres properly and smoothly?
Begin by spraying the window with a soapy water solution to allow easy positioning of the film. Peel the backing off the tint and carefully place it on the wet glass, starting from the top and working downward. Use a squeegee to press out air bubbles and excess water, moving from the center outward. Finish by applying gentle heat if needed to smooth out any remaining imperfections, and trim excess film with a utility knife.
Final Thoughts
To tint car windows with film, start by cleaning the windows thoroughly to remove dirt and grease. Measure the window and cut the film slightly larger to ensure full coverage. Carefully peel off the backing and apply the film smoothly, using a squeegee to remove air bubbles. Trim the excess edges for a perfect finish. Proper preparation and patience make the process straightforward. In conclusion, knowing how to tint car windows with film helps achieve a professional look with minimal effort and cost.


