How Long Does It Take Windshield Glue To Cure
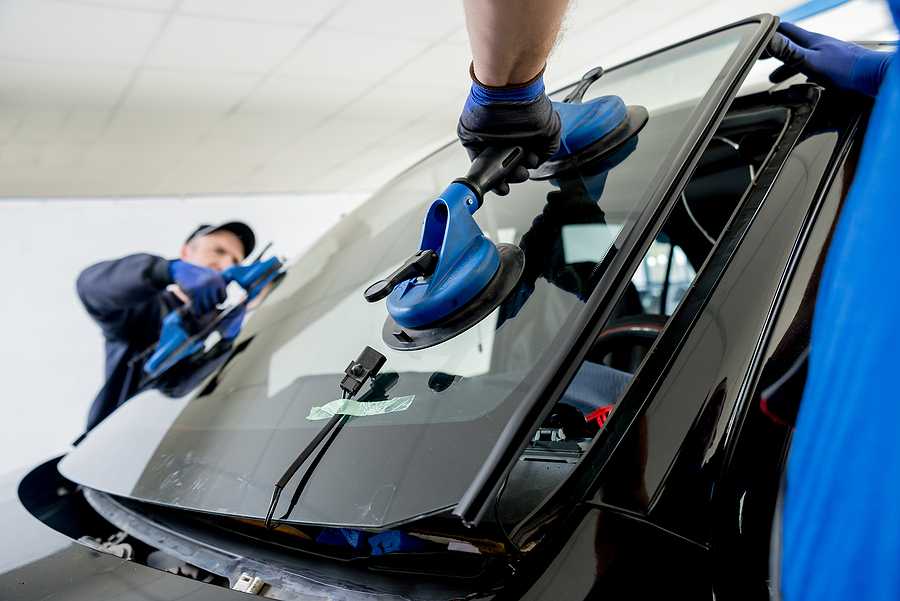
Windshield glue typically takes about 1 to 2 hours to set enough for the car to be safely driven, but full curing can take up to 24 hours. The curing time depends on factors such as the type of adhesive used, temperature, and humidity. If you’re eager to get back on the road quickly, it’s important to understand the curing process to ensure a secure and lasting bond.
In just a couple of hours, your windshield may feel firm enough to drive, but for the adhesive to reach its maximum strength, it’s best to wait at least 24 hours. Proper curing ensures the glue forms a solid, durable seal that keeps your windshield in place and provides optimal safety during driving. Knowing these timelines can help you plan repairs better and avoid potential mishaps.
When it comes to fixing or replacing a windshield, understanding how long windshield glue takes to cure is crucial for safety and convenience. The drying process varies depending on the product and conditions, but generally, it starts setting within an hour and reaches full strength within a day. Factors like temperature, humidity, and the specific adhesive type influence the curing time. Being patient during this process guarantees your windshield remains securely bonded and reduces the risk of future leaks or failures. So, whether you’re rushing to get back on the road or planning ahead for a professional repair, knowing the curing timeline helps you make smarter decisions for your vehicle’s safety and integrity.

How Long Does It Take Windshield Glue to Cure?
Understanding Windshield Glue and Its Curing Process
Windshield glue, often made from polyurethane or similar adhesives, plays a crucial role in keeping your windshield securely in place. When applied, it needs time to harden and bond properly to ensure safety. The curing process transforms the liquid glue into a solid, providing the necessary strength and durability.
The curing time can vary depending on several factors, including the type of glue used, environmental conditions, and the application process. Knowing these factors helps you plan better for repairs or replacements and ensures your vehicle remains safe to drive.
Types of Windshield Glues and Their Curing Characteristics
There are different kinds of adhesives used for windshields, each with unique curing times. The most common types include:
- Polyurethane Adhesive: Known for strong bonding and flexibility, it usually cures within 24 to 72 hours.
- Silicone Sealants: These cure faster, often within 24 hours, but may not provide as much strength as polyurethane.
- Epoxy Glue: Offers high strength but takes longer to cure, often 48 hours or more.
Understanding which type of glue your repair uses is vital to estimating curing time accurately.
Factors Influencing Curing Time
Several variables can influence how long windshield glue takes to fully cure. These include:
Temperature
Warm temperatures accelerate the curing process, often reducing the time needed. Conversely, cold weather can slow it down significantly.
Humidity
Higher humidity levels can facilitate faster curing because moisture helps the glue set. Low humidity conditions might prolong curing.
Application Thickness
Applying a thicker layer of glue extends curing time because less surface area is exposed to the air, which is necessary for bonding.
Type and Brand of Adhesive
Different brands and formulations have specific curing schedules. Always check the manufacturer’s instructions for precise times.
Estimated Curing Times for Common Windshield Glues
Knowing typical curing durations helps you plan accordingly. Here’s a quick overview:
| Type of Adhesive | Initial Set | Full Cure |
|---|---|---|
| Polyurethane | 20 to 30 minutes | 24 to 72 hours |
| Silicone Sealant | 1 to 2 hours | 24 hours |
| Epoxy | 30 minutes to 1 hour | 48 hours or more |
Full curing is necessary for maximum strength, so patience is key.
How to Ensure Proper Curing of Windshield Glue
Follow these steps to promote optimal curing:
- Maintain Proper Temperature: Keep the vehicle in a warm, dry place during and after the application.
- Avoid Moisture: Cover the windshield or avoid washing the car for at least 24 hours.
- Apply Correctly: Follow the manufacturer’s instructions precisely to avoid excess or insufficient glue application.
- Patience is Important: Wait the recommended curing time before driving or exposing the windshield to stress.
Skipping these steps can compromise the strength of the bond and lead to safety concerns.
Signs That Windshield Glue Has Fully Cured
Knowing when your windshield glue has completed curing helps prevent accidental damage. Look for these indicators:
- Firmness: The adhesive feels solid and no longer tacky when touched.
- No Movement: The windshield does not move or shift when pressure is applied lightly.
- Clearance of Odor: The chemical smell has dissipated, indicating curing is in progress or complete.
- Time-Based Confirmation: Adhere strictly to the curing times recommended by the manufacturer.
Avoid driving or stressing the windshield before full curing to ensure safety and durability.
Common Mistakes That Delay Curing
Certain errors can hinder or extend the curing process unnecessarily:
- Applying Excessive Glue: Thick layers take longer to cure and may compromise bond quality.
- Poor Surface Preparation: Dirty or oily surfaces prevent proper adhesion, leading to longer curing times.
- Incorrect Temperature Conditions: Applying glue in very cold or humid environments slows the process.
- Immediate Exposure to Water or Weather: Washing the car or exposing it to rain too soon can weaken the bond.
Avoiding these mistakes ensures your windshield is safely bonded as quickly as possible.
Additional Tips for Faster and Better Curing
To speed up curing and improve adhesion, consider these tips:
- Control Environmental Conditions: Work in a heated garage or shaded area if possible.
- Use a Humidifier or Warm Environment: Small adjustments can make a significant difference.
- Follow Manufacturer Instructions: Specific curing times and conditions are designed for optimal results.
- Apply Thin Layers: Use a thin even coat for faster curing and better bonding.
Implementing these practices can lead to a quicker and more secure cure.
Safety Precautions and Best Practices
Always prioritize safety when handling windshield adhesives:
- Work in Well-Ventilated Areas: Many adhesives emit strong fumes that can be harmful.
- Wear Protective Gear: Gloves and masks protect against chemical exposure.
- Allow Adequate Curing Time: Never rush the process or drive before full curing.
- Seek Professional Help: For large repairs or uncertain procedures, professionals ensure safety and proper curing.
Being cautious ensures your vehicle’s safety and the longevity of the repair.

Similar Posts