How To Repair Laminated Windshield Crack With Resin Effectively
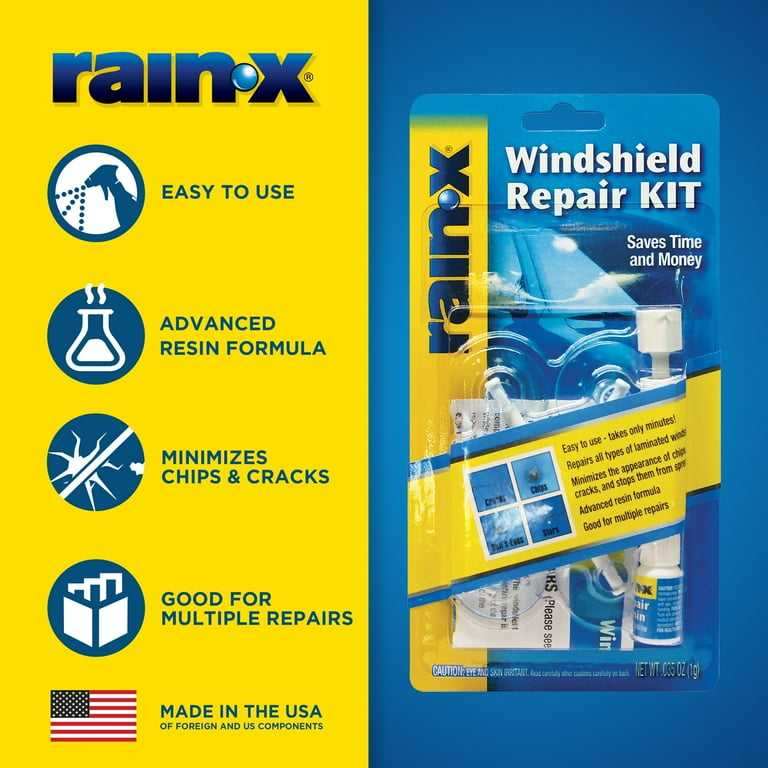
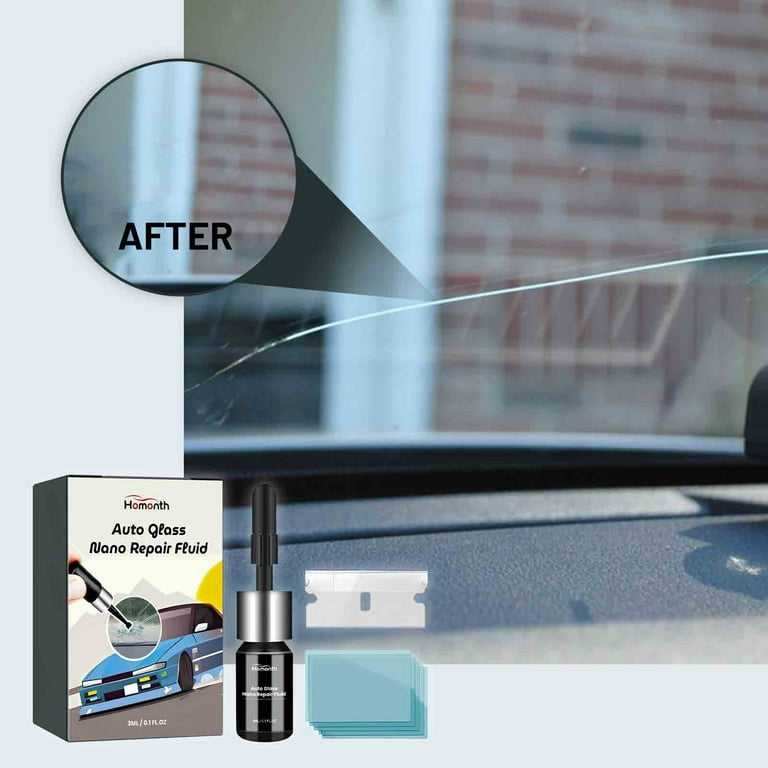
To quickly fix a laminated windshield crack with resin, clean the crack thoroughly, then fill it with a specialized windshield repair resin using a syringe or applicator. Allow the resin to cure as per instructions, then polish the surface for a clear, smooth finish. This simple DIY method can restore your windshield’s integrity and clarity if the crack is small.
If you notice a crack in your laminated windshield, don’t panic. Repairing it with resin is a straightforward process that can save you money and prevent further damage. Start by cleaning the area with alcohol to remove dirt and grease. Next, carefully apply the resin into the crack, making sure it fills the entire space. Use a curing strip or UV light if needed to harden the resin properly. After curing, polish the surface to restore visibility. Keep in mind that this solution works best for minor cracks and chips, so assess the damage before proceeding. Properly repairing a crack with resin can extend your windshield’s life and improve safety without the need for a costly replacement.

How to Repair Laminated Windshield Crack with Resin
Understanding Laminated Windshields and Cracks
Laminated windshields are made with two glass layers bonded together with a layer of polyvinyl butyral (PVB) in between. This design helps prevent shattering and keeps the glass intact during impacts. However, cracks can still form due to debris, temperature changes, or accidents.
Cracks in laminated windshields can vary in size and shape, including small chips, spider-web patterns, or longer fractures. Recognizing the type and severity of the crack is essential for choosing the right repair method.
A crack that is shallow and less than six inches long often can be repaired with resin. Larger or deeper cracks may need professional replacement. Proper repair not only restores the look but also maintains the safety and integrity of the windshield.
Tools and Materials Needed for Repair
Before starting the repair, gather all necessary tools and supplies. Proper equipment ensures effective and safe repairs. Here is a list of essentials:
- Resin kit specifically designed for laminated windshields
- Clear curing adhesive or UV resin
- Injector or syringes for resin application
- Utility knife or razor blade
- Cleaning cloths and isopropyl alcohol
- Pin or needle for removing debris
- UV light or sunlight for curing
- Painter’s tape to protect the area
Using quality materials is critical for a lasting repair. Choosing a resin compatible with laminated glass ensures the repair holds strong.
Preparing the Work Area
Start by selecting a clean, dust-free environment to prevent debris from settling into the repair site. Turn off air conditioning or fans that can blow dust onto the windshield.
Wash the windshield thoroughly with glass cleaner and dry it with a lint-free cloth. This step removes dirt, grease, and moisture, which can weaken the bond of the resin.
Apply painter’s tape around the crack to protect the surrounding glass. Cover areas not involved in the repair to keep the workspace tidy and prevent accidental damage.
Finding and Assessing the Crack
Inspect the crack carefully to determine its length and depth. Use a flashlight to look into the crack and check whether it penetrates the entire laminated layer or stops short.
If the crack is shorter than six inches and does not extend across the entire width of the glass, resin repair is likely effective. For longer or deeper cracks, consider professional replacement for safety reasons.
Measure the crack with a ruler or measuring tape to document its size. Note any spreading movement, which indicates that the crack might worsen if ignored.
Steps to Repair Laminated Windshield Crack with Resin
Properly applying resin is essential for a clear and durable repair. Follow these step-by-step instructions:
Step 1: Clean and Prepare the Crack
Use isopropyl alcohol and a clean cloth to wipe the crack area. Remove any loose glass particles or dirt with a pin or needle carefully.
Apply painter’s tape around the crack to prevent excess resin from spreading. This helps keep the repair neat and controlled.
Step 2: Inject the Resin
Fill the syringe or injector with the resin included in your repair kit. Insert the needle into the crack carefully.
Slowly squeeze the resin into the crack, ensuring it fills the entire length and width. Avoid overfilling to prevent excess resin from spilling out.
Step 3: Remove Bubbles and Air Pockets
Use a pin or needle to release any trapped air bubbles within the resin. Gently press on the crack to help the resin flow and displace air.
Some kits include a resin syringe with a plunger to help push out air during injection. Patience is key to ensuring the resin penetrates completely.
Step 4: Cure the Resin
Expose the repaired area to UV light if using UV-curable resin. Place the windshield in sunlight or use a UV lamp.
Follow the resin manufacturer’s instructions regarding curing time, typically ranging from 10 to 30 minutes. Ensure the resin is fully hardened before touching or driving.
Additional Tips for a Successful Repair
– Always handle the resin and tools carefully to avoid further damage.
– Work in a shaded or low-light environment if using UV resin, to prevent premature curing.
– If debris remains inside the crack after initial cleaning, repeat the cleaning process before reapplying resin.
– Do not attempt repairs on cracked windshields with extensive damage or deep cracks reaching the PVB layer.
Post-Repair Care and Maintenance
Once the resin has cured, remove the painter’s tape and check the repair. The crack should now be less visible and structurally stable.

Similar Posts