Car Side Window Replacement Guide Tips For Easy Diy Repair
Replacing a car’s side window might seem daunting, but with the right guidance, it can be a straightforward process. In just a few steps, you can restore your vehicle’s safety and appearance without a costly visit to the mechanic. This guide will walk you through the essential tips for removing the broken glass, preparing the frame, and installing the new window securely. Whether you’re a DIY enthusiast or just want to understand the process, this article breaks down everything you need to know in simple terms.
In short, replacing a car side window involves carefully removing the damaged glass, cleaning and prepping the frame, and then fitting the new window securely using proper adhesives or clips. With patience and the right tools, you can efficiently complete the task yourself and save money.
Getting your car’s side window replaced quickly and correctly is crucial for safety, privacy, and the vehicle’s aesthetic appeal. When a side window shatters or becomes damaged, addressing it promptly prevents further issues like water leaks or security risks. While it may seem complicated, knowing the basic steps—removing the broken glass, cleaning the frame, and installing the replacement—makes the process manageable. This guide is designed to give you a clear pathway to restoring your car’s window confidently, whether you’re a seasoned DIYer or seeking to understand what the repair entails before calling in a professional.

Car Side Window Replacement Guide
Understanding When You Need to Replace Your Car Side Window
Replacing your car side window becomes necessary after accidents, vandalism, or if the glass gets badly cracked or shattered. Small cracks might be repairable, but large damages usually require a full replacement. Ignoring a broken window can compromise your vehicle’s safety, security, and even its value.
Types of Car Side Windows and Their Differences
There are different types of side windows in vehicles, and knowing which one needs replacement helps in choosing the right parts and process. Main types include:
- Manual Windows: Operated with a crank handle.
- Power Windows: Controlled electronically with switches.
- Tinted Windows: Have a tint film for privacy and UV protection.
- Fixed Windows: Non-operable panels often in the rear or as part of the design.
Each type may require specific replacement procedures and parts.
Tools and Materials Needed for Side Window Replacement
Having the right tools ensures a smooth replacement process. Essential items include:
| Tool or Material | Purpose |
|---|---|
| Screwdrivers (Phillips and flat-head) | Removing screws and panels |
| Rubber gloves | Protection and grip |
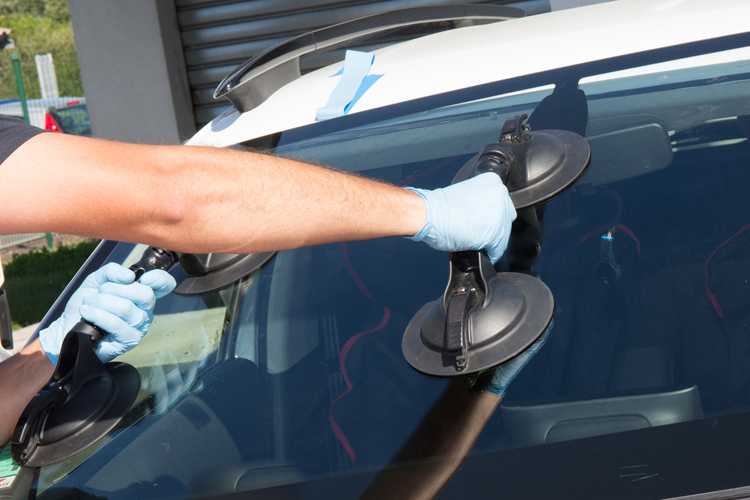
| Glass suction cups | Handling glass safely |
| Trim removal tools | Removing moldings without damage |
| Replacement window glass or assembly | The new window needed for installation |
| Adhesive or sealant | Sealing new glass in place |
| Cleaning supplies (cloths, glass cleaner) | Cleaning surfaces for adhesion |
Step-by-Step Guide to Replacing Car Side Window
Preparing the Vehicle for the Replacement
Begin by parking your vehicle on a flat surface, turning off the engine, and engaging the parking brake. Remove nearby objects to give yourself room to work and wear gloves to protect your hands. Protect interior surfaces with cloths or plastic sheets.
Removing the Door Panel or Interior Components
Use screwdrivers to remove screws holding the door panel or trim. Carefully pry off panels using trim removal tools to avoid damaging clips. Disconnect electrical wiring if your window has power controls or speakers attached.
Detaching the Old Window and Frame
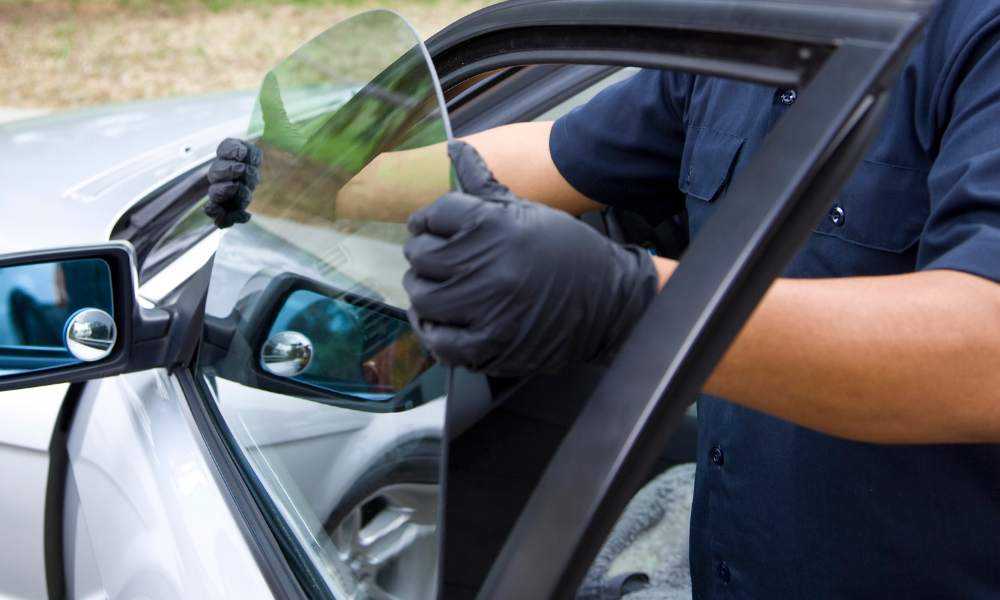
Locate the window’s mounting points and loosen any screws or bolts securing the glass. Gently lift the glass from the window track, supporting it with suction cups or gloves. Watch for any clips or adhesives holding the glass in place.
Cleaning and Preparing the Frame
Clean the window frame thoroughly with a cloth and glass cleaner. Remove any old adhesive, debris, or broken glass. Inspect the frame for rust, cracks, or damage that might need repair before installing the new window.
Installing the New Side Window
Carefully insert the new window into the frame, aligning it with the mounting points. Use suction cups for better grip and control. Secure the glass with screws or clips, following the vehicle manufacturer’s specifications.
Sealing and Securing the Window
Apply an adhesive or sealant around the edges of the window to prevent leaks and rattling. Ensure the sealant is evenly distributed and properly cured as per product instructions. Reinstall any removed trim or molding.
Reassembling the Door Panel or Interior Components
Reconnect electrical wires if disconnected. Carefully reattach the door panel or trim, ensuring clips and screws are properly secured. Test the window for smooth operation before finishing.
Tips for a Successful Window Replacement
– Work in a clean, dry environment to prevent debris from entering the vehicle.
– Handle glass with care to prevent injury or damage.
– Follow your vehicle’s repair manual for specific instructions.
– Use the correct type of adhesive or sealant recommended for automotive glass.
– Allow adequate curing time before rolling down windows or exposing the vehicle to moisture.
Common Challenges and How to Overcome Them
Replacing side windows can sometimes present obstacles like stuck clips or difficult access points. Applying penetrating lubricant can loosen stubborn clips. Patience and careful handling help prevent damage to the new window or vehicle parts.
Cost Considerations and Professional vs. DIY Replacement
The cost of replacing a car side window varies based on the vehicle model, window type, and if you choose a professional service or DIY. Professional replacements may cost between $150 and $400, including labor. DIY can save money but requires patience and the right tools.
When to Seek Professional Help
If you’re uncomfortable working with glass, lack proper tools, or encounter damage beyond simple cracks, it’s best to consult a professional. Complex window mechanisms or vehicles with advanced features also benefit from expert installation.
Related Topics and Additional Information
– Automotive Glass Repair vs. Replacement: Repair for small cracks to save money, but full replacement for larger damages.
– Legal Regulations: Some regions have laws about the tinting or type of glass allowed.
– Insurance and Coverage: Many policies cover window replacement; check with your insurer for details.
– Maintaining Your Car Windows: Regular cleaning, avoiding slamming doors, and repairing minor damages early can prolong the life of your windows.
This guide provides everything needed for a successful side window replacement, whether you choose to do it yourself or hire a professional. Proper installation not only restores your vehicle’s appearance but also ensures your safety and security.
How to replace a broken window / fix / install, Toyota Prius, narrated
Frequently Asked Questions
What tools are necessary to replace a side window in a vehicle?
Replacing a side window requires several essential tools. You will need a screwdriver set, a window removal tool or pry bar, a utility knife, gloves to protect your hands, and adhesive or sealant compatible with automotive glass. Additionally, having a suction cup tool can help handle the glass safely during installation. Gathering these tools beforehand ensures a smoother replacement process and minimizes potential damage to your vehicle.
How can I safely remove the broken side window without damaging the door frame?
To safely remove a broken side window, start by wearing gloves and eye protection. Carefully remove any remaining glass shards using pliers or a utility knife. Use a window removal tool or a pry bar to loosen the glass from the window frame, applying gentle pressure to avoid damaging the rubber seal or door components. If needed, tape around the area to catch any falling shards. Work slowly and methodically, ensuring all glass pieces are cleared before installing the new window.
What steps should I follow to properly install a new side window in my car?
Begin by cleaning the window frame thoroughly to remove debris and old adhesive. Apply a fresh layer of sealant or adhesive designed for automotive glass along the frame. Carefully position the new window onto the frame, ensuring it aligns correctly with the door opening and seal edges. Use suction cups or clamps to hold the window in place during the adhesive curing process. Once the adhesive sets, inspect the seal, and ensure the window operates smoothly before completing the reassembly of any interior panels or trim.

Similar Posts