How To Replace Rubber Trim On Side Glass For A Perfect Fit
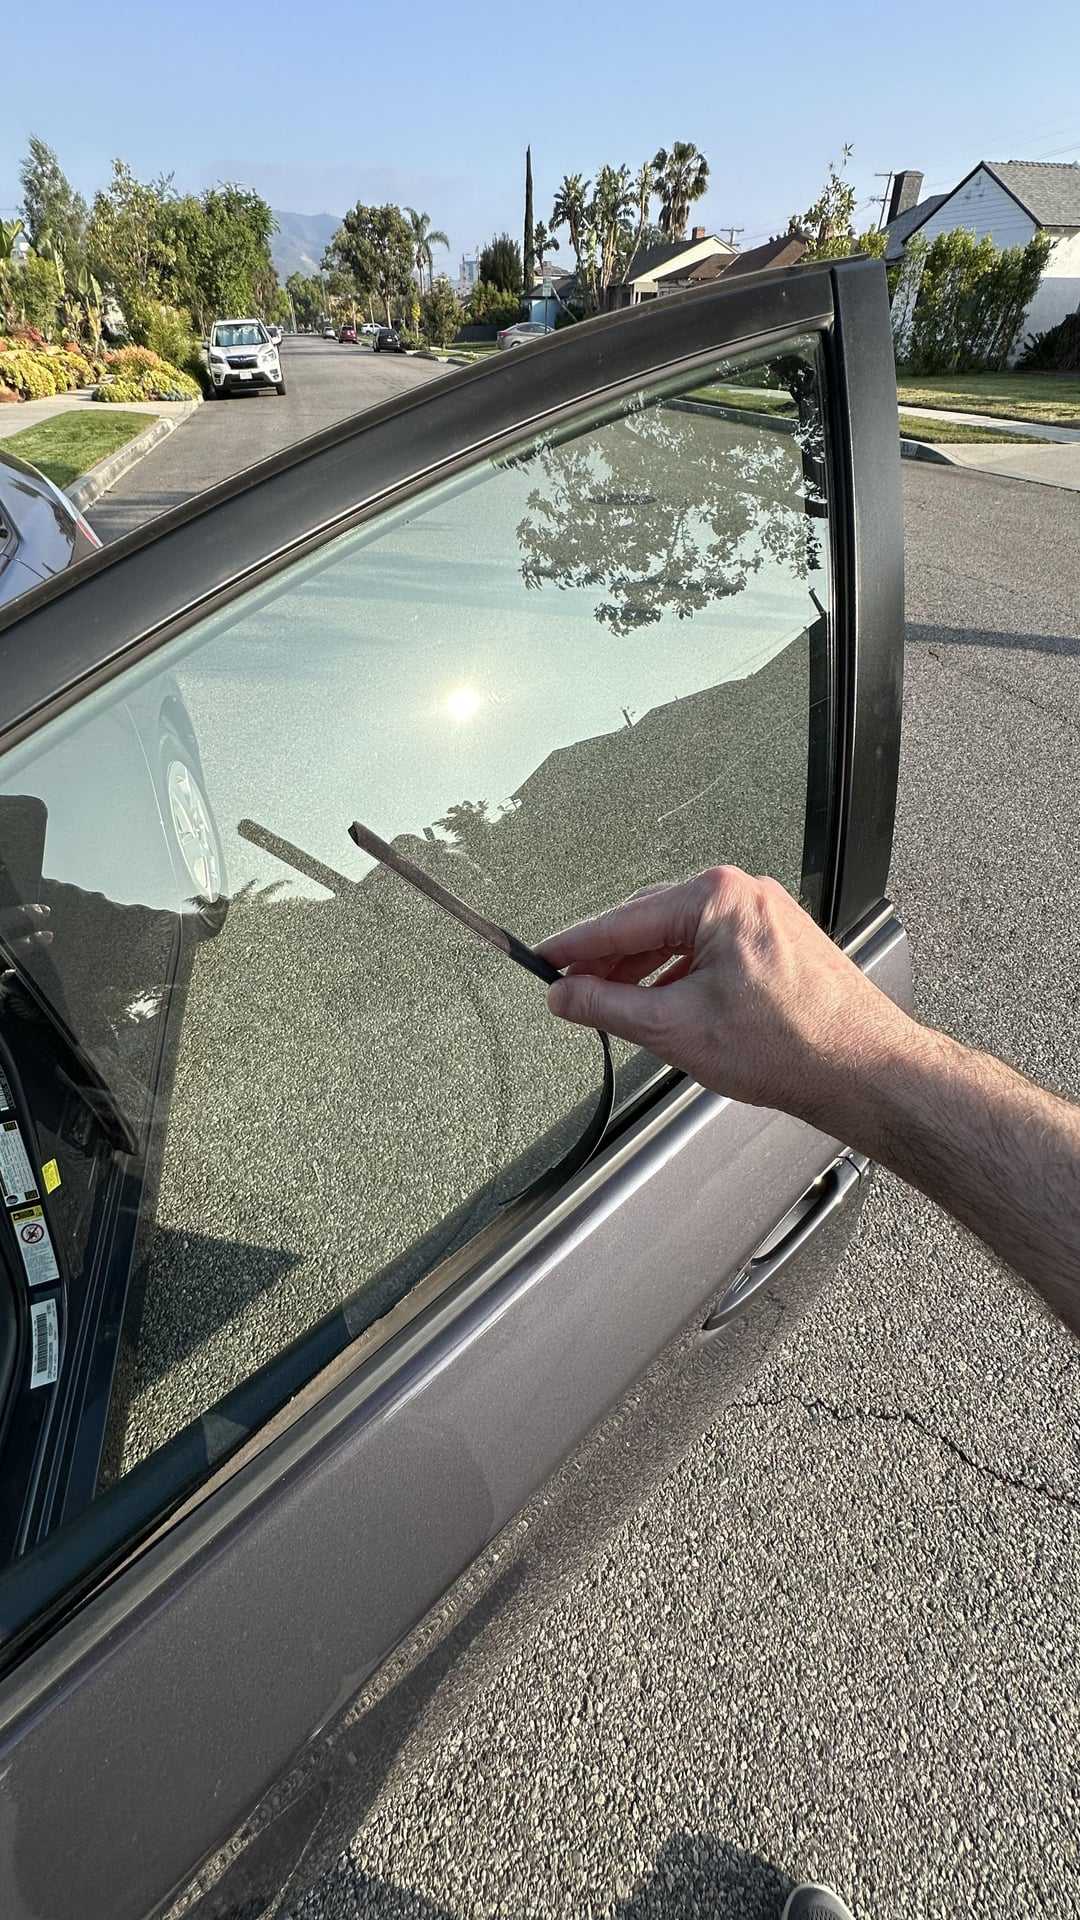
To replace the rubber trim on your side glass quickly and effectively, start by carefully removing the old seal with a plastic pry tool, then clean the area thoroughly before pressing the new trim into place. Make sure to apply even pressure along the entire length to ensure a snug fit.
In short, to replace the rubber trim on side glass, carefully pry out the old seal using a plastic tool, clean the surface, then press the new trim into position, ensuring it fits securely. This straightforward process can save you money and give your vehicle a fresh, polished look.
Replacing the rubber trim on side glass might seem daunting, but with the right tools and a bit of patience, it’s a manageable DIY task. Whether your current seal is cracked, worn out, or just looking outdated, this guide will walk you through the essential steps to get your side windows looking pristine again. The key is to remove the old trim carefully without damaging the glass or paint, thoroughly clean the area, and then carefully install the new rubber seal, ensuring a tight fit that keeps water and debris out. With a little time and effort, you’ll improve both the appearance and functionality of your vehicle’s windows, making driving safer and more enjoyable.

How to Replace Rubber Trim on Side Glass
Replacing the rubber trim on your vehicle’s side glass might seem tricky, but with the right steps, it becomes a manageable task. This guide will walk you through each phase, ensuring you understand how to do it properly and safely. Whether your rubber seal is cracked, torn, or simply worn out, replacing it improves your car’s appearance and prevents water leaks. Let’s explore the entire process in detail.
Understanding the Importance of Rubber Trim on Side Glass
Rubber trim on side glass serves multiple functions. It seals the window to prevent water, dust, and noise from entering your vehicle. It also helps keep the glass securely in place and protects the paint around the window from damage. When the rubber becomes damaged, it can lead to leaks, wind noise, and even glass rattling during driving. Replacing worn-out rubber trim is crucial for maintaining your vehicle’s comfort and safety.
Tools and Materials Needed for Replacement
Before beginning, gather all necessary tools and materials. Having everything ready will make the process smoother.
- Replacement rubber trim designed for your vehicle model
- Screwdriver set (flat-head and Phillips)
- Plastic trim removal tools
- Rubber mallet (optional)
- Cleaning cloths and mild detergent
- Silicone sealant (if needed)
- Gloves and safety glasses
Choosing the right replacement rubber trim is essential. Make sure it matches your car’s make, model, and year for a perfect fit and proper sealing.
Preparing Your Vehicle for the Replacement
Start by parking your vehicle in a safe, well-lit area. Turn off the engine and engage the parking brake. Carefully inspect the existing rubber trim to identify how it is attached and where it is damaged.
Clean the area around the rubber trim thoroughly using mild detergent and a soft cloth. Removing dirt and debris ensures a good seal when installing the new trim. Wearing gloves prevents oils from your skin from contaminating the surface.
Removing the Old Rubber Trim
Proper removal of the old trim is key to a clean installation. Use plastic trim removal tools to gently pry the rubber away from the side glass. Be careful not to scratch or damage the glass or paint.
- Start at one end of the rubber trim, inserting the flat tool between the rubber and the glass.
- Slowly work your way around, gently lifting the trim out of its channel.
- If clips or fasteners are present, use the screwdriver to release or unscrew them carefully.
For stubborn sections, a rubber mallet can help loosen the trim without applying excessive force.
Preparing the New Rubber Trim for Installation
Before installing the new rubber trim, examine it for any defects or damage. Compare it with the old trim to ensure perfect length and fit. If the new trim has a channel or groove for attaching, align it with the existing mounting area.
Some trims come with adhesive backing. If your new trim lacks adhesive, you might need to apply a thin layer of silicone sealant in the channel or along the edges to secure it.
Installing the New Rubber Trim
Carefully position the new rubber trim along the edge of the side glass, making sure it fits snugly into the channel or mounting area.
- Begin at one end and work your way around, pressing firmly to ensure it seats properly.
- Use your fingers or a soft rubber mallet to gently tap the trim into place, avoiding any damage.
- If adhesive is used, press firmly and hold for a few minutes to secure.
Make sure the trim is flush against the glass and body of the vehicle, with no gaps or overlaps. Proper installation prevents leaks and wind noise.
Sealing and Final Checks
After installing, inspect all sides to confirm the trim is evenly seated. Use a clean cloth to wipe away any excess sealant or dirt.
Check for secure attachment by gently pulling on the trim; it should not shift or come loose. If any areas seem loose, reapply some sealant or press them into place again.
Perform a water test by spraying water over the window’s edges. Confirm that no water leaks inside and that the rubber prevents water ingress effectively.
Tips for Maintaining Your Rubber Trim
Maintaining your rubber trim prolongs its lifespan and keeps your vehicle looking good. Regularly clean the rubber with mild soap and water, and avoid harsh chemicals that can cause deterioration.
Applying a rubber conditioner or protectant every few months helps prevent cracking and drying. Also, inspect the trim periodically for tears or loosening, and replace it promptly if damaged.
Common Challenges and How to Overcome Them
Sometimes removing old rubber trim can be difficult due to glue or clips. In such cases, applying heat with a hairdryer can soften the adhesive, making removal easier.
If the new trim doesn’t fit perfectly, double-check its compatibility with your vehicle. Don’t force a mismatch, as this can cause damage.
For stubborn clips or fasteners, using a plastic pry tool gently pries them loose without breaking the clips. Always work slowly to avoid unnecessary damage.
Related Topics to Consider
- Replacing window seals: Similar process but focused on the entire window perimeter.
- Fixing water leaks around side glass: Sealing issues that may arise if the rubber trim is not installed properly.
- Replacing weatherstripping on car doors: Often involves similar steps in removing and installing rubber components.
Summary of Key Steps
| Step | Description |
|---|---|
| Gather tools | Collect all necessary tools and replacement parts. |
| Remove old trim | Carefully pry and detach old rubber from the glass and vehicle frame. |
| Prepare new trim | Check fit and apply sealant if needed. |
| Install new trim | Position and press firmly into place, ensuring proper fit. |
| Final check | Inspect for gaps, leaks, and secure attachment. |
Replacing your vehicle’s rubber trim on side glass can extend the life of your windows and improve your driving comfort. Follow these detailed steps carefully, and you’ll have a properly sealed, neat-looking side window in no time. Proper maintenance after installation will keep your rubber trim durable and effective for years to come.

Similar Posts