How To Stop Windshield Leaking After Replacement For A Dry Interior
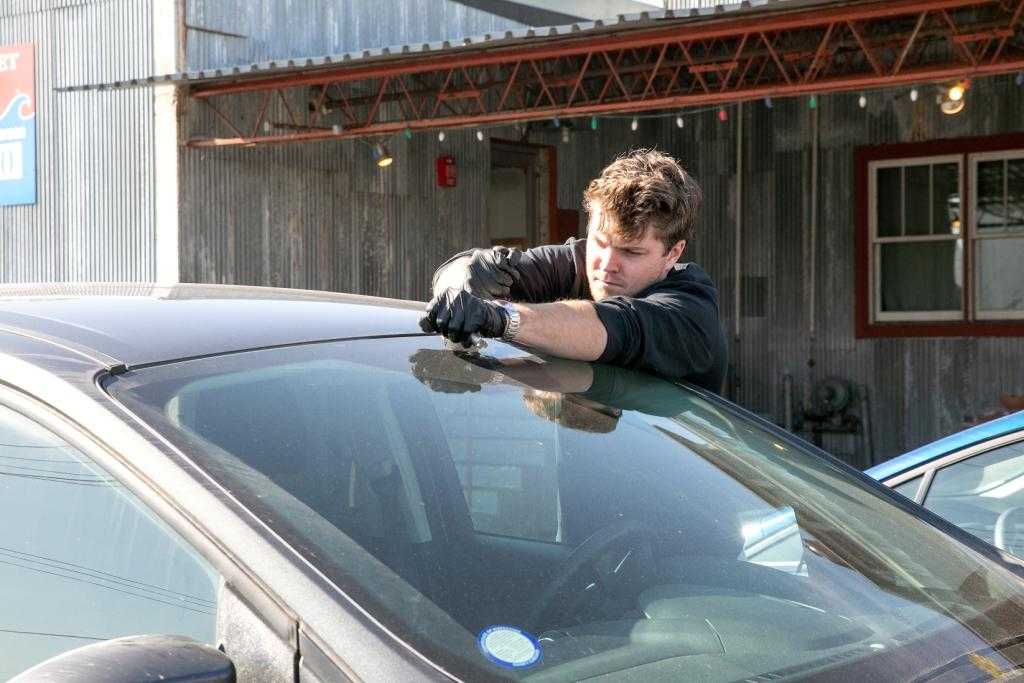
To stop a leaking windshield after replacement, ensure the new sealant was applied correctly, check for any gaps or damage in the seal, and consider resealing if necessary. Applying a quality sealant properly and inspecting the installation are key to preventing leaks.
If your newly replaced windshield is still leaking, don’t panic. The good news is that most leaks can be fixed with a few adjustments or resealing. First, inspect the edges of the windshield carefully for gaps or bubbles in the sealant. Sometimes, improper application or movement during installation can create a pathway for water. If you spot any flaws, resealing the affected areas with a high-quality automotive sealant can usually solve the problem. Additionally, ensure the drain channels around the windshield are clear, as blockages can lead to water accumulation and seepage. Addressing these issues promptly can save you time and money, restoring your windshield’s waterproof integrity and keeping you dry in any weather.

How to Stop Windshield Leaking After Replacement
Understanding Why Windshields Leak After Replacement
Leaking after a windshield replacement is a common issue that many vehicle owners face. It typically happens because the seal between the glass and the vehicle body is not properly secured or has been damaged during installation. Factors such as improper adhesive application or debris trapped in the seal can also cause leaks. Recognizing these causes helps in addressing the problem effectively.
Signs Indicating a Leaking Windshield
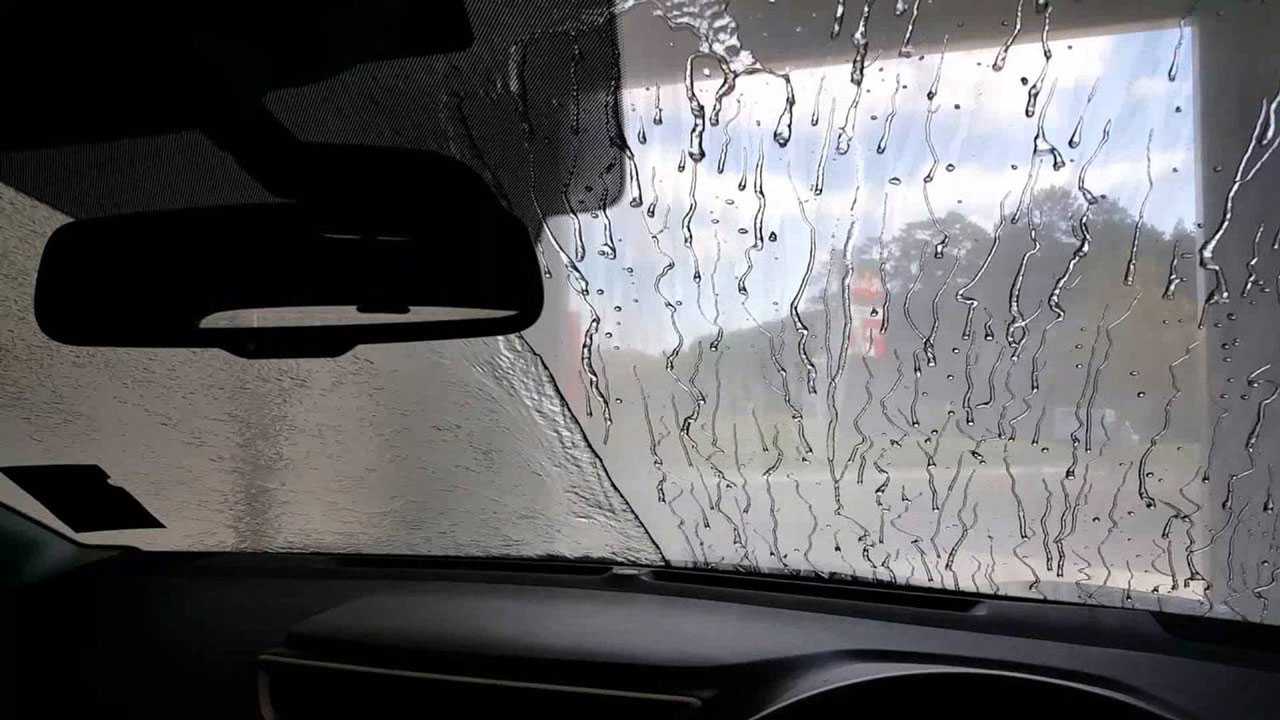
Before attempting repairs, it’s important to identify if your windshield is leaking. Look for small puddles or water spots on your dashboard or seats, especially after rain or car washes. You might also notice moisture on the inside of the windshield or fogging of the glass. Persistent water leaks can lead to mold growth and damage to your vehicle’s interior, so prompt action is necessary.
Preparation Before Fixing a Leaking Windshield
Proper preparation makes fixing leaks easier and more effective. Ensure your car is parked in a dry, shaded area to prevent further water intrusion. Gather necessary tools including a utility knife, windshield sealant, and cleaning supplies. Remember, safety first: wear gloves and eye protection when working with adhesives and chemicals.
Step-by-Step Guide to Stop Your Windshield from Leaking
Ensuring a proper seal is essential to prevent leaks. Follow these steps carefully:
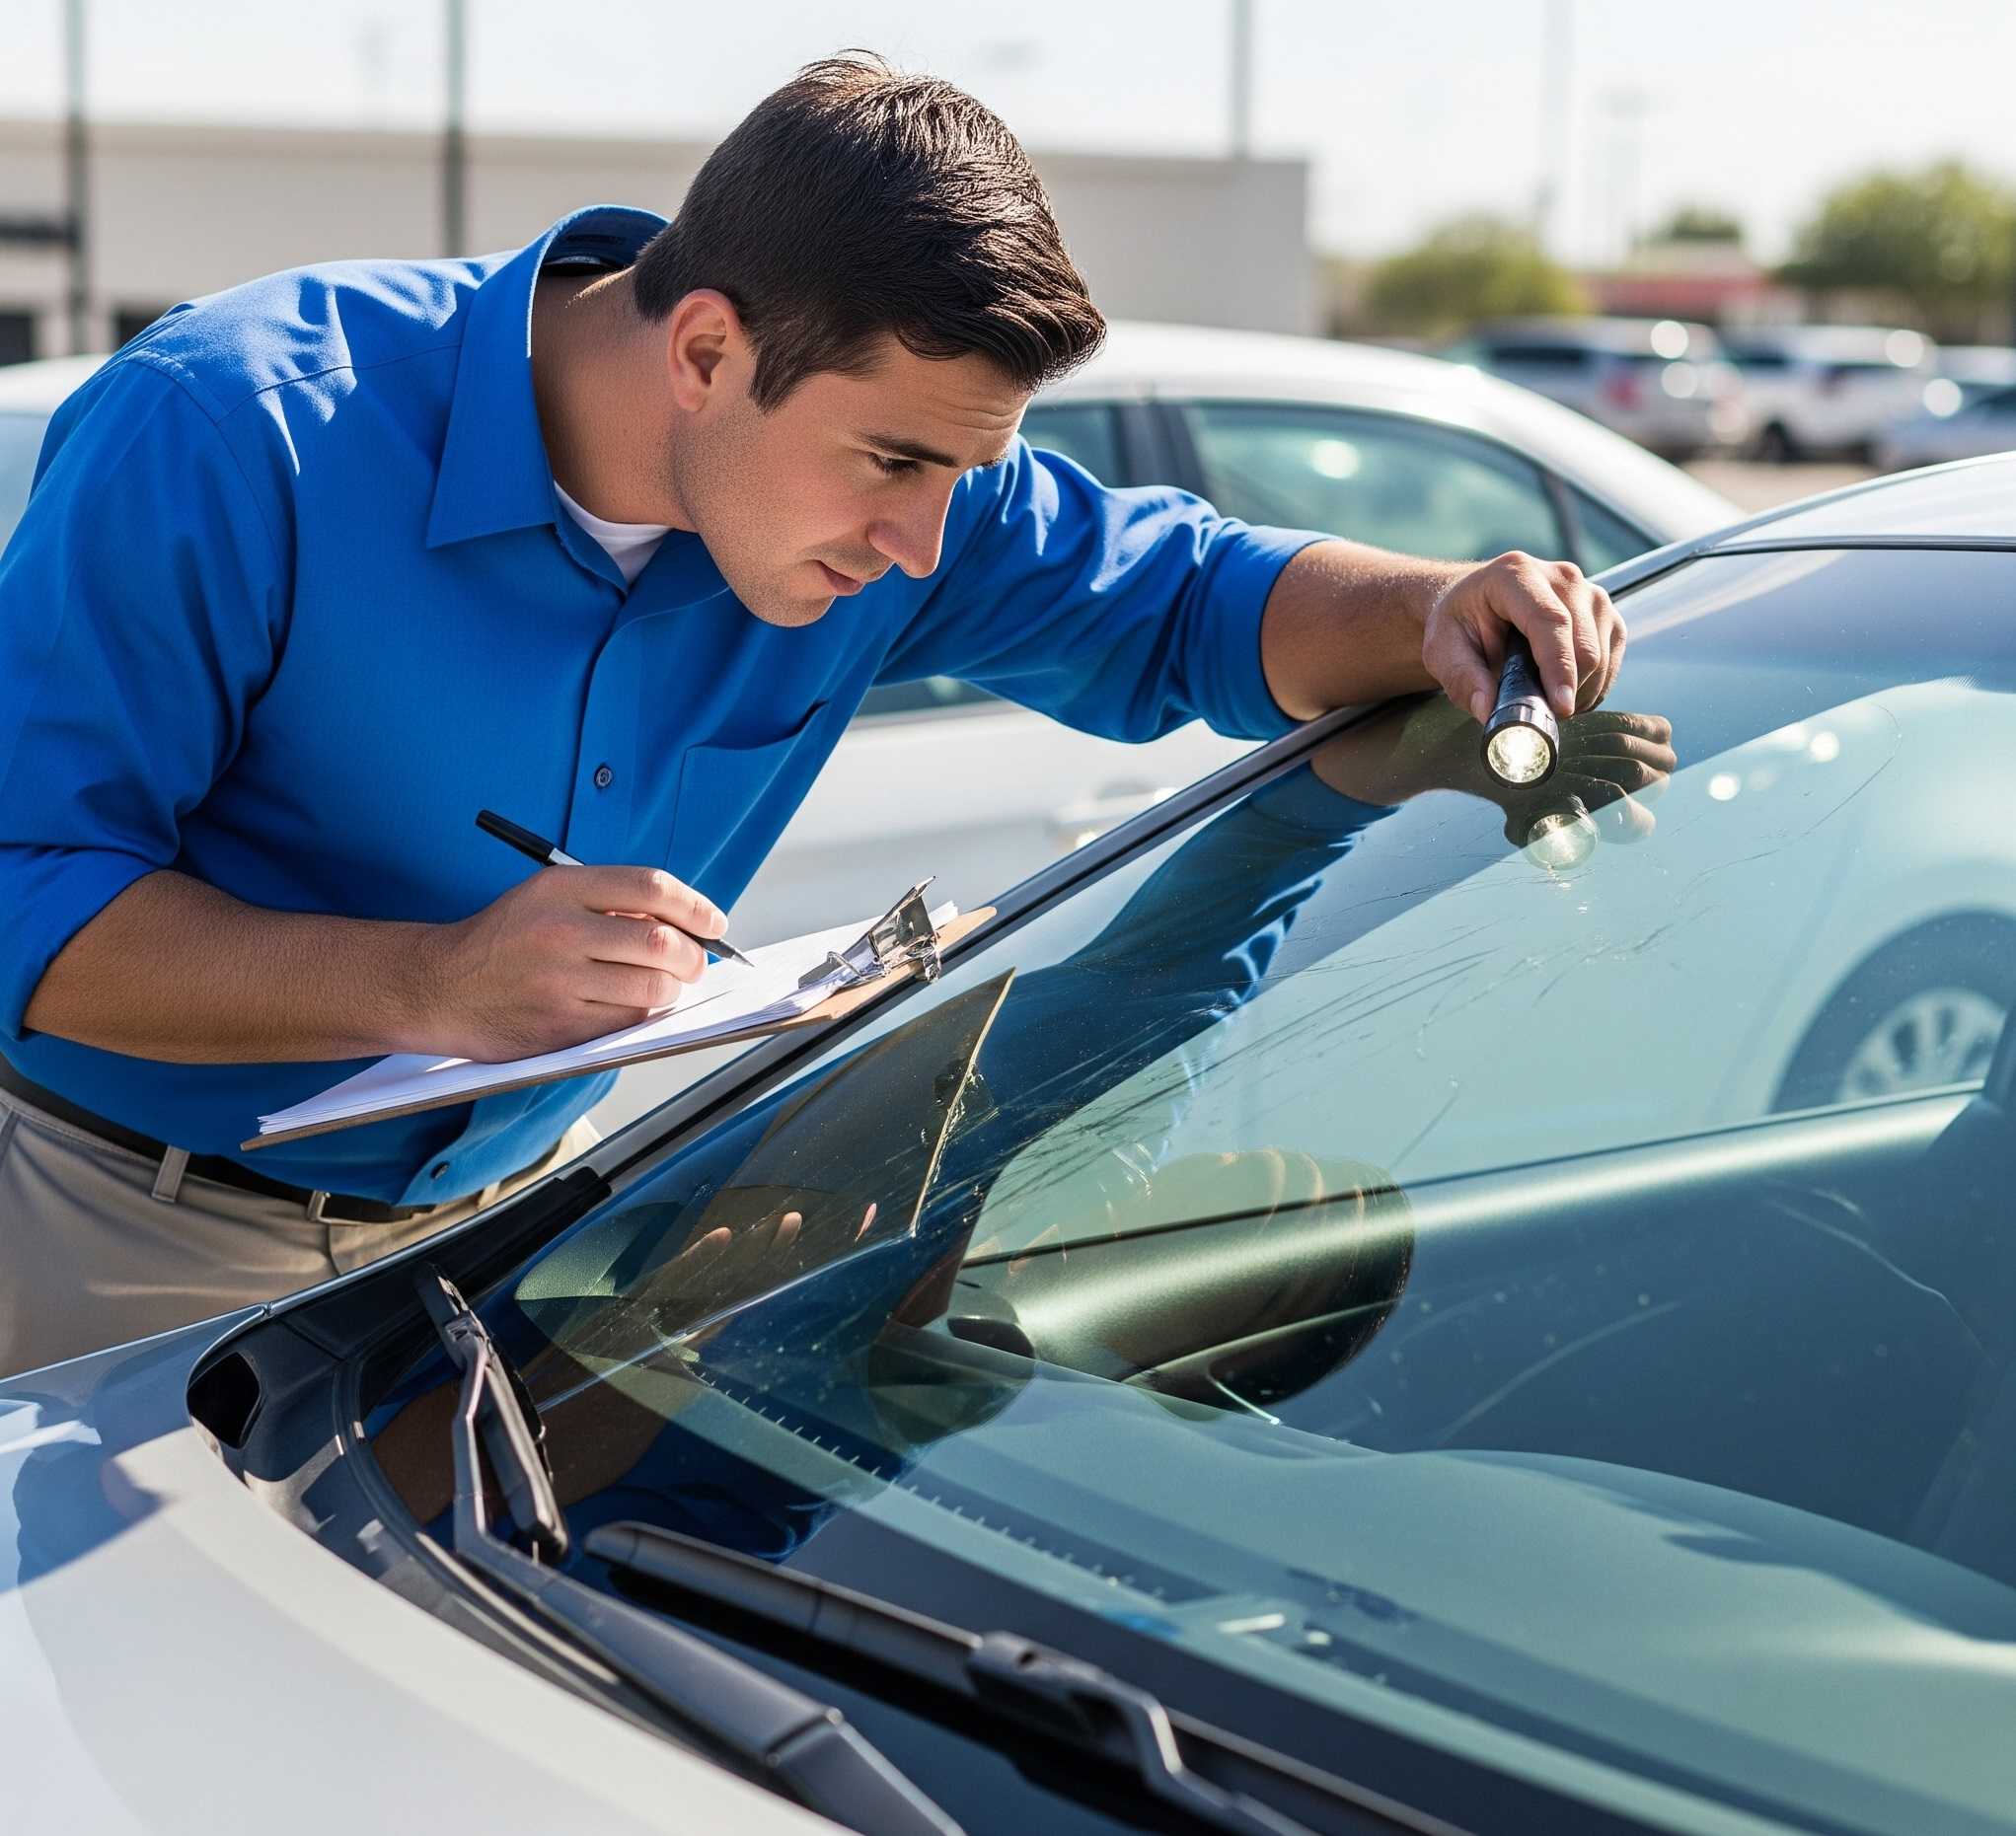
- Inspect the Seal — Check the seal around the windshield for cracks, gaps, or missing sections. Use a flashlight to see clearly, especially around the edges.
- Clean the Area — Remove dirt, grease, or debris from the edge of the windshield and the vehicle body using a glass cleaner and a lint-free cloth. Cleanliness helps the sealant bond properly.
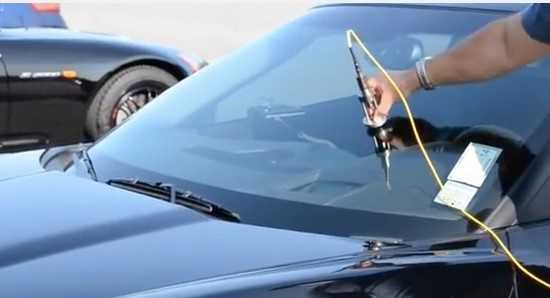
- Apply Windshield Sealant — Use a high-quality, automotive-grade sealant designed for windshields. Apply it along the edges where the seal is damaged or missing, following the manufacturer’s instructions.
- Use Tape for Support — After applying sealant, place painter’s tape along the edges to hold the sealant in place and prevent it from spreading or sagging during curing.
- Allow Proper Curing Time — Let the sealant cure for the time recommended by the manufacturer, typically 24 to 48 hours. Avoid driving the vehicle during this period to ensure a solid bond.
Additional Fixes for Persistent Leaks
If sealant application alone does not stop the leak, consider these additional measures:
Replacing the Seal or Gasket
A worn or damaged gasket often causes leaks. Replacing the gasket with a new one can restore a proper seal. This process typically involves removing the windshield carefully and installing a fresh gasket before resealing.
Reapplying Adhesive
In some cases, the adhesive used during installation may not have been applied properly. Removing the windshield, cleaning the existing adhesive, and reapplying a high-quality windshield adhesive can eliminate leaks.
Checking for Body Damage or Misalignment
Sometimes, structural issues or misalignment of the windshield frame cause gaps. Repairing or realigning the frame ensures the windshield fits snugly against the vehicle body, preventing water intrusion.
Using Proper Tools and Materials for Repair
Using the right tools increases the success rate of stopping leaks. Essential items include
- Automotive-grade sealant or adhesive
- Paint scraper or plastic putty knife
- Cleaning supplies such as glass cleaner and lint-free cloth
- Painters tape and masking tape
- Rubber gloves and safety goggles
Choosing high-quality materials is vital for durability and effective sealing.
When to Call a Professional
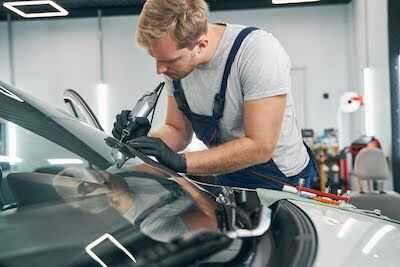
While DIY fixes work for minor leaks, persistent or severe leaks require a professional’s expertise. Certified technicians have the necessary tools and experience to remove and reseal the windshield properly. Waiting too long can cause interior damage and increase repair costs.
Preventative Tips to Avoid Future Leaks
Prevention is better than cure. Regularly inspect your windshield and sealant condition, especially after harsh weather. Wash your car regularly to remove debris that might compromise the seal. When replacing your windshield, choose a reputable auto glass specialist to ensure quality installation.
Maintenance Checks for a Leak-Free Windshield
Routine maintenance helps in catching small issues early. Check for cracks or chips and address them promptly. Applying a protective sealant periodically can reinforce the existing seal and keep water out.
Related Topics to Consider
To prolong the lifespan of your new windshield and avoid leaks, consider the following:
- Correct Installation Techniques — Ensures proper sealing and reduces risks of future leaks.
- Quality of Replacement Parts — Use OEM or certified aftermarket glass and seals for best results.
- Weather Conditions During Replacement — Avoid replacing windshields in extreme cold or rain to ensure proper adhesion and sealing.
- Interior Drainage Systems — Check that sunroof drains and weep holes are clear, as blockages can cause water buildup and leaks inside the vehicle.
Common Mistakes to Avoid
Be aware of frequent errors that lead to leaks, such as improper sealant application, rushing the curing process, or neglecting to clean the surface thoroughly. These mistakes compromise the seal and result in water ingress. Always follow manufacturer instructions carefully for the best outcome.
Additional Tips for Water Damage Prevention
If your windshield leaks, water can damage your vehicle’s interior, leading to mold growth. To minimize damage:
- Use a vacuum or wet-dry cleaner to remove excess water immediately.
- Allow the interior to dry completely before using AC or heater.
- Install absorbent materials, such as silica gel packs, inside to help with moisture control.
Understanding Warranty and Repair Guarantees
Most professional windshield replacements come with a warranty covering leaks and adhesive failure. Review your warranty terms thoroughly and contact your service provider if leaks persist after repair. This ensures you receive proper support without extra cost.
By following these detailed steps and tips, you can significantly reduce or eliminate leaks after a windshield replacement. Properly sealed windshields improve your vehicle’s safety and comfort, making all your drives more worry-free.
How To Repair A Leaking Windshield (Andy’s Garage: Episode – 84)
Frequently Asked Questions
What steps can I take if I notice a leak after windshield replacement?
If you detect a leak after replacing your windshield, start by inspecting the seal around the edges. Ensure that the sealant was applied evenly and thoroughly. If you notice gaps or uneven application, consider resealing the area or having a professional reapply the sealant. Avoid driving in heavy rain until the issue is resolved to prevent water from entering your vehicle.
How can I properly dry out the interior if water has entered after windshield installation?
Use a clean towel or microfiber cloth to remove standing water from the interior. Turn on the vehicle’s heater and air conditioning to help circulate warm, dry air inside. For faster results, position a fan or dehumidifier near the affected area. Keep the windows slightly open if weather permits to promote better airflow and evaporation.
What maintenance practices help prevent future leaks after a new windshield is installed?
Regularly inspect the sealant around your windshield for cracks, gaps, or signs of deterioration. Clean the windshield and surrounding areas with gentle, non-abrasive cleaners to prevent buildup that can compromise the seal. Avoid hitting potholes or rough roads at high speeds, which can disturb the seal and cause leaks. Schedule periodic professional inspections, especially after severe weather or impacts.

Similar Posts