How To Stop Water Leaking Through Rear Windshield Effectively
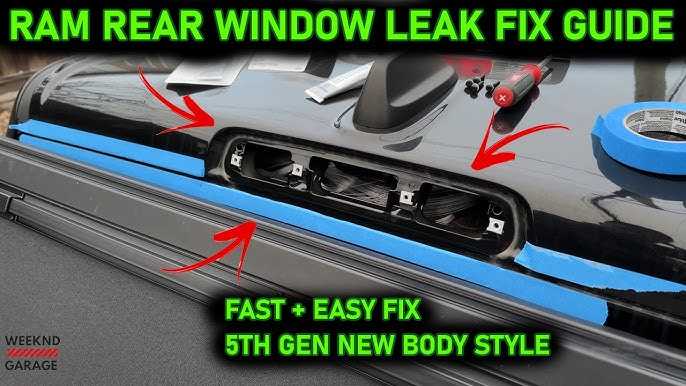
To quickly fix water leaking through your rear windshield, resealing the edge with a high-quality automotive adhesive or sealant is your best bet. First, carefully clean and dry the area, then apply a fresh bead of sealant along the perimeter to create a waterproof barrier. If the leak persists, consider replacing the weatherstripping or consulting a professional for a more thorough fix.
If water is seeping through your rear windshield, it can quickly become a frustrating problem that damages your vehicle’s interior and glass. Luckily, most leaks are caused by worn or damaged seals, loose fittings, or cracks that can often be repaired with simple sealing techniques. Addressing the issue promptly not only prevents further water damage but also improves your car’s overall safety and comfort. This article will guide you through identifying the cause of the leak, cleaning and preparing the surface, and properly resealing or replacing the faulty components to keep your vehicle dry and secure. Whether you’re a DIY enthusiast or seeking professional advice, these tips will help you stop the leak efficiently.

How to Stop Water Leaking Through Rear Windshield
Understanding Why Water Leaks Through the Rear Windshield
Water leaking through the rear windshield can be frustrating and often damaging. To fix this issue, first understand the main causes behind the leak. Common reasons include damaged or deteriorated sealant, cracks in the glass, or improper installation. Recognizing these causes helps identify the right solution quickly and efficiently.
Signs That Your Rear Windshield Is Leaking
Look for these signs to confirm a leak:
- Pools of water or dampness on the rear interior panels or trunk area.
- Musty or moldy smell inside the vehicle.
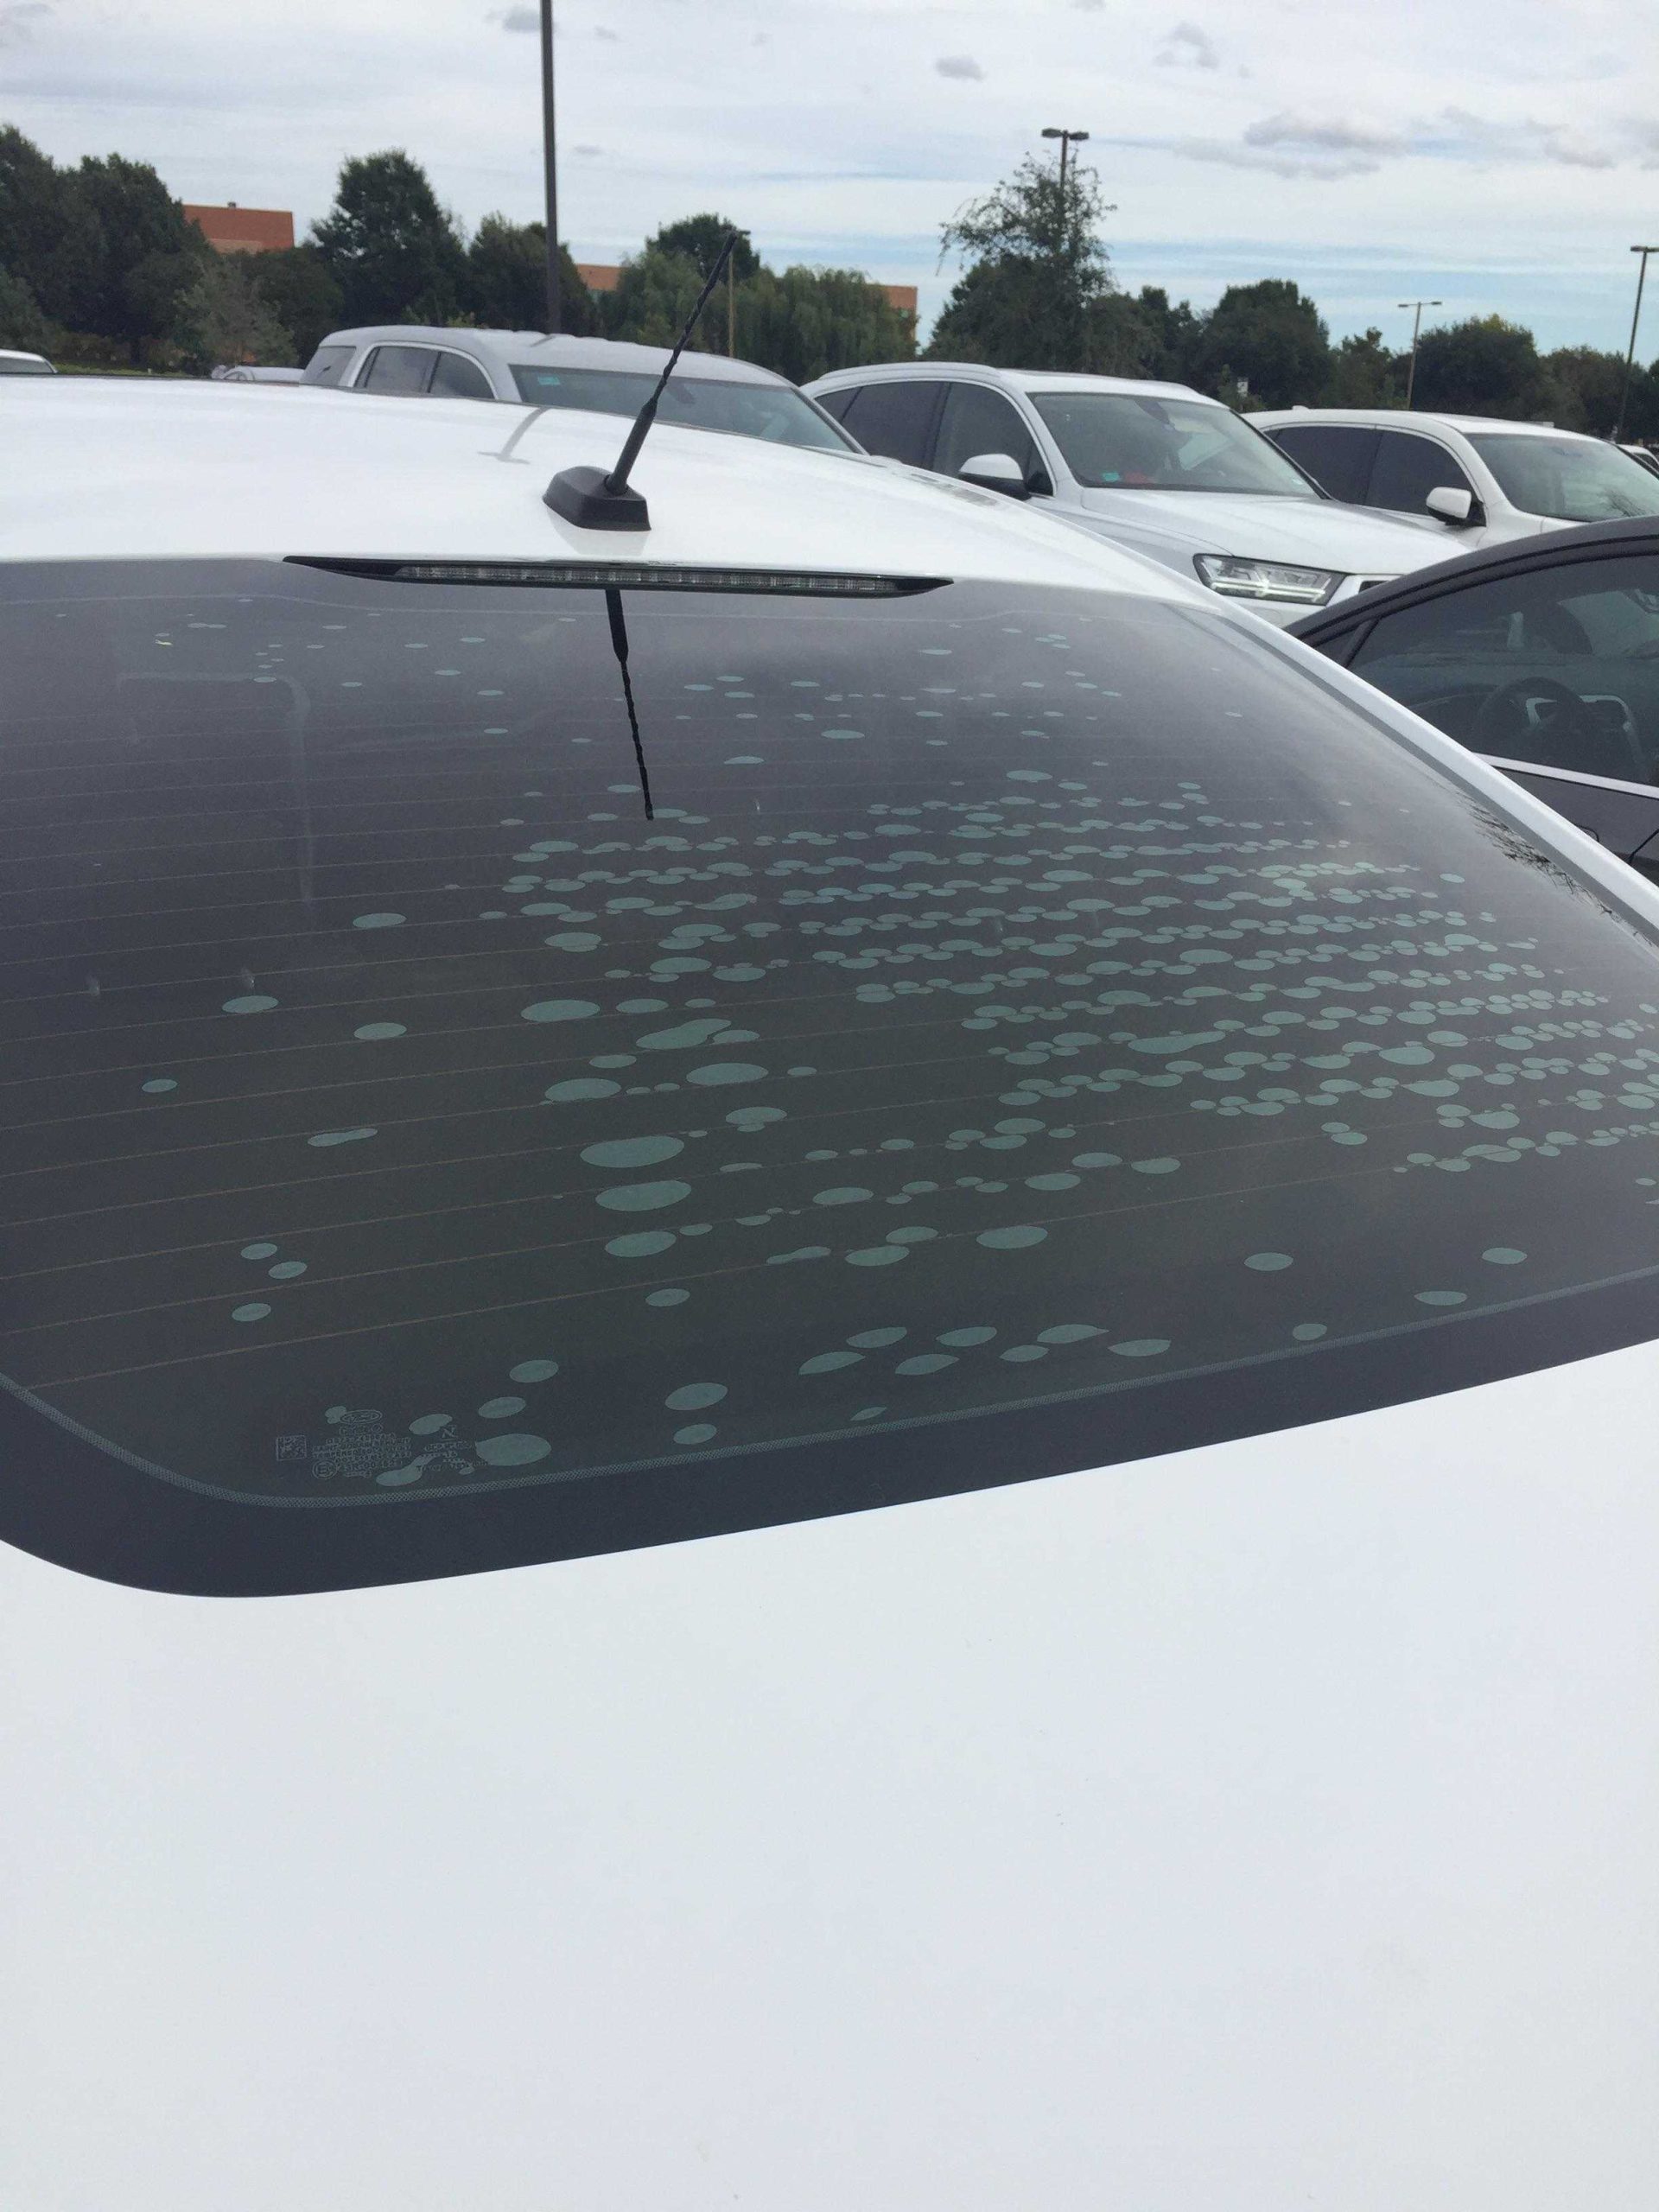
- Water stains or streaks on the rear windshield or interior lining.
- Water dripping during heavy rain or car washes.
Spotting these signs early can prevent further damage and costly repairs.
Inspecting the Rear Windshield Sealant
The sealant around the rear windshield keeps water out effectively. Begin by visually inspecting the sealant for:
- Cracks or gaps in the rubber or urethane sealant.
- Peeling or bubbling sealant material.
- Inconsistent application of the sealant along the edges.
Use a flashlight to get a clear view, and gently run your finger to feel for any uneven or cracked areas.
Checking for Cracks or Chips in the Glass
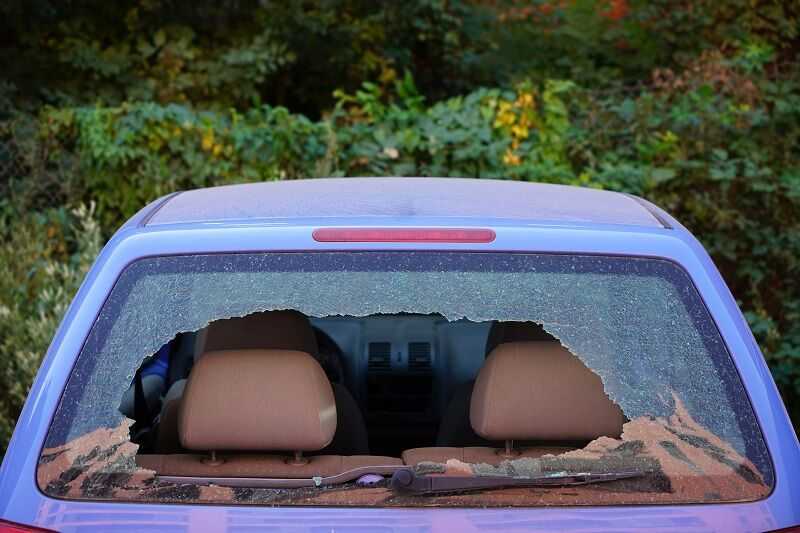
Cracks or chips can compromise the seal and allow water to seep inside. Examine the glass thoroughly:
- Look for hairline cracks running along the edges or center of the glass.
- Check for chips or small broken spots that may have expanded over time.
- Use a magnifying glass for detailed inspection if necessary.
Cracks should be repaired promptly to prevent leaks and further damage.
Testing the Seal Integrity
Perform a simple water test to confirm if the seal is the issue:
- Spray water along the edges of the rear window using a garden hose or spray bottle.
- Have someone observe the interior for signs of water entry.
- Note any leaks or water spots appearing inside.
This test helps pinpoint whether the sealant or other issues are causing the leak.
How to Fix Minor Sealant Damage
For small gaps or cracks, resealing can be an effective solution:
Tools and Materials Needed
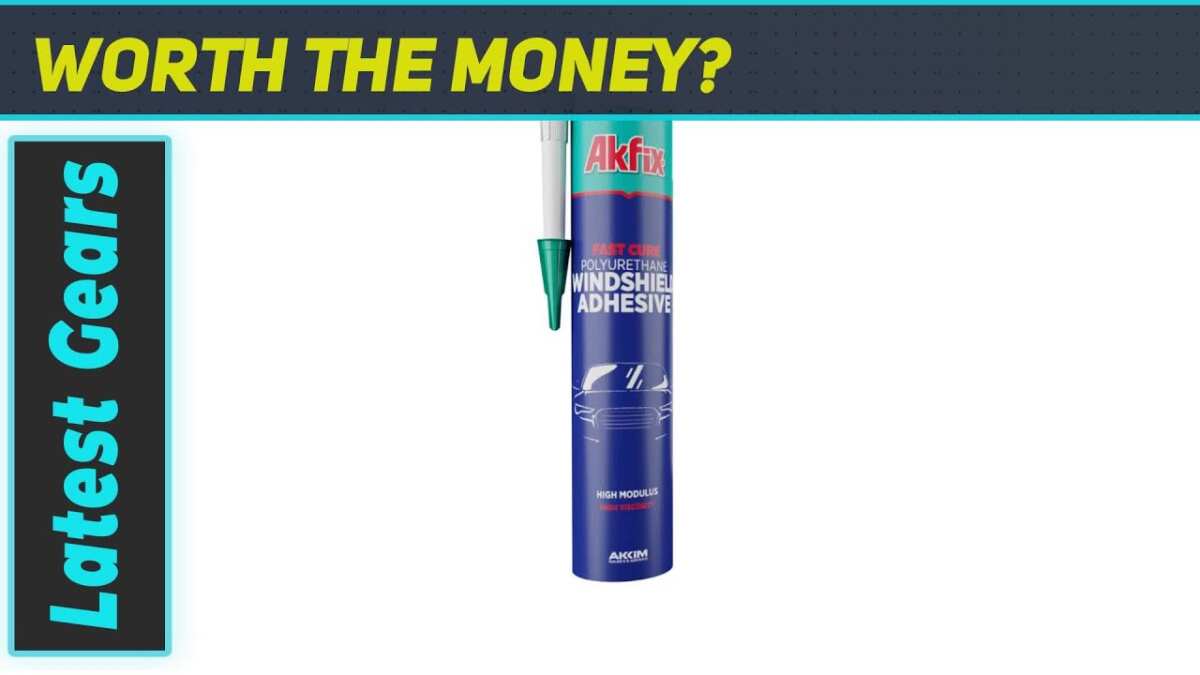
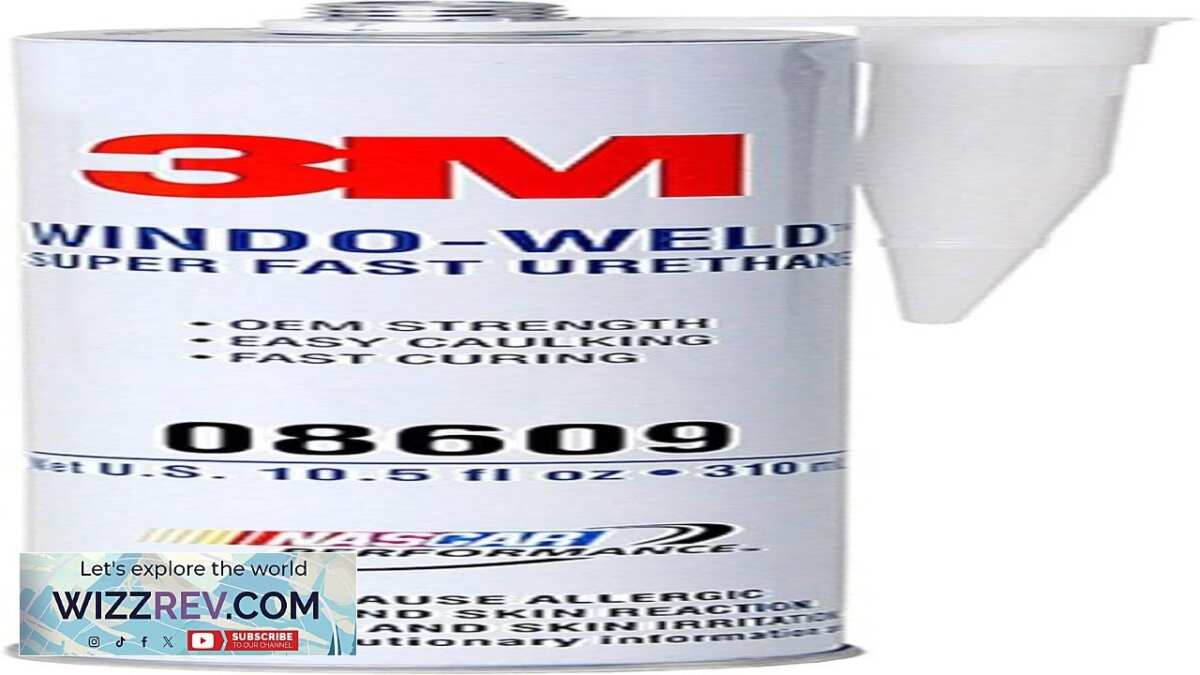
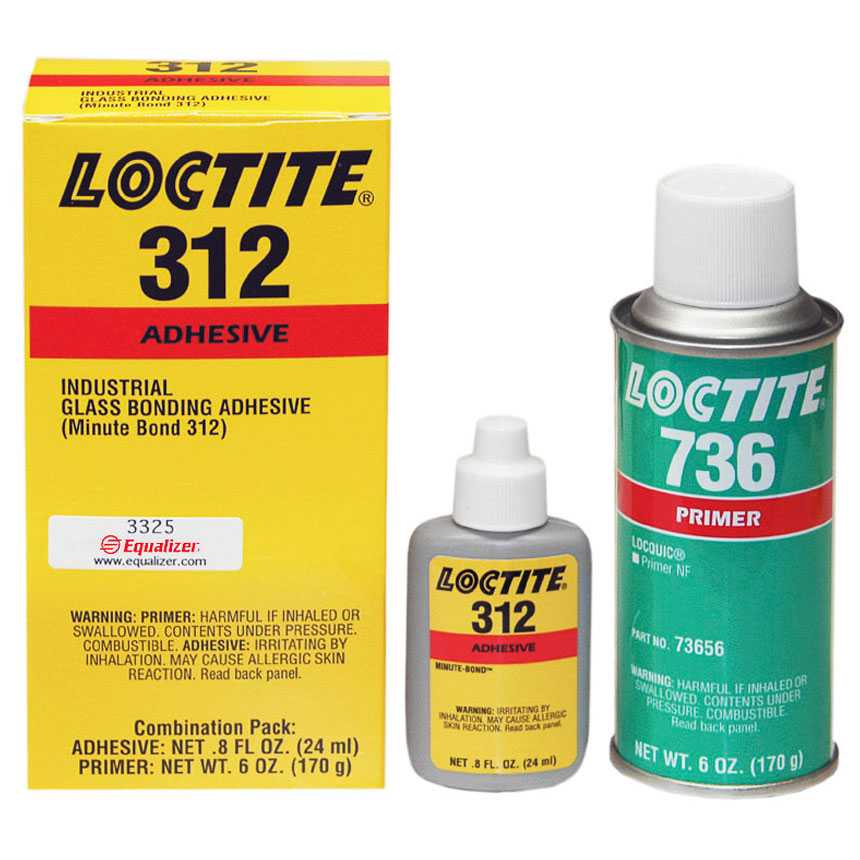
- Automotive-grade urethane sealant or silicone sealant
- Cleaning cloths and alcohol wipes
- Rubber gloves
Step-by-Step Guide
- Clean the affected area thoroughly with alcohol to remove dirt and old sealant.
- Let the area dry completely.
- Apply the new sealant evenly along the cracks or gaps using a caulking gun or squeeze tube.
- Allow the sealant to cure as per manufacturer instructions, typically 24 hours.
This process can restore the seal and prevent future leaks.
Replacing the Rear Windshield Sealant
In cases of extensive damage, a full sealant replacement may be necessary. Follow these steps:
Preparation
- Remove any remaining sealant or debris from the edges.
- Protect the surrounding car paint with masking tape.
- Gather tools like a pry tool, new urethane adhesive, and cleaning supplies.
Removal and Installation
- Carefully pry out the old sealant using a plastic pry tool to avoid damaging the glass or paint.
- Clean the entire bonding area thoroughly.
- Apply a fresh bead of urethane adhesive evenly around the glass edge.
- Press the windshield firmly into place, ensuring proper alignment.
- Secure the glass with tape and allow the adhesive to cure overnight.
Proper installation ensures a tight, water-resistant seal.
Addressing Cracks and Chips in the Glass
Cracks and chips can be repaired with professional glass repair kits or by a specialist:
- Small cracks up to a few inches can often be filled with resin.
- Deep or wider cracks may require full replacement.
- Repair kits include resin, an applicator, and curing film for DIY fixes.
For large or complicated damage, consult a professional to avoid compromising the windshield’s integrity.
Professional Repair and Replacement Options
When DIY fixes are insufficient, professional services provide:
- Complete removal and replacement of the rear windshield.
- Expert sealant application ensuring long-lasting waterproofing.
- Inspection for other potential leaks or damages.
Choosing a reputable auto glass technician helps ensure quality work and durability.
Preventative Maintenance to Avoid Future Leaks
Maintain your rear windshield to prevent leaks:
- Regularly inspect the sealant for cracks or damage.
- Clean the edges and sealant with gentle cleaning solutions.
- Avoid parking under trees or in areas prone to falling debris that could damage the glass or sealant.
- Address small issues immediately to prevent larger leaks later on.
Routine checks save you money and extend the life of your rear windshield.
Additional Tips for Water Leak Prevention
Consider these extra steps:
- Apply clear silicone sealant around the edges as a temporary fix until professional repair.
- Keep your car’s drainage system clean to avoid water buildup that may seep through seals.
- Park in covered areas during heavy rain to minimize exposure.
Taking proactive steps offers peace of mind and keeps your vehicle protected.
Related Topics
Explore these related issues:

Similar Posts