How To Fix A Cracked Rear Windshield Quickly And Easily
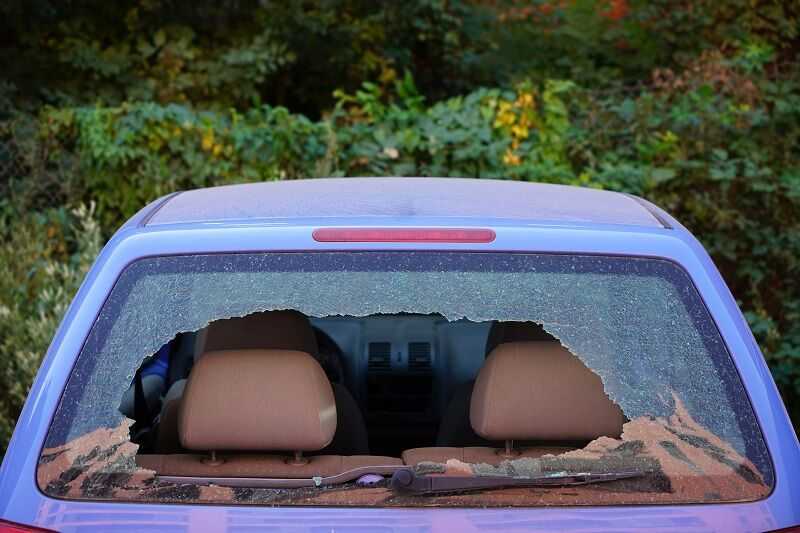
To fix a cracked rear windshield quickly, the best immediate step is to apply a clear adhesive resin or use a windshield repair kit to prevent the crack from spreading further. For a more permanent fix, replacing the entire glass is often necessary, especially for large or complex cracks. Always consult a professional for safety and durability.
If your rear windshield has a crack, don’t panic. Small cracks can sometimes be temporarily stabilized with a repair kit, but for a long-term solution, replacing the glass is usually the safest option. Addressing the problem promptly can save you money and prevent the damage from worsening, which could compromise your vehicle’s safety and legality. Keep reading to learn practical steps for fixing or replacing your cracked rear windshield effectively and safely.
Cracks in the rear windshield can occur suddenly and can be quite worrying, especially when you’re unsure whether to repair or replace it. Fixing a crack quickly and properly not only restores the appearance of your vehicle but also ensures your safety on the road. Whether you’re considering a temporary DIY fix or a professional replacement, knowing your options helps you make an informed decision. In this guide, we’ll walk you through the steps to assess the damage, choose the right repair method, and understand when it’s time to seek expert help.

How to Fix a Cracked Rear Windshield
Understanding the Damage: Types of Cracks and Their Impact
To effectively repair a cracked rear windshield, you first need to understand the **different types of cracks**. The main types include stress cracks, chip cracks, and straight cracks.
Stress cracks are usually caused by temperature changes or physical stress. They often appear as small lines that spread across the glass surface.
Chip cracks are tiny shattered areas often resulting from small stones or debris hitting the glass. These can expand over time if not repaired promptly.
Straight cracks run in a single line from the point of impact, often caused by sudden pressure or force. Recognizing the crack type helps determine the best repair method.
Assessing the Severity of the Crack
Before proceeding with any repair, evaluate the **size and location of the crack**.
Cracks shorter than six inches are generally repairable. Larger cracks or those that intersect the edges might require windshield replacement.
Think about whether the crack obstructs your view or compromises the rear windshield’s structural integrity. If it affects your visibility, professional repair is often the safest choice.
Remember, the **location** of the crack matters. Cracks near the edges tend to spread faster and may weaken the glass more quickly.
Safety Precautions Before Repairing
Ensure your safety before starting any repair process.
Wear **gloves** to protect your hands from glass shards. Use **eye protection** to shield your eyes from small flying pieces.
Work in a well-ventilated area free of dust and debris. If the crack is large or extensive, it’s safer to seek professional help rather than attempting a DIY fix.
Avoid driving your vehicle if the crack is large or if you notice the windshield’s structural weakening.
Tools and Materials Needed for DIY Repair
To repair a small crack effectively, gather the following materials:
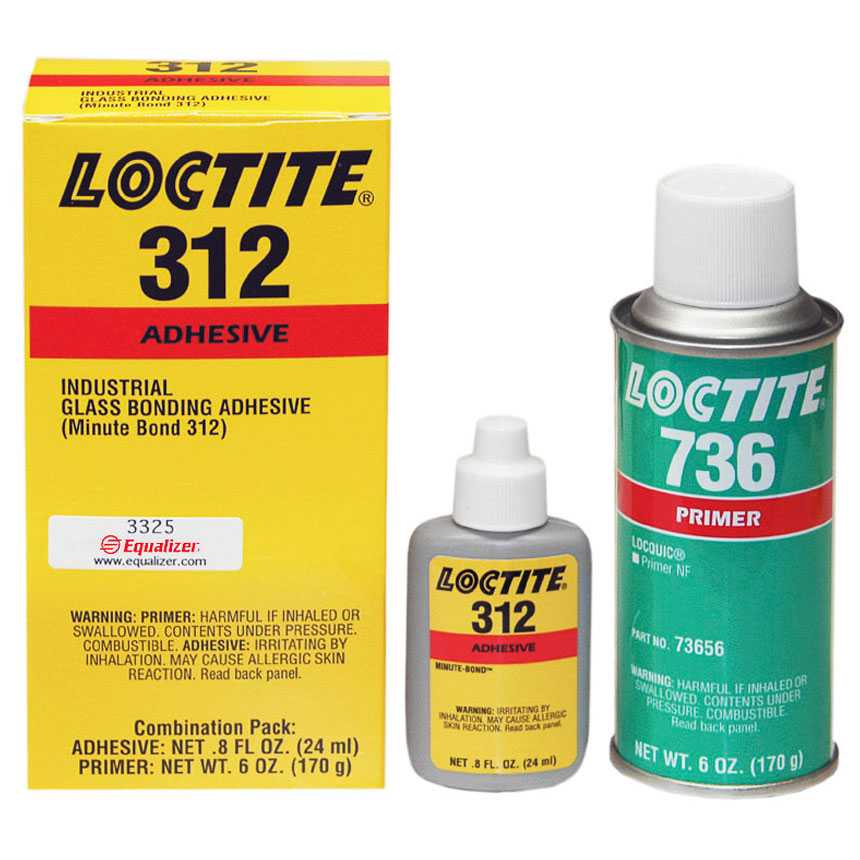
- Windshield repair kit (includes resin, applicator, curing strips)
- Pure Isopropyl alcohol or glass cleaner
- Microfiber cloths
- Utility knife or razor blade
- Painter’s tape
- UV light source or sunlight
Using a quality repair kit is essential for good results and long-lasting repairs. Choose a kit compatible with glass repair and follow the instructions carefully.
Preparing the Windshield for Repair
Start by thoroughly cleaning the cracked area with glass cleaner or isopropyl alcohol.
Use a microfiber cloth to remove dirt, dust, and grease, making the surface as clear as possible.
Dry the area completely before applying any repair materials. A clean surface ensures proper adhesion of the resin.
Use painter’s tape to mark the boundaries around the crack, preventing excess resin from spreading to unwanted areas.
Step-by-Step Guide to Fixing the Cracked Rear Windshield
Once prepared, follow these steps:
Step 1: Applying the Resin
Insert the resin syringe into the applicator provided in your repair kit.
Carefully inject the resin into the crack, making sure it fills the entire length and width.

Similar Posts