How To Remove Laminated Windshield Effectively

To remove a laminated windshield, carefully score the edges with a glass removal tool, then gently pry it free using a windshield removal wedge or suction cup while working slowly to avoid damage. Applying heat around the edges can loosen the adhesive, making removal easier. Finally, use a scraper to remove remaining adhesive residue for a clean finish.
If you’re wondering how to get rid of a laminated windshield, the key is patience and the right tools. You’ll need to cut through the sealant without cracking the glass, which requires precision and careful handling. Removing a laminated windshield can seem intimidating, but with the proper technique and some practice, you can do it yourself or prepare for a professional replacement. Knowing the step-by-step process ensures you avoid unnecessary damage and makes the job safer and more efficient. Whether you’re replacing it due to damage or upgrading your vehicle, understanding how to remove the windshield properly is essential for a smooth and successful process.

How to Remove Laminated Windshield
Removing a laminated windshield can seem challenging, but with the right tools and steps, it becomes a manageable task. Laminated glass is designed to be sturdy and safe, but sometimes you need to replace or repair it. This guide provides detailed instructions to help you remove laminated windshields carefully and effectively.
Understanding Laminated Windshield Structure
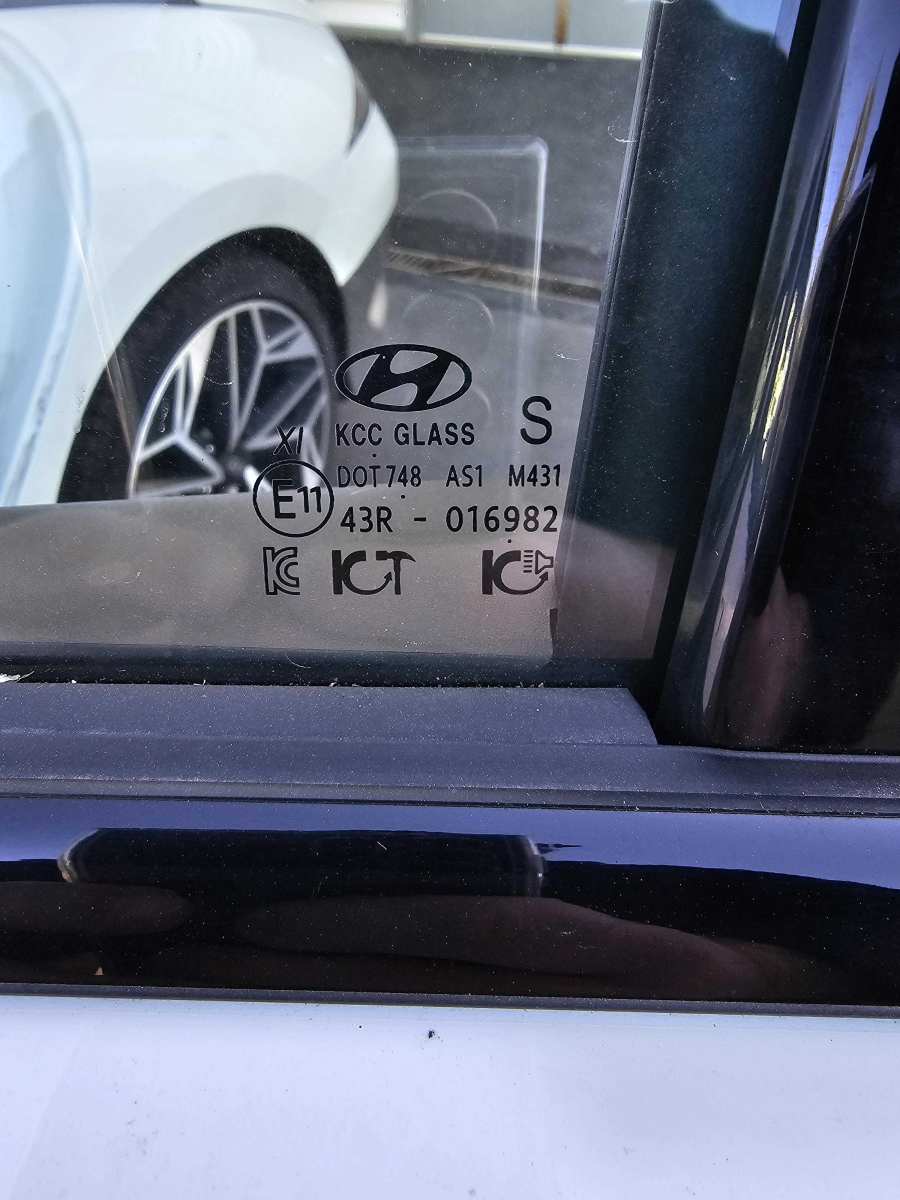
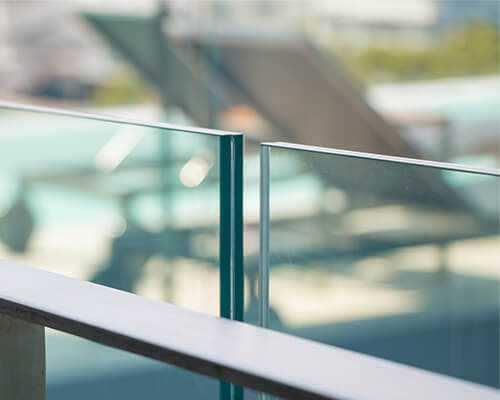
Laminated windshields are made of two glass layers bonded together with a plastic interlayer, often polyvinyl butyral (PVB). This construction makes the glass safer because it holds together if shattered. The plastic layer also adds to the difficulty of removal since it adheres strongly to the glass and frame.
Tools and Materials Needed
Before starting the removal process, gather the following tools and materials:
- Utility knife or windshield sealant remover
- Pinchweld scraper or plastic pry tools
- Rubber mallet or hammer
- Glass removal suction cups
- Automotive glass cleaner and primer
- Protective gloves and safety goggles
- Adhesive remover (if necessary)
- New windshield sealant or urethane adhesive
Preparing the Work Area
Clear a spacious, level area to work safely and comfortably. Cover nearby surfaces with drop cloths or tarps to catch debris and protect your surroundings. Ensure good lighting, and wear safety gear to avoid injuries from glass shards.
Removing the Windshield Trim and Interior Components
Start by removing any trim, molding, or interior panels around the windshield. Use a pry tool or screwdriver carefully to avoid damaging the vehicle’s paint or interior. This step exposes the sealant and edges of the windshield, facilitating easier removal.
Cutting Through the Sealant
Use a utility knife or sealant removal tool to cut through the urethane adhesive holding the windshield. Slowly slide the blade along the edge, working around the entire perimeter. Applying a little heat with a heat gun can soften the sealant, making cuts easier and reducing risk of cracking the glass.
Applying Heat for Loosening Adhesive
Gently heat the edges of the windshield with a heat gun or infrared heater. Keep the heat moving to avoid overheating the glass or damaging the vehicle paint. The warmth softens the adhesive, which helps in releasing the windshield more smoothly.
Loosening the Windshield with Pry Tools
Insert a nylon or plastic pry tool at the top edge of the windshield. Avoid metal tools as they can crack or shatter the glass. Carefully work around the edge, gently applying pressure to break the seal. Use a rubber mallet if necessary to tap the pry tool gently.
Using Suction Cups for Controlled Removal
Attach suction cups to the center of the windshield for better control. Gently lift and wiggle the glass to break any remaining adhesive bonds. Avoid lifting suddenly or using excessive force to prevent glass breakage.
Removing the Windshield from the Vehicle
Once loosened, carefully lift the windshield upright and out of the frame. Have an assistant help stabilize the glass during removal. Place the removed windshield on a soft surface to prevent damage or injury.
Cleaning the Frame and Preparing for New Windshield
Thoroughly clean the pinchweld (the frame where the windshield sits) using an automotive cleaner and scraper if necessary. Remove leftover adhesive or debris to ensure a secure fit for the new windshield. Apply a primer to improve adhesion for the replacement sealant.
Safety Tips During Removal
Always wear protective gloves and goggles to prevent injuries from glass shards. Work slowly and carefully, especially when handling large or sharp glass pieces. If the windshield shows signs of cracking or shattering, stop and call a professional.
Additional Considerations and Common Challenges
Removing laminated windshields can be complicated by factors like old or damaged sealant, or rusted frames. Patience and gentle handling prevent accidents and damage. If you encounter difficulties, contacting a professional might be the safest option.
Knowing how to remove a laminated windshield properly ensures safety and prepares you for windshield replacement. Carefully following these steps and using the right tools will help you complete the job smoothly. Proper removal minimizes damage and ensures the new windshield fits perfectly, giving your vehicle back its clarity and security.
Windshield Removal Using Harbor Freight Tool
Frequently Asked Questions
What tools are necessary for removing a laminated windshield safely?
To remove a laminated windshield effectively, gather tools such as a utility knife or glass removal blade, a windshield removal tool or crowbar, suction cups for handling the glass, and safety gear like gloves and eye protection. Using these tools helps to carefully cut through the adhesive and lift the glass without causing damage or injury.
How can I loosen the adhesive holding the laminated windshield in place?
Apply a specialized adhesive remover or glass solvent around the edges of the windshield to soften the glue. Use a heat gun or infrared heater to gently warm the area, which helps expand the adhesive and makes it easier to separate the glass from the frame. Be cautious to avoid overheating or damaging surrounding components.
What steps should I follow to safely lift and remove the laminated windshield?
First, ensure the vehicle is stabilized and the obstacle-free workspace is ready. Carefully cut the adhesive around the perimeter using a utility knife. Attach suction cups to the glass for a secure grip, and with steady, even pressure, lift the windshield from the vehicle frame. Have an assistant support the glass during removal to prevent accidental drops or cracks.
Are there any safety precautions to keep in mind during removal?
Always wear safety gloves and eye protection to guard against glass shards. Work in a well-ventilated area when using adhesive removers or solvents. Handle the glass with care, avoiding excessive force that could cause it to break. Disconnect the vehicle’s battery if necessary to avoid electrical hazards during removal.
How can I ensure the surface is ready for a new windshield after removal?
After removing the windshield, clean the frame thoroughly to remove residual adhesive and debris. Inspect the surface for any damage or corrosion that needs repair. Apply a primer or bonding agent recommended by the manufacturer before installing the new laminated windshield, ensuring a secure and long-lasting fit.
Final Thoughts
To remove laminated windshield, start by heating the adhesive with a heat gun to soften it. Carefully cut around the edges with a utility knife. Use a windshield removal tool or suction cups to lift the glass gradually.
Ensure safety by wearing gloves and eye protection throughout the process. Take your time to prevent damage to the vehicle’s frame. Testing different angles can help ease the removal process smoothly.
In conclusion, knowing how to remove laminated windshield involves careful heating, cutting, and lifting. Focus on patience and safety to achieve the best results.

Similar Posts