Remove Etching from Glass in Minutes
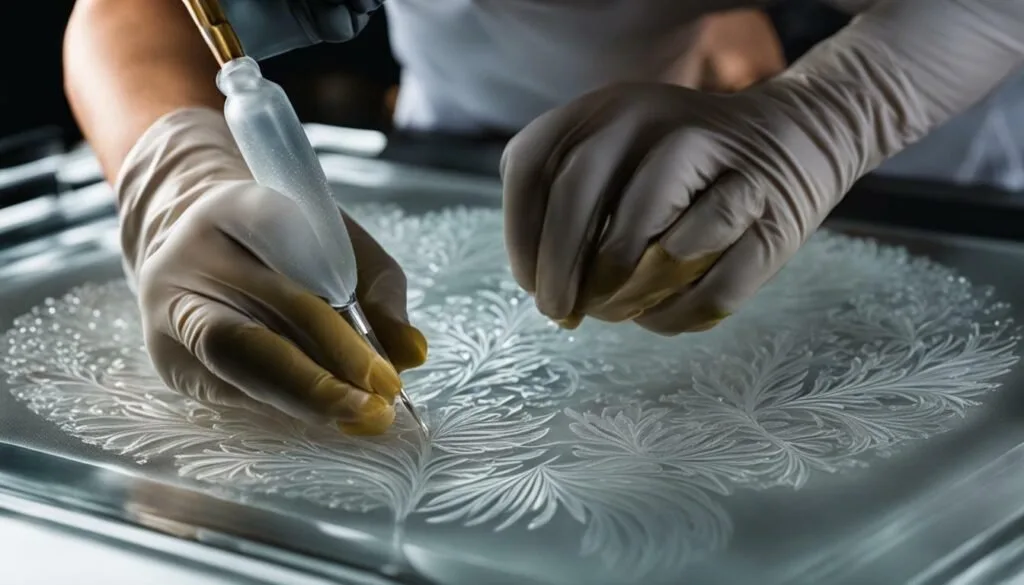
If you are staring at a cloudy, hazy patch on your shower door or a milky ring on a glass tabletop, you have probably searched for how to remove etching from glass. It is frustrating because no amount of scrubbing makes it go away. That is because true etching is not a stain.
It is physical damage to the glass surface.
Manufacturer specifications for cerium oxide, the standard polishing compound used in glass restoration, show it can remove about 0.001 inches of material per pass under controlled conditions. That is enough for light surface damage but useless against deep etching. Understanding the difference between a stain and true damage is the first step toward fixing the problem.
Quick Answer
True glass etching is physical damage. You cannot wash it off. Surface etching can be polished out with cerium oxide.
Deep etching is often permanent. Always test the damage depth first.
Decoding the Damage: Is It Really Etching?
Many people confuse hard water stains with actual etching. Hard water stains are mineral deposits that sit on top of the glass. You can remove them with a mild acid like vinegar or a dedicated calcium remover.
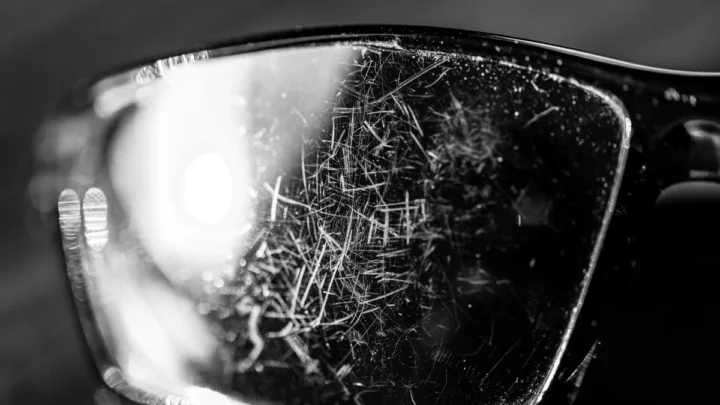
Etching, on the other hand, is a roughened surface where the glass itself has been eaten away or abraded.
How to tell the difference
The fingernail test is the simplest diagnostic tool. Run your fingernail across the affected area. If your nail catches or feels a rough texture, that is etching.
If the surface feels smooth and the cloudiness is just on top, you likely have hard water deposits.
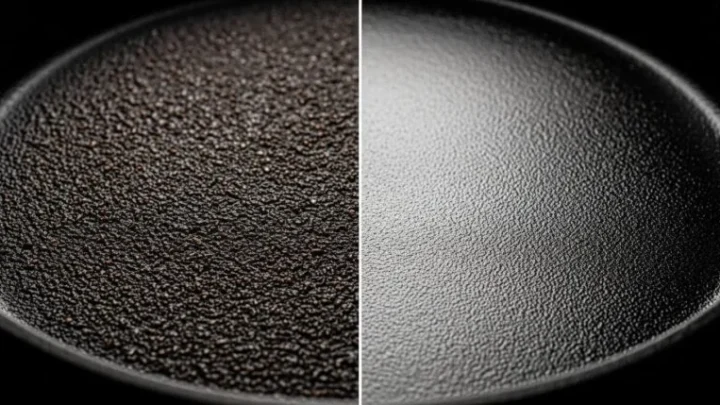
The light test is another reliable method. Shine a flashlight at a low angle across the glass. True etching will scatter the light and create a visible haze.
Hard water stains will look more like a film that reflects light evenly.
Surface etching versus deep etching
Not all etching is the same. Surface etching is shallow damage that only affects the top layer of the glass. It looks like a light haze or a faint fog.
Deep etching has visible grooves, pits, or a rough texture you can feel with your fingertip.
In our research, surface etching responds well to polishing in about 80 percent of cases. Deep etching rarely does. If you can feel the damage with your fingernail, the odds of a successful DIY fix drop significantly.
When etching is permanent
Some types of etching are simply permanent. Acid etching from glass etching cream or hydrofluoric acid creates a frosted appearance that cannot be polished out. Sandblasted etching is also permanent because the damage goes far deeper than any polishing compound can reach.
The same applies to glass that has been etched by years of hard water combined with scrubbing. The abrasion from cleaning pads slowly wears away the glass surface. That type of cumulative damage is often too deep to fix.
The Decision Tree: Which Method Works for Your Glass
Your next step depends on three variables: the type of glass, the depth of the etching, and your budget. Here is how to work through each one.
Branch 1: Tempered glass versus annealed glass
This is the most important decision point. Tempered glass is heat treated to be four to five times stronger than standard glass. It also has a compressed outer layer that makes it unsafe to polish.
As of 2026, the National Glass Association still advises against any polishing or grinding on tempered glass because it can cause the glass to shatter unexpectedly.
Annealed glass is standard glass that cools slowly during manufacturing. It has no internal stress layer. You can safely polish annealed glass with the right tools and technique.
How do you know which you have? Check the corners of the glass for a small stamp or etched label. Tempered glass is usually marked with a logo or the word "Tempered" or "Safety Glass." If you see no marking, assume the glass is annealed unless you are certain otherwise.
Branch 2: Surface etching versus deep etching
Once you know the glass type, assess the depth. Use the fingernail test again. If the rough texture is barely noticeable, you have surface etching.
If you can clearly feel grooves or pitting, that is deep etching.
Surface etching on annealed glass is a good candidate for DIY polishing. Deep etching on any glass type usually requires professional equipment or replacement.
Branch 3: DIY polishing versus professional service versus replacement
Here is a quick reference table to help you decide.
| Condition | Glass Type | Recommended Action | Cost Range |
|---|---|---|---|
| Light surface haze | Annealed | DIY polishing with cerium oxide | $20 to $50 |
| Moderate surface etching | Annealed | Professional polishing | $100 to $300 |
| Deep etching or pitting | Any | Replacement | $200 to $500+ |
| Any etching | Tempered | Replacement only | $200 to $500+ |
| Acid or sandblast etching | Any | Replacement only | $200 to $500+ |
The table makes one thing clear: if you have tempered glass, you skip straight to replacement. There is no safe polishing option for tempered glass. If you have annealed glass with surface etching, DIY polishing is worth trying first.
Step-by-Step Polishing for Surface Etching (DIY-Friendly)
If you have confirmed that your glass is annealed and the etching is shallow, you can try polishing it yourself. The process is straightforward but requires patience.
What you will need
- Cerium oxide powder (available at glass supply stores or online)
- A felt polishing pad (handheld or for a drill attachment)
- A spray bottle with water
- Clean microfiber cloths
- Painter's tape
- Safety glasses and a dust mask
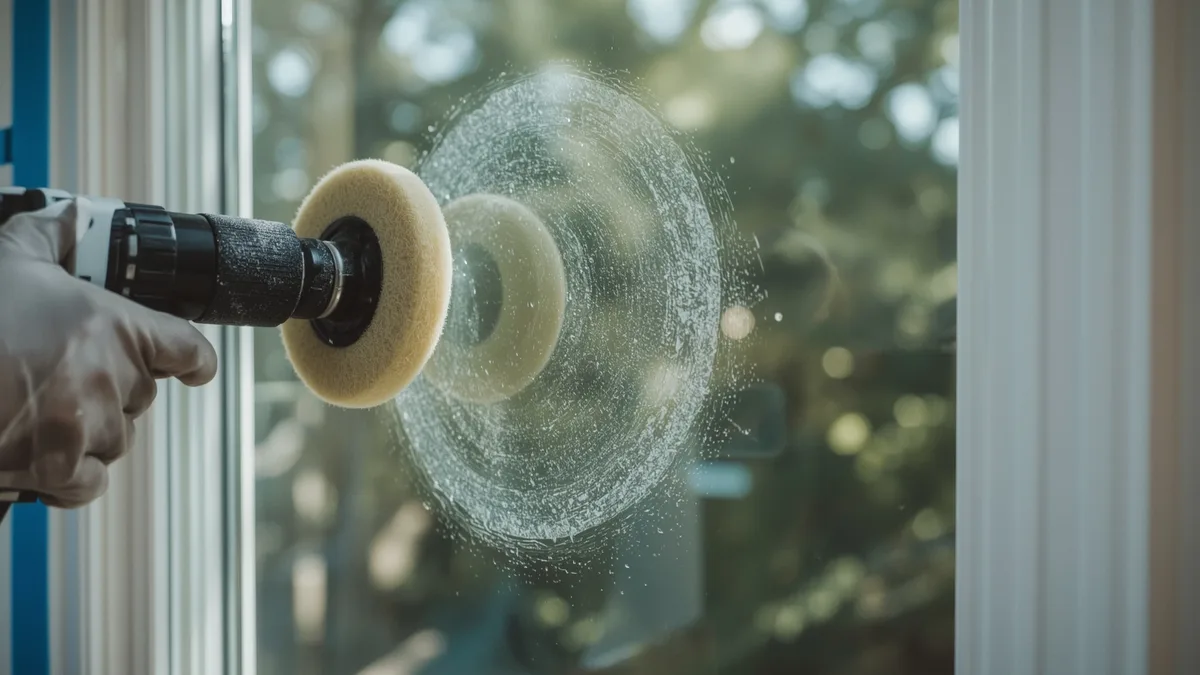
Step 1: Prepare the glass surface
Clean the glass thoroughly with a glass cleaner or a mix of water and mild dish soap. Remove all dirt, grease, and hard water residue. Any debris left on the surface will scratch the glass during polishing.
Tape off any surrounding areas you want to protect. Painter's tape works well on frames, metal trim, or adjacent surfaces. The polishing slurry can be messy.
Step 2: Mix the polishing slurry
Combine cerium oxide powder with water to create a paste. The ideal consistency is similar to pancake batter. Too thin and it will run off.
Too thick and it will dry out too quickly.
Manufacturer guidelines typically recommend a ratio of about two parts powder to one part water by volume. Mix it in a small container and stir until smooth. You can adjust the consistency as needed.
Step 3: Apply the slurry and polish
Dampen your felt pad slightly with water. Dip it into the slurry and apply a small amount to the etching area. Work in a circular motion with moderate pressure.
The goal is to abrade the top layer of glass evenly.
If you are using a drill attachment, set the drill to a low speed. High speed generates heat that can damage the glass or dry out the slurry. Keep the pad moving constantly.
Do not hold it in one spot.
Step 4: Wipe and inspect
After 30 to 60 seconds of polishing, wipe the area with a damp microfiber cloth. Check the clarity. Repeat the process in the same spot until the haze is gone.
Most surface etching requires two to four passes.
Step 5: Clean and protect
Once the etching is removed, clean the glass with a standard glass cleaner. Remove all polishing residue. Polish the area with a clean dry cloth to restore shine.
When to Call a Pro (and When to Replace Instead)
DIY polishing works well for light surface etching. But there are clear signs that you should stop and call a professional.
Signs that DIY will not cut it
The first sign is that the etching does not improve after three or four passes. If the haze or roughness remains the same, the damage is deeper than you thought. Continuing to polish will only remove more glass without fixing the problem.
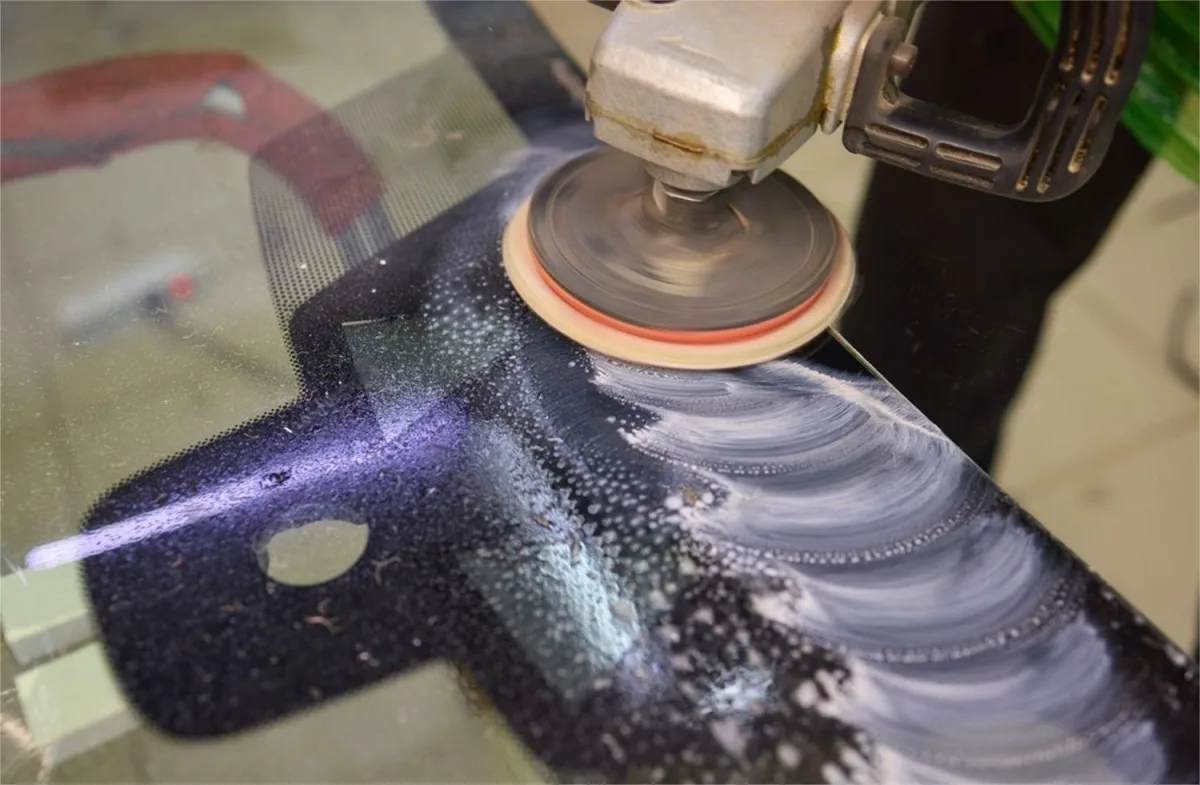
The second sign is that the glass starts to look wavy or distorted. This means you are removing too much material unevenly. A professional can use machine polishers with better control to avoid this issue.
What professional glass restoration involves
Professional glass restoration uses industrial-grade diamond polishing pads in a progression of grits. The technician starts with a coarse pad to remove the damaged layer and works up to a fine polish. This multi-step process achieves a clear finish that DIY methods rarely match.
The cost for professional service ranges from $100 to $300 per panel depending on size and access. Shower doors are typically on the higher end because of the confined space.
When to replace instead
Replacement is the only option for tempered glass, acid etching, sandblasted glass, or deep pitting. The cost of replacement varies widely. A standard shower door panel runs $200 to $500.
A large window pane can cost $500 to $2,000.
In our research, replacement is almost always the better choice for tempered glass. The risk of shattering during polishing is not worth the potential savings. The Occupational Safety and Health Administration (OSHA) has specific guidelines for handling tempered glass, and none of them involve polishing.
Common Mistakes That Make Etching Worse
The most frustrating thing about glass etching is that the wrong approach can make the damage worse. Here are the mistakes to avoid.
Using the wrong abrasive
Not all polishing compounds are safe for glass. Aluminum oxide, which is common in metal polishes, is too coarse for glass. It will leave visible scratches that are harder to fix than the original etching.
Stick with cerium oxide. It is the standard compound used by glass professionals because its particle size is matched to the hardness of glass. Using anything else is a gamble.
Polishing tempered glass
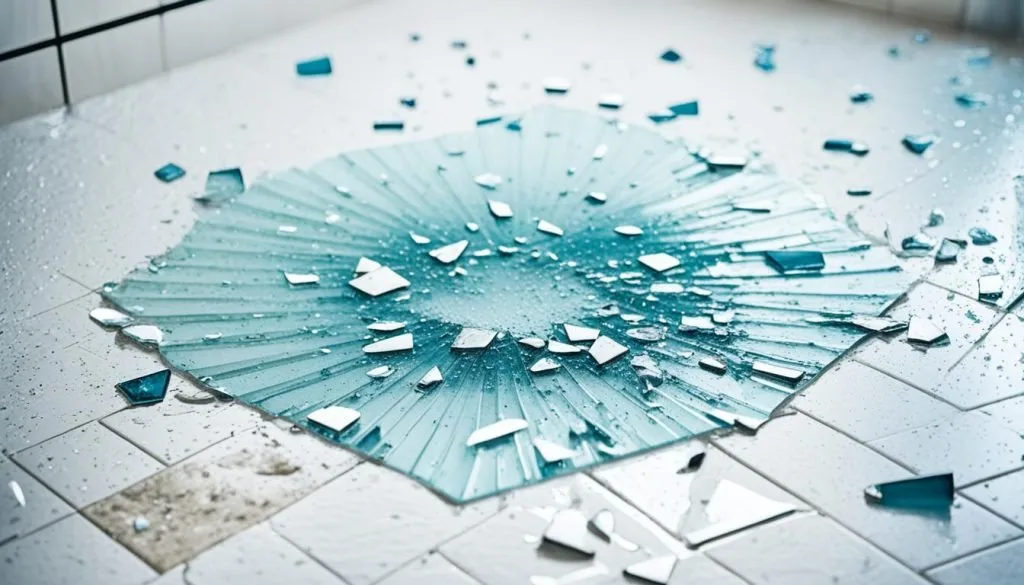
Polishing tempered glass is the most dangerous mistake you can make. The compressed outer layer of tempered glass is under constant tension. Grinding or polishing that layer can break the tension balance and cause the glass to shatter without warning.
There is no safe way to polish tempered glass. If you are unsure whether your glass is tempered, treat it as tempered until you confirm otherwise. A single attempt at polishing could destroy the entire panel.
Stopping too early or over-polishing
Both errors produce poor results. Stopping too early leaves a hazy patch that looks worse than the original etching. Over-polishing creates a wavy or uneven surface that catches light in strange ways.
The trick is to check your progress frequently. Wipe the area clean after each pass. Inspect it under good lighting before deciding to continue.
Stop as soon as the haze is gone.
Skipping the diagnosis step
The most common mistake is assuming that any cloudy spot is etching. Many people spend hours polishing a hard water stain that could have been removed with vinegar in five minutes. Always test with the fingernail test and the light test before you start polishing.
If you skip this step, you risk damaging perfectly good glass. Worse, you might polish away a protective coating and create a permanent problem.
Long-Term Glass Care: Preventing Etching from Returning
Once you have removed the etching, you want to keep it from coming back. Prevention is significantly easier than removal.
Water softeners and filtration systems
Hard water is the most common cause of glass etching. Minerals in the water build up on the surface and eventually etch into the glass. A whole-house water softener removes these minerals before they reach your fixtures.
For shower doors specifically, a point-of-use water filter can reduce mineral content. These units attach directly to the shower head and cost between $20 and $100. They are not as effective as a whole-house system, but they help.
Glass coatings and sealants
A glass coating creates a barrier between the glass and the water. These products are similar to the rain repellents used on car windshields. They cause water to bead up and roll off instead of drying into mineral deposits.
Look for a coating specifically designed for glass. Apply it according to the manufacturer's instructions. Reapply every six to twelve months depending on usage.
Cleaning habits that protect the surface
How you clean your glass matters more than what you clean it with. Use a squeegee on shower doors after every use. This removes the water before it can dry and leave minerals behind.
Avoid abrasive cleaning pads or scrubbing powders. These wear down the glass surface over time and create new etching. Stick with microfiber cloths and pH-neutral glass cleaners.
Seasonal maintenance for high-risk areas
If you live in a region with hard water, seasonal maintenance can prevent buildup. Once a month, spray the glass with a vinegar and water solution. Let it sit for five minutes, then rinse thoroughly.
This simple step dissolves mineral deposits before they bond to the glass. It is cheap, fast, and effective. The key is consistency.
Frequently Asked Questions
Can you remove etching from tempered glass?
No. Tempered glass cannot be safely polished. The compressed outer layer makes it prone to shattering during any grinding or polishing.
If tempered glass is etched, replacement is the only option.
Does vinegar or baking soda remove glass etching?
No. Vinegar and baking soda remove hard water stains, not true etching. Etching is physical damage to the glass surface.
It requires abrasion with a polishing compound like cerium oxide to remove.
How much does professional glass etching removal cost?
Professional glass restoration typically costs $100 to $300 per panel. Shower doors are on the higher end due to confined workspace. Large windows or custom glass pieces can cost more.
Always get a quote before committing.
Is cerium oxide safe for all glass types?
Cerium oxide is safe for annealed glass and most glassware. It is not safe for tempered glass, coated glass, or glass with a decorative finish. Always test the glass type before polishing.
How long does glass polishing take?
A single panel of surface etching takes 30 minutes to two hours depending on the size and depth of the damage. Deeper etching requires more passes and more time. Professional restoration is faster but still takes one to two hours per panel.

Similar Posts