How to Replace Window Glass in Vinyl Frame
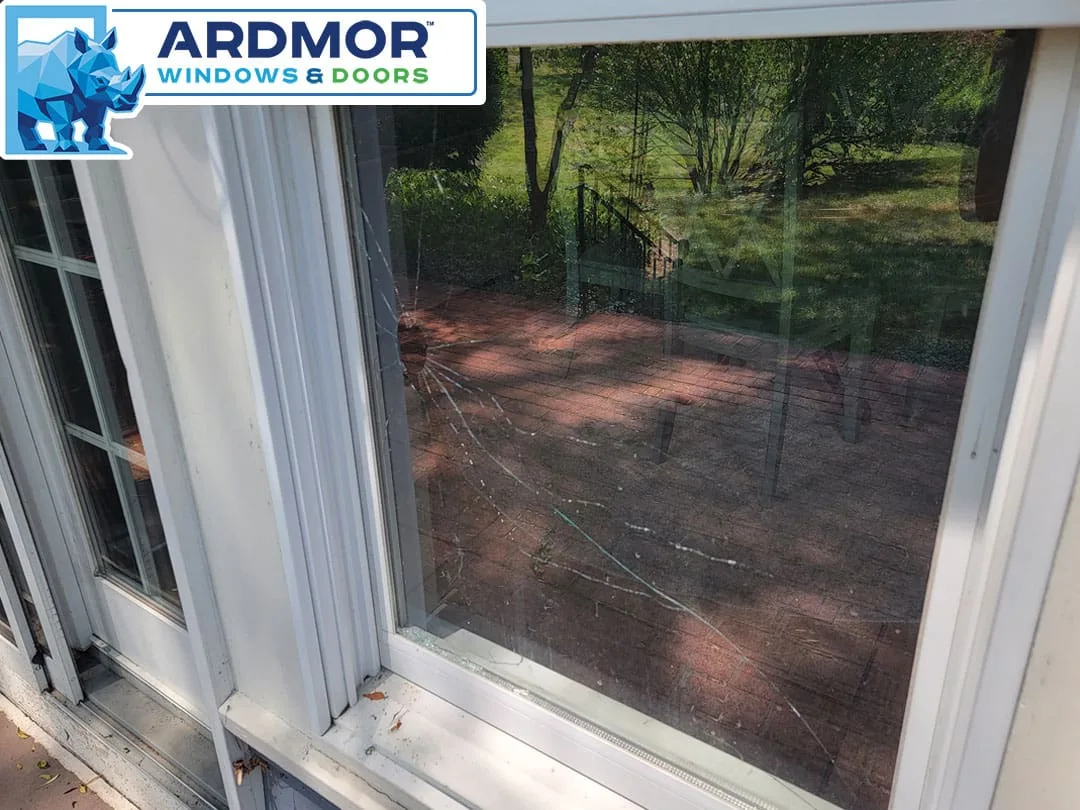
If you’re here, you’re dealing with a cracked pane in a vinyl window frame, and you want to know how to replace window glass in vinyl frame without replacing the whole window. Maybe a baseball found its mark. Maybe the seal finally failed after years of sun and storms.
The good news is you can usually fix this yourself. In our research, replacing just the glass costs about 70% less than a full window replacement. Most modern vinyl windows hold a sealed insulated glass unit (IGU), not a simple pane.
The process is very doable once you know which type you have. Let’s walk through it step by step.
Quick Answer / Key Insight
Here’s the simple version. Most vinyl windows use a sealed insulated glass unit. That means you replace the whole glass package, not just one piece of glass.
You remove the plastic trim, pull the old unit, measure, order a new unit, and snap it all back in.
- Check the window edge for a spacer. If you see one, it’s an IGU.
- Remove the glazing beads carefully.
- Measure the width, height, and thickness.
- Order a custom replacement unit.
- Bed it in neutral-cure silicone.
- Reinstall the beads and let the seal cure.
If it’s a true single-pane window, the job is even simpler. You just buy a cut piece of glass, set it on glazing points, and seal the edges.
Is It Single-Pane or a Sealed IGU?
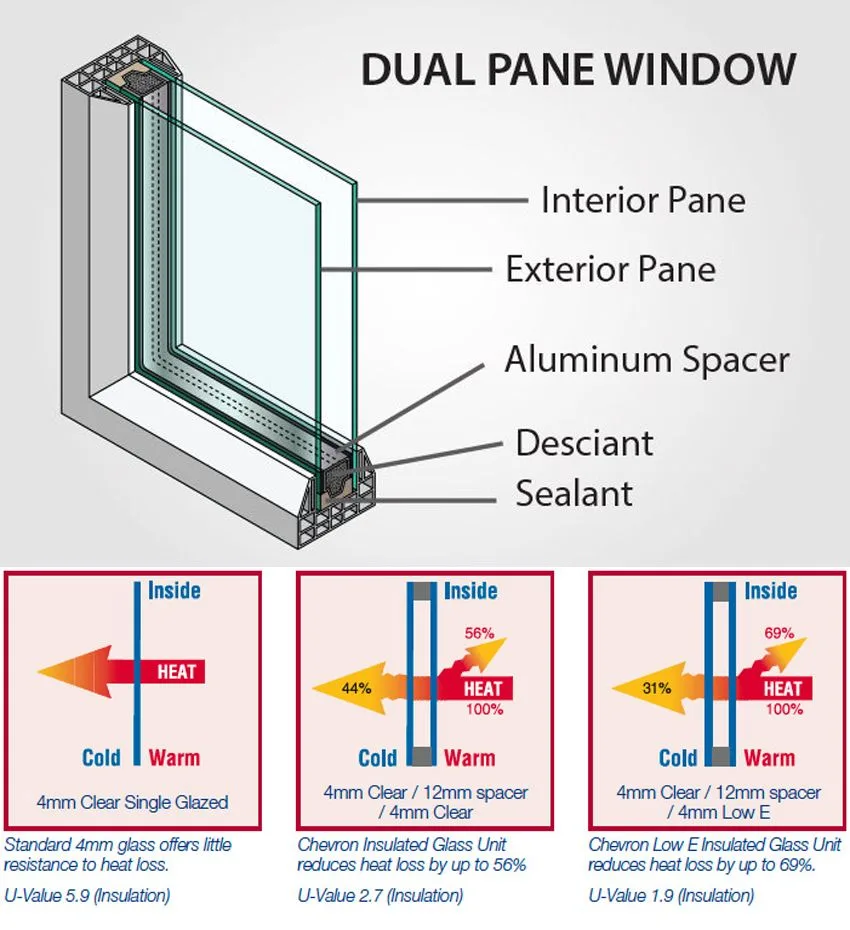
This is the first fork in the road. Look at the edge of the glass where it meets the frame. If you see a thin metal or plastic spacer line, you have a sealed IGU.
That means two panes of glass with an air gap between them. If you just see one sheet of glass with no spacer, it’s a single-pane window.
Single-pane windows are common in older homes, storm windows, and some basement windows. Sealed IGUs are the standard in most homes built after 1990. Manufacturer specifications indicate that IGUs are designed to be replaced as a complete unit.
Here’s a quick comparison to help you decide which path to take:
| Feature | Single-Pane | Sealed IGU (Double-Pane) |
|---|---|---|
| Spacer Bar | No | Yes, visible at the edge |
| Glass Thickness | 1/8" or 3/16" | 5/8" to 7/8" total |
| Replacement Cost | $10–$30 | $50–$150 |
| DIY Difficulty | Easy | Moderate |
| Best Approach | Buy cut glass and install | Order custom unit and install |
The Snap-in Bead Removal Process
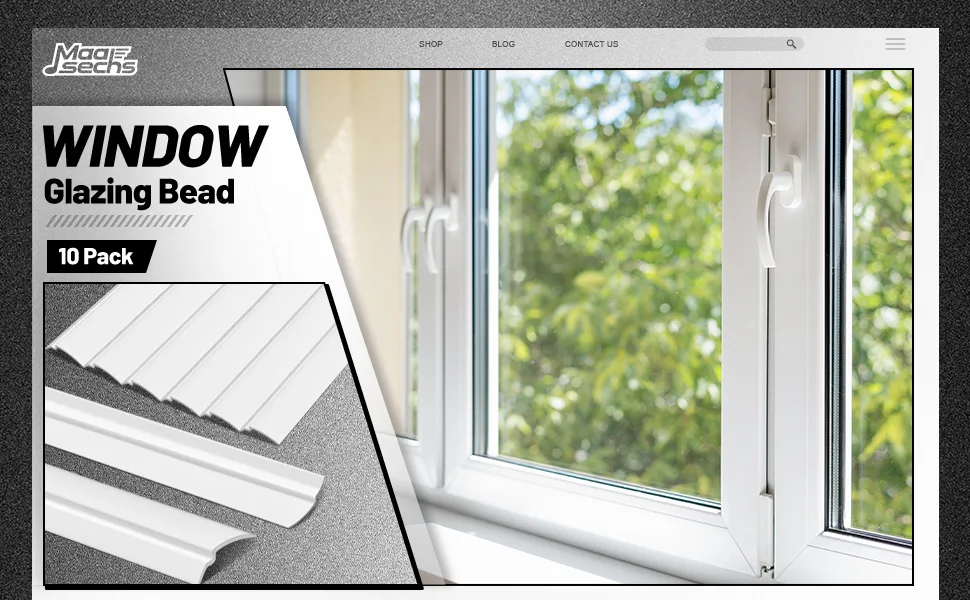
Once you’ve confirmed it’s a sealed IGU, the first real job is getting the old unit out. Most vinyl frames hold the glass in place with snap-in glazing beads. These are plastic strips that slide into a channel around the frame.
Here’s how to remove them without cracking anything:
- Remove the sash if you can. Double-hung and casement windows usually let the sash come out. That gives you room to work on a bench.
- Tape the broken glass. Use painter’s tape or duct tape in a crisscross pattern. This keeps the shards together while you work.
- Pry the beads gently. Insert a putty knife or a thin pry bar under the bead. Pull outward and it should pop out of its channel.
- Label each bead. The top, bottom, left, and right beads are often different lengths. Mark them so they go back in the same spots.
Work slowly. Don’t try to force one bead off in a single pull. Instead, work along the length of the bead, releasing it a little at a time.
If a bead snaps, you can order replacements from the window manufacturer.
The IGU Replacement Process
Now the old glass is out and you’re looking at an empty frame. This is where careful measuring matters most.
Step 1: Measure the Opening
Measure the width and height at three points: the top, the middle, and the bottom. Use the smallest measurements. Then subtract 1/8 inch from both dimensions.
That gives the glass room to expand and contract without binding.
Next, measure the thickness of the old unit. Use a caliper or a ruler. This tells the glass shop what type of spacer and glazing they need to build.
Step 2: Order the New Unit
Most local glass shops can build a custom IGU in a few days. Give them the exact width, height, and thickness. Tell them if the old unit had Low-E coating or argon gas.
If you’re not sure, a glass shop can usually identify it from the edge.
If the window is near a door, near the floor, or in a bathroom, you may need tempered glass. Check your local building codes. Tempered glass is required for safety in those spots.
Step 3: Test Fit the New Unit
When the new IGU arrives, place it in the frame. It should slide in with a small gap on all sides. If it’s too tight, it can bow the frame and break.
If there’s more than 1/4 inch of gap, you’ll need a thicker setting tape.
Step 4: Bed the Glass
Apply a continuous bead of neutral-cure silicone in the frame channel. This is the bedding layer. Don’t use standard household caulk or acid-cure silicone, because they can damage vinyl.
Set the new IGU in place. Press it evenly into the silicone. For large units, use suction cups to keep your hands away from the edges and distribute the weight.

Step 5: Reinstall the Beads
Snap the glazing beads back into their channels. Start with the bottom bead, then the sides, then the top. Press firmly until each bead clicks.
Don’t hammer them in, because that can crack the glass.
Let the silicone cure for 24 to 48 hours before you open the window. Clean the glass once the seal is set.
If the frame is cracked, warped, or rotted, stop here. A damaged frame won’t hold a new glass unit properly. In that case, a full window replacement is the better call.
Mistakes to Avoid & Safety Risks
This job is straightforward, but a few mistakes can turn a cheap repair into an expensive one. Let’s cover the big ones.
Safety First
- Wear gloves and safety glasses. Broken glass is sharp and unpredictable. Cut-resistant gloves are worth the money.
- Use tempered glass where required. Local building codes often require it near doors, floors, and bathtubs. Guess wrong, and you’ll fail inspection.
- Be careful on ladders. If the window is above the first floor, consider calling a professional. Carrying a glass unit up a ladder is risky.
Common Mistakes
- Wrong measurements. The most common DIY failure. Measure three times, then order once.
- Skipping the setting tape. This cushions the glass and prevents air leaks. It’s not optional.
- Using the wrong sealant. Regular caulk can eat into the vinyl or fail within months. Use neutral-cure silicone.
- Forcing the glazing beads. They should snap in with light pressure. If you’re forcing them, check that the glass sits flat.
In our research, most failed DIY attempts come down to poor measurements or the wrong sealant. Take your time with both, and the job goes smoothly.
Costs & Key Data Points
As of 2026, the cost to replace glass in a vinyl frame depends mainly on the glass type and window size. Here’s what you can expect:
| Item | Typical Cost | Notes |
|---|---|---|
| Custom IGU | $50–$150 | Size, Low-E, and argon affect the price |
| Single-pane cut | $10–$30 | Most glass shops cut this while you wait |
| Glazing beads | $15–$40 per set | Order from the window manufacturer |
| Neutral-cure silicone | $8–$15 | One tube is usually enough |
| Suction cups | $15–$30 | Handy for large units |
If you hire a pro, labor usually runs $100, $250 per window. Total time for a DIY job is about 1 to 3 hours. Allow 24 to 48 hours for the silicone to cure.
The U.S. Department of Energy’s window guidance confirms that a well-sealed unit makes a measurable difference in heating and cooling bills. That’s why it’s worth doing the job right the first time.
Frequently Asked Questions
Can I replace just one pane in a double-pane window?
No. A double-pane window is a sealed unit. The two panes work together as one package.
If one pane cracks or the seal fails, the whole IGU needs replacing. That’s the industry standard from every major window manufacturer.
What type of glass do I need for a vinyl window?
Most vinyl windows use a sealed IGU. If it’s a single-pane window, you need standard float glass. For locations near doors, floors, or bathrooms, you need tempered glass.
Check your local building code before ordering.
How much does it cost to replace glass in a vinyl frame?
A custom IGU costs $50 to $150. A single pane costs $10 to $30. Add another $10 to $20 for silicone and tape.
If you hire a professional, expect to pay $150 to $400 total, depending on your area and the window size.
How long does the silicone need to dry?
Most neutral-cure silicone reaches full strength in 24 to 48 hours. The window can close gently after 12 hours, but avoid putting pressure on the glass until the seal fully cures. Cold or humid weather can extend the cure time.
What if my vinyl frame is cracked?
Stop and consider a full window replacement. A cracked frame can’t hold a new glass unit snugly. It will leak air and water, and the new glass may rattle or shift.
If the crack is small and only in the outer trim, a repair kit may work, but that’s a temporary fix.
Decision Guide: When to DIY vs. Call a Pro
Here’s how to choose your path.
- DIY if: The window is on the ground floor, it’s a standard size, the frame is in good shape, and you have basic tools. The job will take you a couple of hours.
- Call a pro if: The window is above the first floor, it’s a large fixed picture window, or the frame has visible damage. Pros have the right suction cups and experience to avoid breaking the new glass.
- Call a pro if: You need tempered glass and aren’t sure about local codes. A glass shop can handle the permits and the proper glazing.
Still unsure? Get your measurements first. A local glass shop can tell you exactly what you need and usually offers installation if you change your mind.
That keeps your options open.

Similar Posts