Master Glass Fusing: How to Use a Kiln
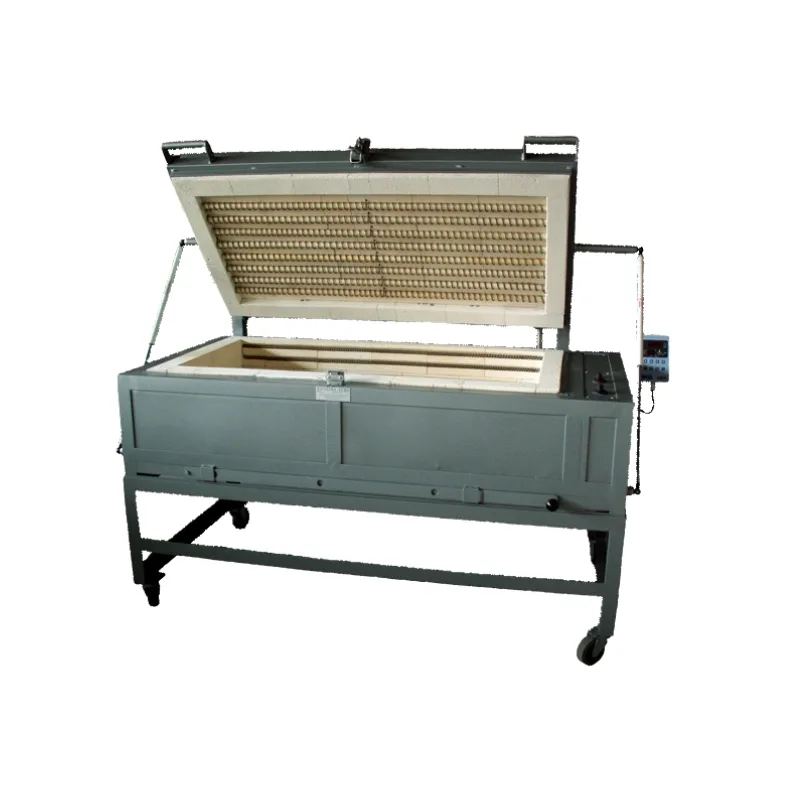
Learning how to use a kiln for glass is one of those skills that looks intimidating until you realize the kiln just follows a simple script. You give it a firing schedule, and it does the work. The real challenge is knowing what your glass is doing when you can't see it.
That's where the visual cues come in. Glass goes through predictable stages during a firing. Knowing what to look for separates a first-time success from a cracked mess.
As of 2026, digital controllers make repeatable results easier than ever. But the fundamentals haven't changed. Let's walk through what you actually need to know.
Quick Answer
Clean your glass and kiln shelf. Apply kiln wash as a separator. Set a firing schedule on your controller.
Heat the glass slowly to fuse or slump. Hold at the target temperature. Anneal during the cool-down.
Let the kiln reach room temperature before opening. Never rush the cooling process.
Why You Need to See the Process
Glass fusing happens inside a sealed box. You can't watch the edges round or the layers merge. So you learn to read the signs.
The peephole is your window. The controller display tells you where you are in the schedule. The sounds the kiln makes change as elements cycle on and off.
Manufacturer specs indicate that most glass starts to move noticeably around 1250°F. Watching the glass through the peephole at key moments gives you feedback no schedule can replace. You learn to spot the difference between a tack fuse where shapes stay defined and a full fuse where the edges go glossy and round.
Setting Up Your Kiln for Glass
Before you fire anything, the kiln shelf needs attention. Bare firebrick or cordierite will stick to molten glass. That's a ruined piece and a damaged shelf.
The fix is simple. Apply kiln wash.
Kiln wash is a thin slurry of silica and alumina hydrate mixed with water. Brush it on in two or three thin coats. Let each dry before the next.
The dried coating looks like chalk. It acts as a sacrificial layer. Any glass that touches it can be pried off.
Reapply the wash afterwards.
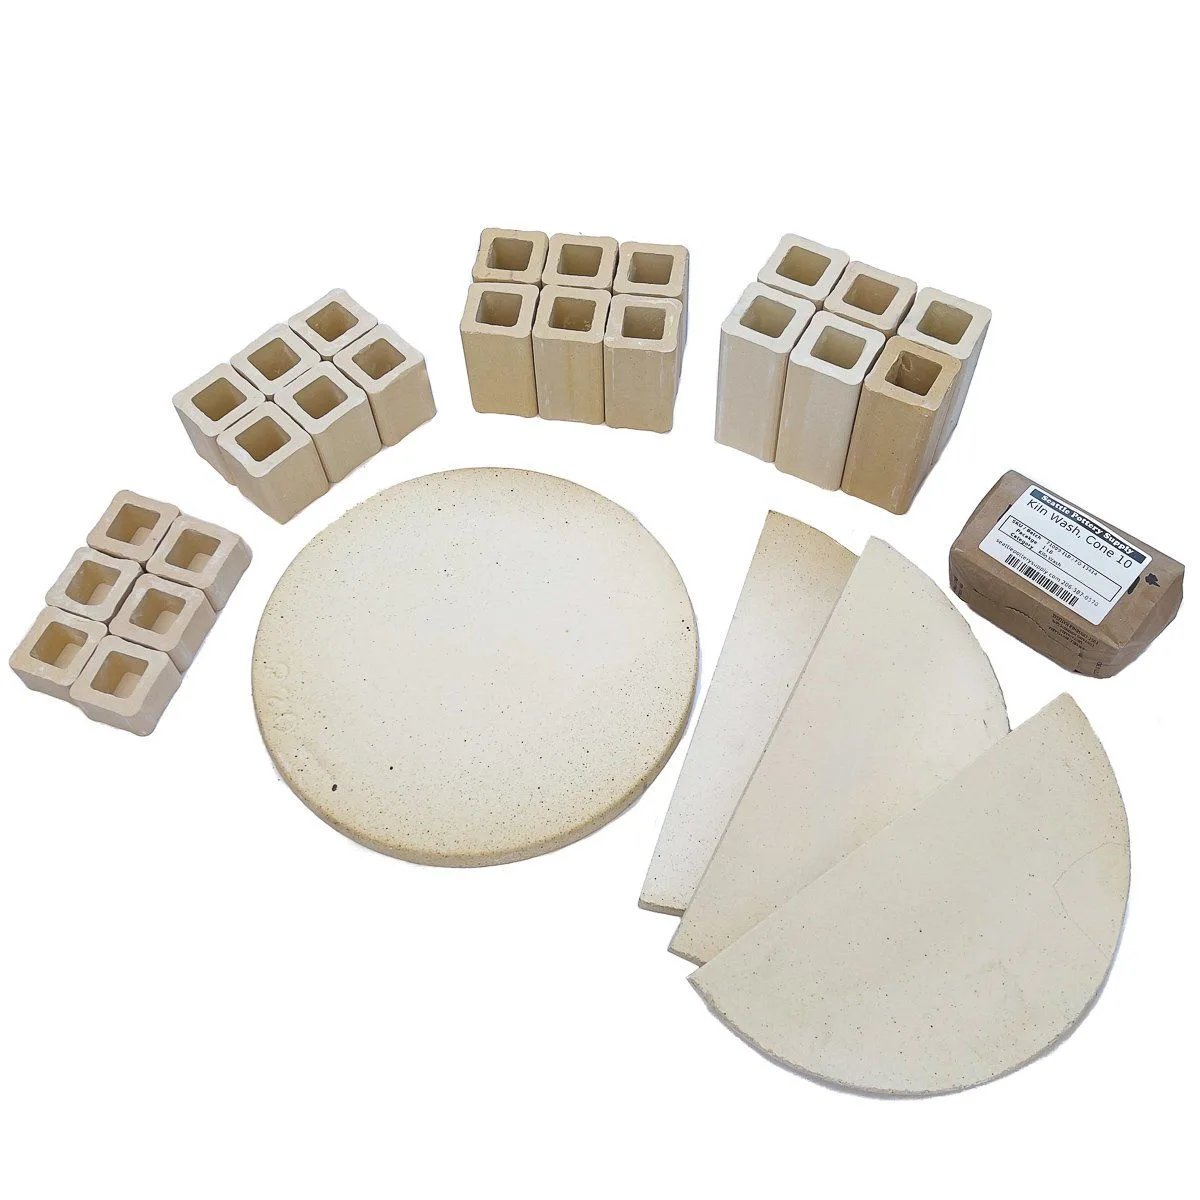
Leveling the shelf is next. A tilted shelf causes glass to flow unevenly. Use a small spirit level and adjust the shelf posts.
Digital controllers need a functioning thermocouple. Check that the probe is clean and extends into the chamber. If the controller reads room temperature at startup, you're good.
Step-by-Step Firing Guide: Visual Cues at Every Stage
A typical firing has four main stages. Each one has a purpose and a visual cue.
Stage 1: Ramp up. The kiln heats at a controlled rate, usually 300 to 600 degrees per hour. You won't see much change. The glass stays solid.
The controller shows the temperature climbing. Listen for the relays clicking. That's normal.
Stage 2: Soak. The kiln holds at the target temperature. This is where the magic happens. Around 1350°F to 1500°F for a full fuse, the glass edges go glossy and round.
Through the peephole, you'll see the surface turn shiny. The pieces look like they're melting into one another.
Stage 3: Anneal. After the soak, the kiln cools rapidly to around 900°F to 950°F. Then it holds there for 30 to 60 minutes. This is the stress relief stage.
The glass becomes solid again. No visual change here, but this step is critical.
Stage 4: Slow cool. The kiln cools at a controlled rate, usually 100 to 200 degrees per hour. It continues until it reaches room temperature. You can't open the kiln until it's below 100°F.
Patience pays off.
Firing Schedules: The Numbers That Matter
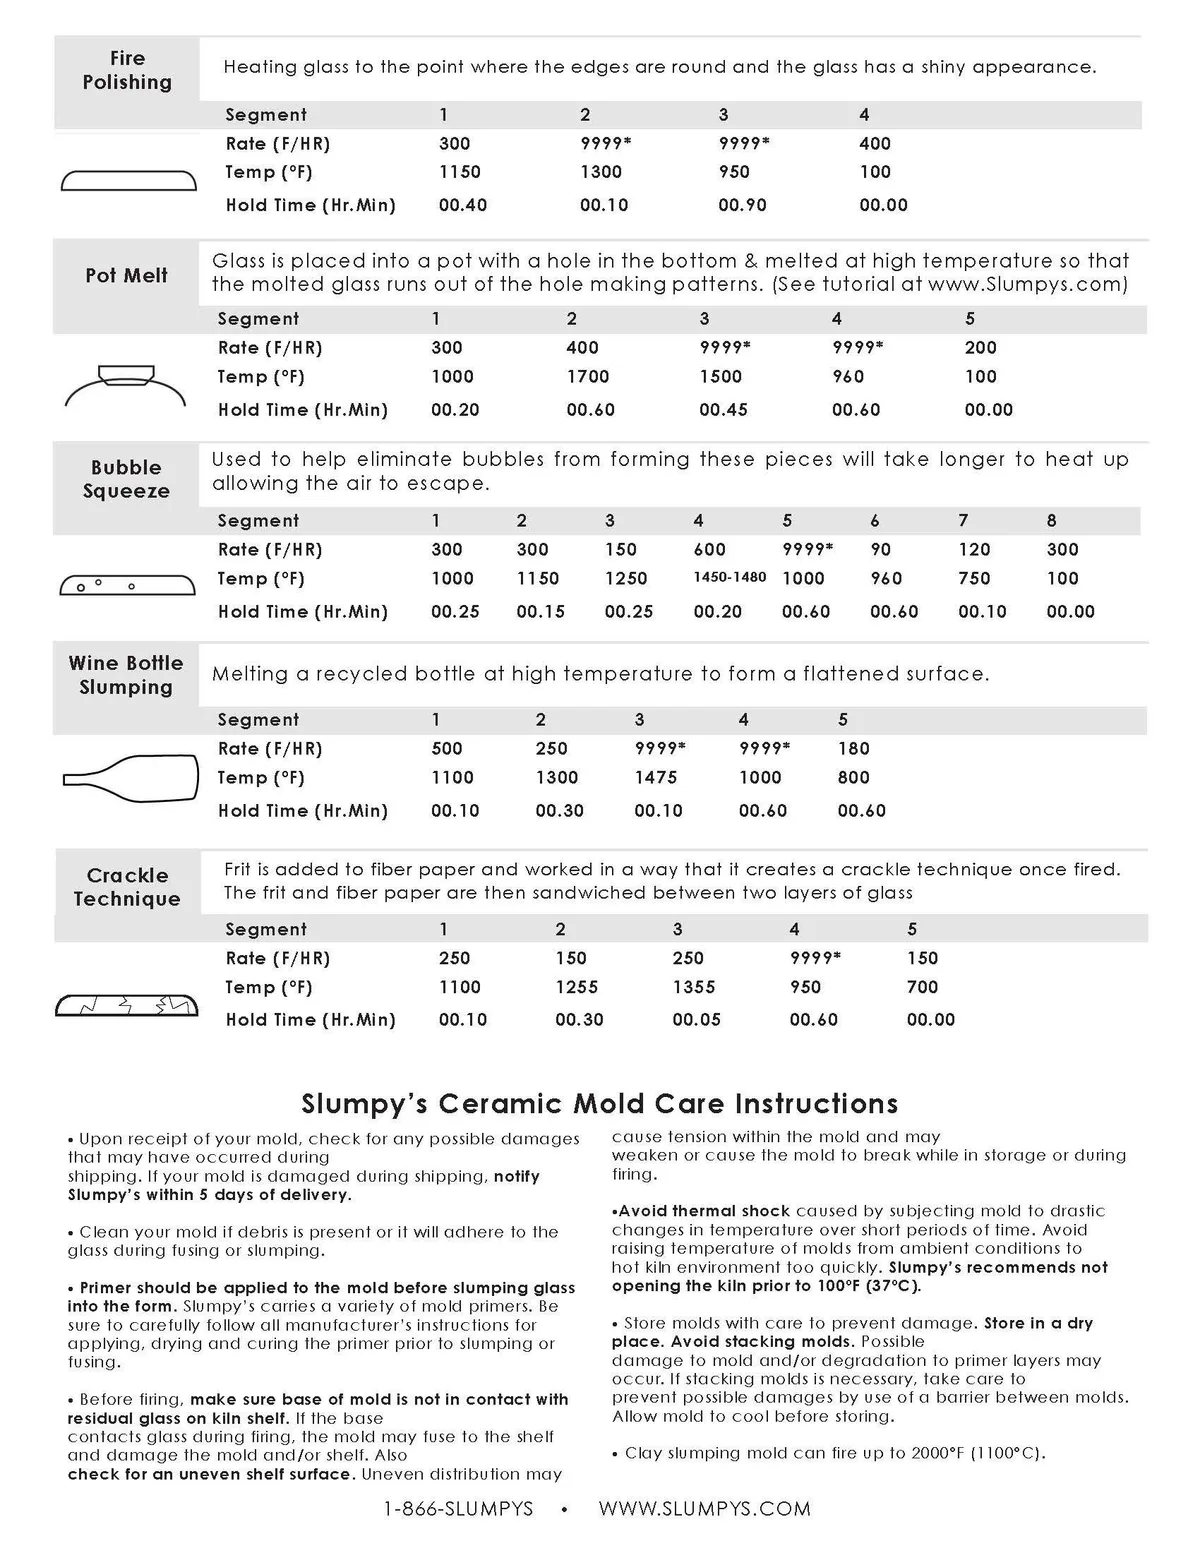
Firing schedules are the backbone of consistent results. They tell the controller what temperature to reach, how fast to get there, and how long to hold. Here are the three most common schedules for fusible glass.
| Schedule Type | Target Temperature | Hold Time | Typical Use |
|---|---|---|---|
| Full fuse | 1450°F – 1500°F | 10 – 15 minutes | Smooth, rounded edges, fully merged layers |
| Tack fuse | 1300°F – 1350°F | 5 – 10 minutes | Raised texture, shapes stay distinct |
| Slump | 1200°F – 1250°F | 10 – 20 minutes | Draping glass over a mold |
The ramp rate matters too. Most schedules use 300°F to 400°F per hour on the way up. Going too fast can crack the glass.
Going too slow wastes time. The anneal hold is non-negotiable. For glass that's 1/4 inch thick, hold at 950°F for 30 minutes.
Thicker pieces need longer.
Common Visual Mistakes and How to Spot Them
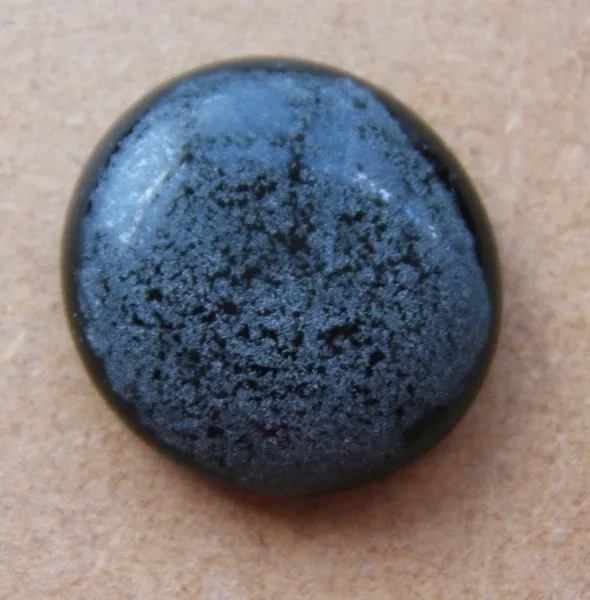
Even with a perfect schedule, things can go wrong. The most common problem is devitrification. It looks like a cloudy, hazy film on the glass surface.
It happens when the glass stays in the devitrification zone around 1300°F to 1400°F too long, or when the glass is dirty.
Bubbles are another frequent issue. Large trapped bubbles between layers happen when air gets trapped. You can see them as rounded domes on the surface.
The fix is to use a slower ramp rate or a longer hold at the tack fuse stage to let air escape.
Cracking usually shows up after the kiln cools. A crack that runs straight through the piece is often thermal shock. This means the glass cooled too fast.
A crack that follows a curved line might be a stress fracture from uneven thickness. Both are avoidable with proper annealing and even heating.
Sticking happens when the glass fuses to the shelf. You'll see glass residue on the shelf after the firing. This means the kiln wash was too thin or missing.
Scrape off the residue, reapply kiln wash, and try again.
Safety, Ventilation, and Kiln Maintenance
A kiln that runs unattended for hours needs proper setup. The National Fire Protection Association provides clear guidelines for kiln placement. The unit must sit on a non-combustible surface.
Concrete floors work well. Wood floors need a cement board or tile barrier underneath.
What about clearance? Keep at least 12 inches of space on all sides. The kiln radiates heat even through the outer shell. Combustible items like paper, fabric, or solvents should stay several feet away.
A dedicated circuit is also required. Most glass kilns draw 15 to 20 amps. Running them on a shared circuit can trip breakers or worse.
Ventilation matters more than most beginners realize. The binders in kiln wash and some glass paints release fumes during firing. A well-ventilated room or a powered vent system keeps the air safe. Some kilns have built-in vent ports.
Others need an external vent hood. The OSHA guidelines for studio ventilation recommend at least four air exchanges per hour in a workspace with a kiln.
Kiln maintenance is straightforward. The heating elements slowly degrade over time. They become brittle and lose efficiency. A typical element lasts 200 to 500 firings.
You can check them visually. A glowing red element that has dark spots or thin sections needs replacement. The thermocouple should read accurate temperatures.
If the controller shows erratic readings, clean the thermocouple tip with fine sandpaper.
The kiln shelf needs regular care. Reapply kiln wash after every few firings. Scrape off any glass residue with a putty knife. Check the shelf for cracks.
A cracked shelf can shatter during firing. Replace it when you see hairline fractures.
Frequently Asked Questions
What temperature should I fire glass at?
It depends on the effect you want. A full fuse reaches 1450°F to 1500°F. A tack fuse stops at 1300°F to 1350°F.
Slumping glass needs 1200°F to 1250°F. Always check the manufacturer's recommended range for your specific glass.
How long does a typical firing take?
Most firings run 4 to 12 hours. Small pieces with simple schedules take less time. Large pieces or thick stacks need longer anneal holds.
The slow cool down is the longest part. Never rush it.
Can I open the kiln while it's hot?
No. Opening the kiln above 100°F causes thermal shock. The glass cracks instantly.
Wait until the kiln reaches room temperature. Some schedules call for a brief peak at the end, but that's a controlled technique, not a shortcut.
What causes glass to crack in the kiln?
Thermal shock is the most common cause. The glass heated or cooled too fast. Uneven thickness also causes stress fractures.
A third cause is COE mismatch. Two glass brands with different expansion rates will crack every time.
Do I need to vent the kiln?
Yes, in most cases. The binders in kiln wash and glass paints release fumes. A vented kiln or a well-ventilated room prevents fume buildup.
Small kilns in garages with the door cracked open often work fine. Indoor studios need a powered vent.
How do I clean a kiln shelf?
Let the shelf cool completely. Scrape off glass residue with a putty knife. Sand the surface lightly with 80-grit sandpaper if needed.
Reapply kiln wash in two thin coats. Let each coat dry before applying the next.

Similar Posts