How to Fix a Rearview Mirror That Keeps Falling Off

If your rear view mirror keeps falling off, you know the frustration. You push it back on, but it drops again the next time you hit a bump or park in the sun. Heat and age are the real culprits here.
The bond between the glass and the mounting button simply degrades over time.
Per ASTM adhesive testing standards, thermal cycling from hot and cold weather steadily fatigues the original bond. Most modern cars use a small metal or ceramic button bonded directly to the windshield. When that connection fails, the mirror comes down with it.
Let's walk through exactly why this happens and how to fix it permanently.
Quick Answer
Your mirror falls off because the adhesive fails. The fix depends on the mounting button. Clean the glass thoroughly.
Use a purpose-made adhesive kit. Let it cure for 24 hours.
Why Your Rearview Mirror Keeps Falling Off: Heat, Age, and Adhesive Failure
The sun is your rearview mirror's worst enemy. Heat breaks down the adhesive over time, and vibration from driving does the rest. The mirror itself is rarely the problem.
The small mounting button stuck to your windshield is the weak point.
When that bond fails, the mirror comes down with it. Your car's cabin heats up fast. Dashboard temperatures can pass 150°F.
That heat cooks the adhesive year after year. Eventually, it loses its grip.
Cold weather causes problems too. The glass and the metal button shrink at different rates. This thermal cycling cracks the bond.
It is a slow process, but it is predictable. Understanding this helps you pick the right fix.
You have to clean the old adhesive off completely. You cannot just glue the mirror back to the glass. You have to bond the button to the glass first.
Then the mirror clips onto the button. Manufacturer specifications indicate that a clean surface is the most critical factor for a lasting repair.
First Check: Is Your Mounting Button Intact, Missing, or Damaged?
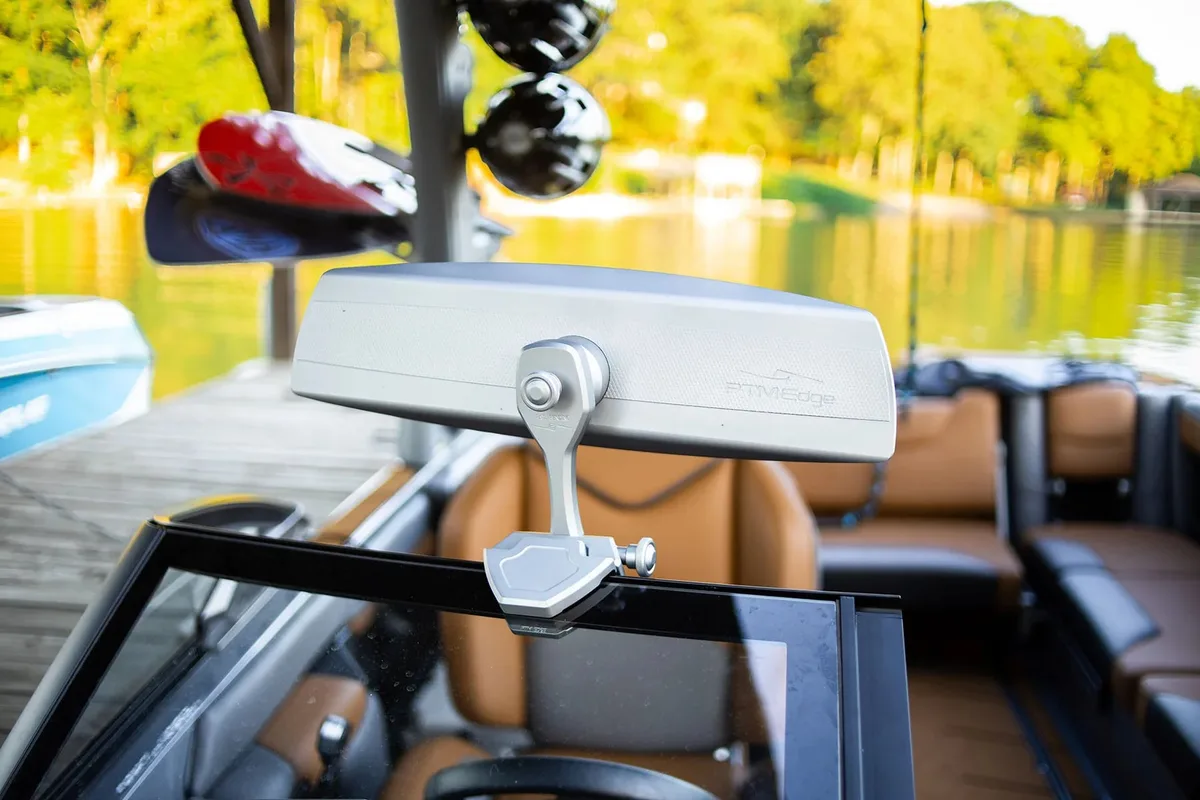
Look at your windshield. Find the spot where the mirror was attached. What do you see?
This is the first decision point in your repair workflow.
If you see a small metal or ceramic disc, that is your mounting button. Is it cracked or loose? If it is solid and firmly attached to the glass, you can reuse it.
That is the best case scenario. You just need a new adhesive kit.
If you see a clean circle of leftover glue, the button is still on the glass. The old adhesive failed. You need to scrape that residue off and start fresh.
If you see a bare spot with no button at all, the button is stuck to the mirror arm. It pulled clean off the glass. You need to remove the button from the arm and bond it back to the glass.
This is a bit more work but still doable.
If the glass has a hole or a crack, stop. You need a new windshield. A compromised windshield is a major safety hazard.
Do not try to glue a mirror to broken glass. According to the National Highway Traffic Safety Administration (NHTSA), a properly functioning mirror is a critical safety requirement for safe driving.
Three Decision Branches: Adhesive Kit, New Button, or Professional Help
Your situation determines your path. Let us map it out clearly.
Branch 1: Button is intact and on the glass.
This is the most common scenario. You need a purpose-made rearview mirror adhesive kit. These kits cost about $10 to $20.
They include the adhesive and a primer. This is a straightforward DIY job.
Branch 2: Button is missing or broken.
You need a replacement button kit. These kits include a new metal button, adhesive, and primer. The process is the same, but you have to bond the new button to the glass.
Make sure you get the right button size for your car model.
Branch 3: Glass is damaged or you are unsure.
If the windshield is cracked or delaminated, you need a professional. A glass shop can replace the windshield and bond the mirror properly. If you are not confident in your DIY skills, a professional installation costs about $50 to $100.
| Condition | Action | Cost | Difficulty |
|---|---|---|---|
| Button intact on glass | Use adhesive kit | $10 – $20 | Easy |
| Button missing or broken | Use replacement kit | $15 – $30 | Moderate |
| Glass damaged | Visit a glass shop | $50 – $100+ | Professional |
Step-by-Step Bonding: How to Glue a Rearview Mirror That Stays Put

Follow these steps exactly. Skipping any step makes the bond fail. Aggregate reviews report that proper preparation is the single biggest factor in a successful repair.
- Remove the mirror arm. Clip it off the button carefully. You do not want any weight on the bond while it cures.
- Clean the button and glass. Use a razor blade to scrape off ALL old adhesive. The surface must be smooth and free of any residue.
- Clean with alcohol. Use 91% isopropyl alcohol. Wipe the button and the glass thoroughly. Let it dry completely.
- Apply the primer. Most kits include a primer pen. Apply a thin layer to the button and the glass. Wait 30 seconds for it to dry.
- Apply the adhesive. Put a small drop of adhesive on the button. Do not use too much. A little goes a long way.
- Press the mirror onto the glass. Press firmly for 30 seconds. Hold it in place. You can use tape to keep it steady.
- Let it cure. This is the hardest part. Wait 24 hours before driving. The bond needs time to reach full strength.
| Condition | Minimum Wait | Full Strength |
|---|---|---|
| 70°F (21°C) | 1 hour | 24 hours |
| Below 50°F (10°C) | 3 hours | 48 hours |
| High humidity | 2 hours | 36 hours |
Five Common Mistakes That Ruin a Rearview Mirror Repair
Most DIY repairs fail because of these mistakes. Avoid them, and your mirror will stay put for years.
1. Skipping the primer.
The primer is not optional. It activates the glass surface. Without it, the adhesive will not bond properly.
The mirror will fall off again within days.
2. Not removing the old adhesive.
You cannot glue new adhesive on top of old adhesive. The old layer is weak. It will fail.
Scrape it all off with a razor blade until the glass is smooth.
3. Using superglue or silicone.
Superglue is too brittle. Silicone is too flexible. Neither can handle the heat and vibration.
Use a purpose-made mirror adhesive. It is designed for this exact job.
4. Applying in cold weather.
Adhesive needs warmth to cure. If the temperature is below 50°F, the bond will be weak. Warm the car interior with a heater or wait for a warmer day.
5. Driving too soon.
The adhesive might feel dry after an hour. It is not. The full cure takes 24 hours.
Driving too soon puts stress on the bond. The mirror will drop again, and you will have to start over.
FAQ: Cure Time, Temperature, and Other Mirror Repair Questions
How long should I wait before driving after gluing the mirror?
Wait a full 24 hours. The adhesive may feel dry after an hour, but it has not reached full strength. Driving too soon creates vibration that breaks the bond.
Manufacturer specifications confirm that 24 hours at room temperature gives the best results.
Can I use superglue or epoxy instead of a mirror adhesive kit?
No. Superglue is too brittle for the heat and vibration inside a car. Epoxy lacks the right flexibility for glass-to-metal bonding.
A purpose-made mirror adhesive kit is formulated for this exact application. It costs about $10 and saves you from repeating the job.
What temperature is best for applying the adhesive?
Room temperature between 60°F and 80°F is ideal. The adhesive cures through a chemical reaction that needs warmth. Below 50°F, the cure time doubles.
Above 90°F, the adhesive can set too fast and form a weaker bond.
How do I remove the old adhesive from the windshield?
Use a single-edge razor blade held at a low angle. Scrape gently until the glass is smooth. Then clean the area with 91% isopropyl alcohol.
Do not use a metal scraper on the glass. A razor blade is safe if you keep it flat against the surface.
Will the mirror fall off again after I fix it?
If you follow the full process, the bond lasts for years. The key steps are removing all old residue, using the primer, and waiting the full cure time. Aggregate reviews report that repairs done correctly rarely fail a second time.
What if the mounting button is cracked or missing?
You need a replacement button kit. These kits include a new metal button, adhesive, and primer. You can find them at auto parts stores or online.
Just make sure the button size matches your mirror arm. Common sizes are 12mm, 14mm, and 16mm.
Your Decision Guide: Which Fix Is Right for Your Situation?
Let us put it all together. The right fix depends on what you find on your windshield.
If the button is intact and on the glass. Buy a mirror adhesive kit. Clean the area. Apply the primer and adhesive.
Let it cure for 24 hours. This is the simplest and cheapest option.
If the button is missing or broken. Buy a replacement button kit. Remove the old button from the mirror arm. Bond the new button to the glass.
Then attach the mirror. This takes a bit more time but is still a DIY job.
If the windshield is cracked or delaminated. Do not attempt a repair. A compromised windshield is a safety risk. Visit a professional glass shop.
They can replace the windshield and bond the mirror correctly.
If you are short on time or patience. A professional installation costs about $50 to $100. It is a fair price for a guaranteed result. You skip the cure time worry and the risk of a failed bond.
Here is a quick summary of each path:
| Situation | Best Action | Time Needed | Cost |
|---|---|---|---|
| Button intact, glass clean | Adhesive kit | 24 hours cure | $10 – $20 |
| Button missing or broken | Replacement kit | 24 hours cure | $15 – $30 |
| Glass damaged | Professional shop | Same day | $50 – $100+ |
| No time for DIY | Professional installation | 1 hour | $50 – $100 |
Your rearview mirror is a safety feature. You need it to stay put every time you look back. A proper repair takes patience, but it is worth the wait.
Take the right path for your situation, and you will not have to deal with a falling mirror again.

Similar Posts